Pirate Audio Line Out Device
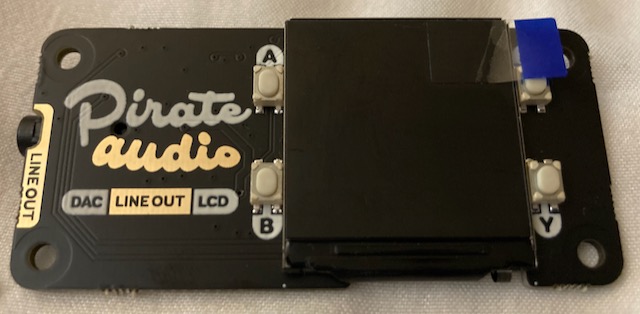
Here’s a fun little project. This is the Pimoroni Pirate Audio Line Out Device . Pimoroni sells several devices including a 3watt amp, a speaker, and a headphone amp but I chose the Line Out Device for home stereo use.
You could make a headphone amp and power it from a small charging brick and with a wireless Raspberry Pi (Pi Zero W) you could use your phone as a hotspot and have the most original “Walkman” on the block.
So what you need essentially is:
- Raspberry Pi – Get the Pi Zero W (W = WiFi) – links just below
- Pirate Audio Line Out Board
- SD Card – I use SanDisk cards 16 or 32 GB
- Micro USB power cable – you have one laying around already
- Y adapter cable to hook Line Out to your stereo.
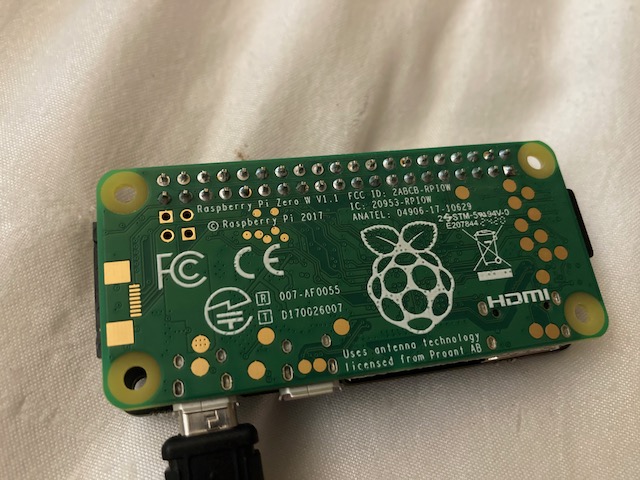
Regarding the Pi……….The Pi needs to have pin headers soldered on them. I get my Pi’s from Adafruit. You’ll notice they have a Pi for $10 without header pins and one pre-made for $14.

Adafruit Pi Zero W
I saved $4 and just soldered my own on. I did a pretty great job of soldering but maybe should have brushed a couple of the contacts off better with alcohol. Obviously the camera sees better than my 58 year old eyes do.

Pi Zero W Headers Soldered on
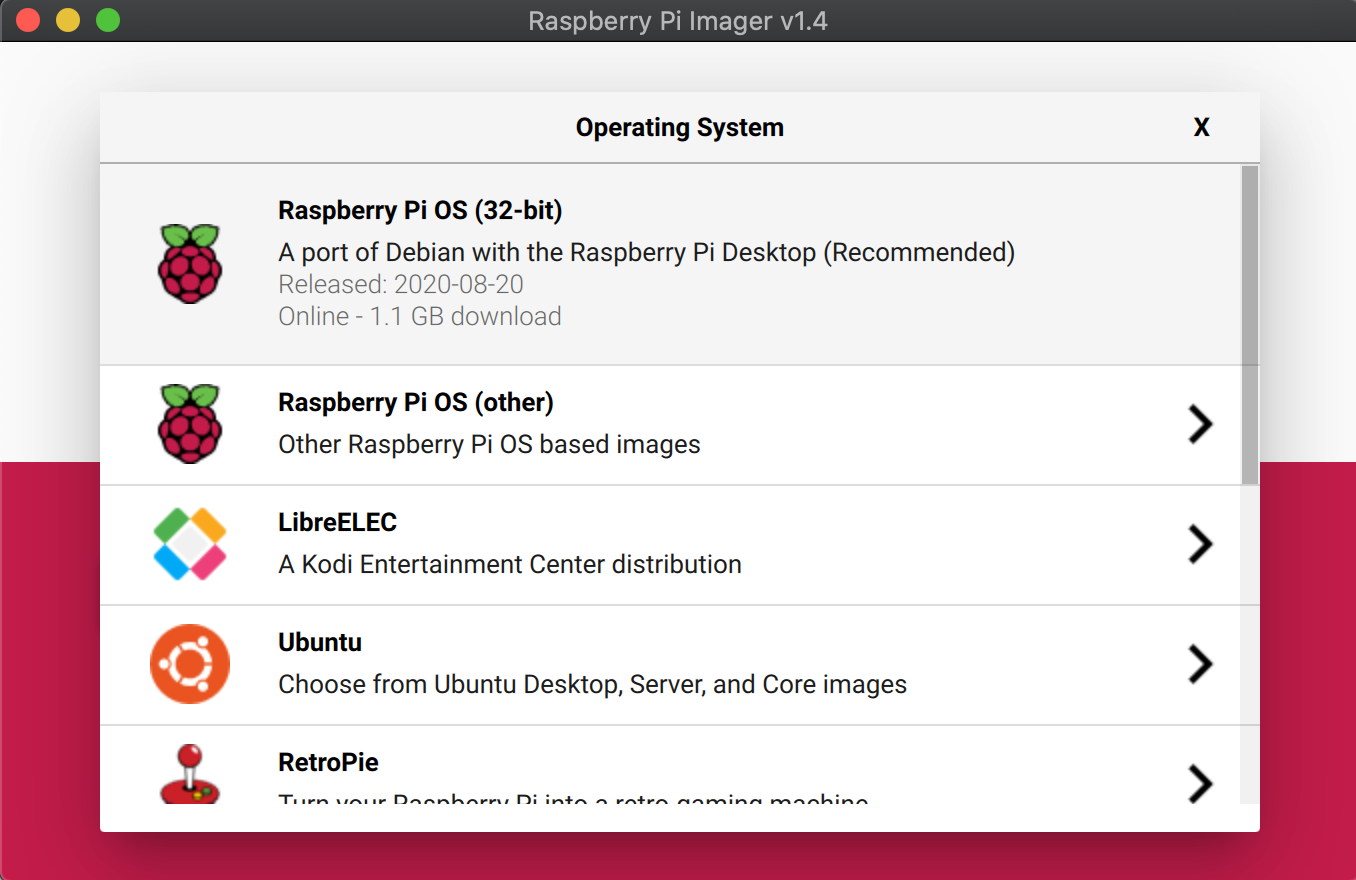
It’s really easy to make. You can download a program called “Raspberry Pi Imager”. I used the Mac version. There will be a button that says “Operating System” and one that says “SD Card”. Put an SD card in your computer (16 GB or 32 GB is what I always use) and select the top entry “Raspberry Pi OS (32-bit)”. Then click Start. Wait a couple minutes.

Pi Imager
Now it gets just a hair geeky. Once the card writes it ejects. Pull it out and push it back in to remount the card. The card is accessible on Mac under /Volumes/boot directory.
cd /Volumes/boot
Now lets create a file called SSH otherwise we’ll have to hook this to HDMI with a monitor, keyboard, and mouse. Pass this command.
touch ssh
Now we want to make sure it connects to our WiFi when we start. While still in /Volumes/boot create a file called wpa_supplicant.conf
sudo nano wpa_supplicant.conf
Now paste in the following code. Replace SSID and password with your own info and be sure to leave the quotation marks in.
ctrl_interface=DIR=/var/run/wpa_supplicant GROUP=netdev
update_config=1
country=US

network={
 ssid="Name of your wireless LAN"
 psk="Password for your wireless LAN"
}
Hit Ctl+X and answer Y to save the file you just created.
Now at this point properly eject your card. Put it in the Pi, place the Pirate Audio device on the Pi and power the Pi with the Micro USB cable plugged into a 5V USB source. Be careful not to push down with any pressure on the LCD screen.
Now you have to find the IP address of your Pi so you can access it. You can go to your router DHCP page or I use an app called “LanScan” on my Mac. Just look for a device called “raspberrypi”. My IP address was 192.168.20.105
Open a terminal on your computer and type
sssh 192.168.20.105 -l pi
That’s a lower case letter, not a number 1. Log in with the password raspberry. Now type
sudo raspi-config
CHANGE YOUR PASSWORD FOR GOD’S SAKE. I also set the time zone, and change my computer hostname. Then reboot the device. Once it reboots log back in with the ssh command above then type the following 3 commands.
git clone https://github.com/pimoroni/pirate-audio
cd pirate-audio/mopidy
sudo ./install.sh
It will go through an installation routine. I want to say mine took 5 or 10 minutes. Take a break. When it is done, reboot.
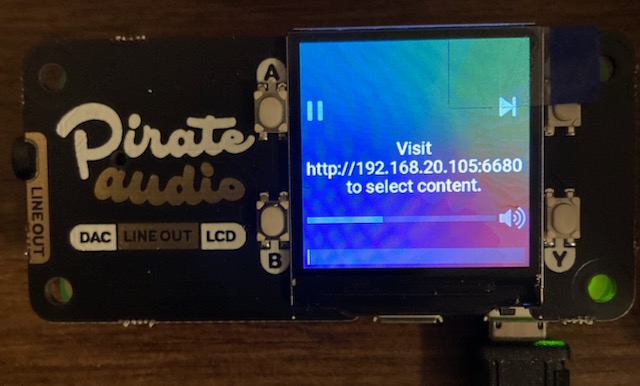
Once the Pi boots the LCD screen will tell you where to go. The IP address my Pi obtained from my network is 192.168.20.105. Resist the urge to go to this website for the moment.

Welcome Screen
It is at this point I’m going to pass this to another webpage for IRIS and Mopidy and Spotify configuration. It’s lengthy and they have done a perfect job of laying it out. No need for me to copy it. Just go to this web page and configure your Pirate Audio Device. Many of the steps I have covered here are there as well.
And here it is in action once you get IRIS and Mopidy configured.
[kad_youtube url=”https://youtu.be/3X4gMpWNKn4″ ]
Fun, fun project that is sure to be a conversation piece. Essentially you have built and configured your own streaming device. To hook to a stereo you’ll need a Y adapter with 1/8th inch to RCA.

Thank you so much for this guide. I don’t know why the official instructions didn’t work. I ended up with a blank screen, and I had to deconstruct A TON of code to see what was going on and didn’t get anywhere. With your instructions, no problem. Up and running.
(My theory is that connecting the HDMI to do via desktop instead of headless via SSH messes with the screen display configuration on start-up.)
Drove me nuts trying to get this we thing to work
Still not got it