Lightburn is the best software for laser editing, design and control, bar none. But it always seems to have an issue on Mac OS X when you upgrade. More times than not, when you upgrade Lightburn it simply will not output your design when you are connected via USB.
There seems to be an issue with the FTDI drivers on Mac OS itself which doesn’t like our Ruida controllers. There are a couple of workarounds. First is to take your file you want to engrave or cut and transfer it to a USB stick and upload it directly to the laser. The other way is to connect your laser via its ethernet port instead of its USB port. This works flawlessly ………. well almost. I noticed that once I followed the directions provided by Lightburn that the laser was only recognized when WiFi was turned off. I dunno about you, but I’d kind of like to use my computer on the internet while I’m sitting there watching my output and making sure nothing catches on fire.
The directions provided by Lightburn instruct you to get the IP address of your computer and then add that to the same subnet. For example if your computer is 192.168.1.10, they advise you to add 50 or 100 to the last octet. (192.168.1.60, or 192.168.1.110). This will give you wifi problems. Let’s tackle this, shall we?
What we are going to do is to use a different local IP range. My computer is connected via WiFi to the network 192.168.20.x. I always change mine from default but that is an entirely different subject.
On my machine controller, I hit the Menu Button > Para.Settings>IP address. From there I am going to change my MACHINE IP Address to 192.168.10.7 (I have a 50 watt OMTech laser, if you have a different machine your IP settings change could be slightly different. Refer to your machines User Manual).
Note that I changed my local subnet from 20 to 10. Seven is just an arbitrary number. It could be anything.
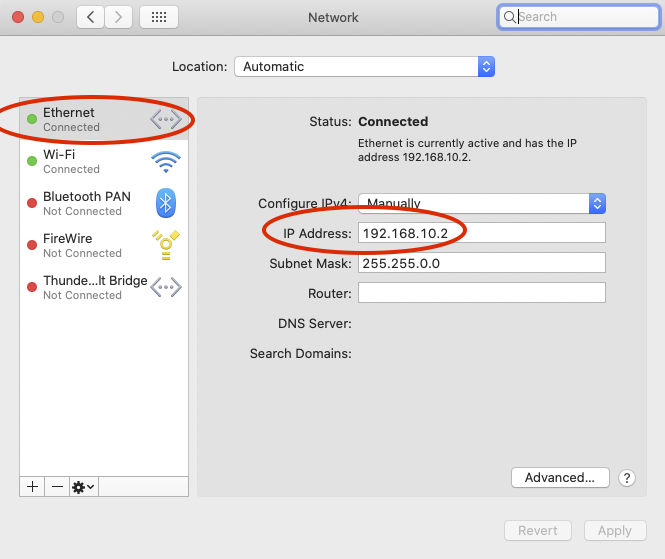
Now go into your Mac at Settings>Network and change your ethernet controller. I have a Mac Mini next to my laser which has an ethernet port to connect directly to the laser. If you have a laptop with no ethernet you will need an ethernet adapter from Apple.
Change Ethernet Manually (click to enlarge pic)
Ensure you configure your IPV4 address MANUALLY. Note that I set my IP address of my Mac Mini to 192.168.10.2
Just ensure you are on the same subnet (10) and again the number 2 is just arbitrary. Make sure it is different than the Machine IP which was 7.
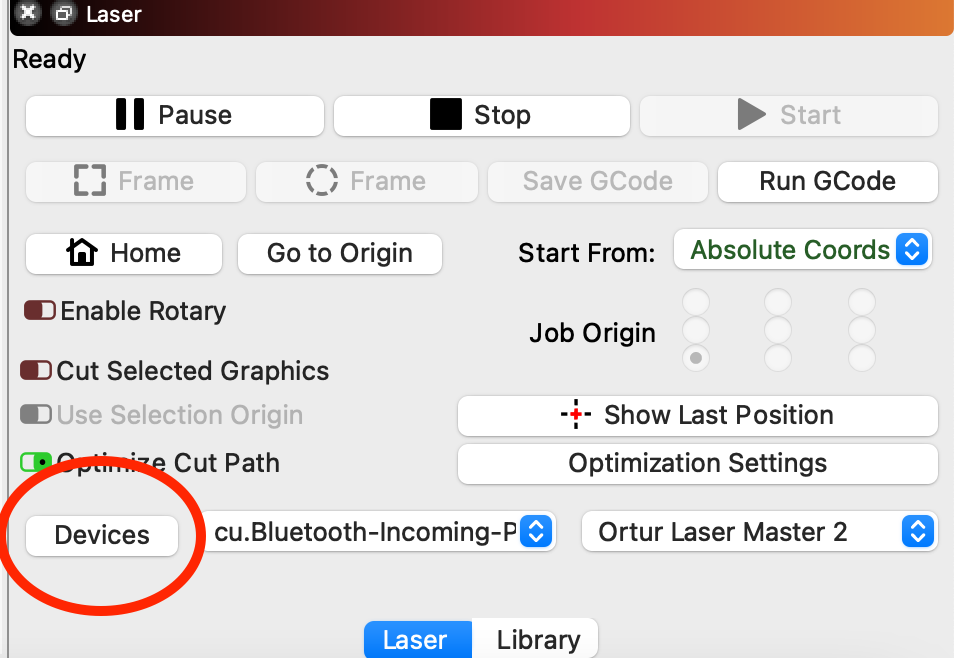
Now do in Lightburn and click on Devices in the laser section and then Create Manually.
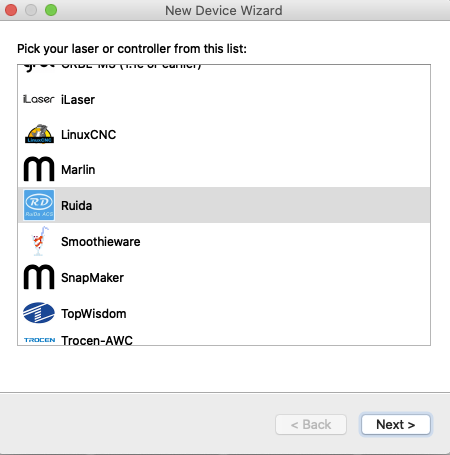
Add new Device manually (click to enlarge pics)
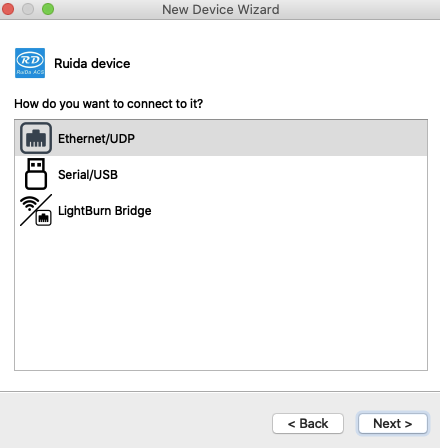
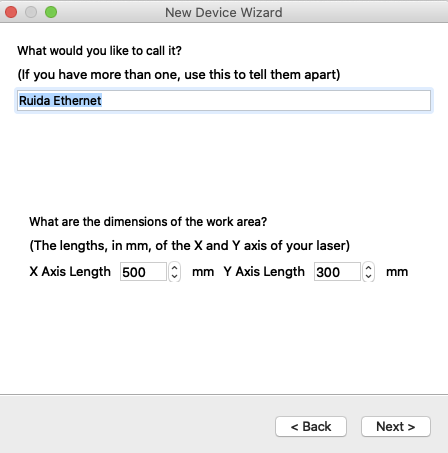
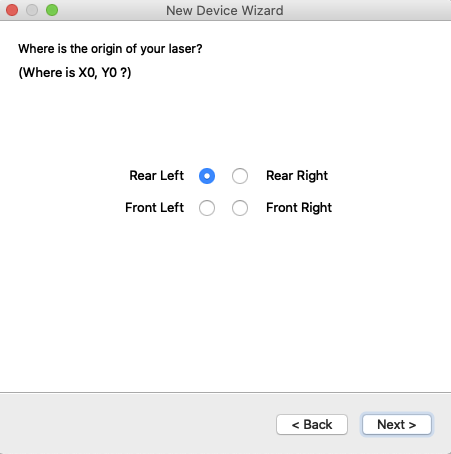
Now set up the following:
- Ruida
- Ethernet/UDP
- Set the IP of your MACHINE (not computer)
- Unique Name and Bed Size
- Laser Origin
- Review and Finish
Add Laser in Lightburn (click to enlarge pics)
Now your computer will communicate with the laser and the wifi connection will remain perfectly functional. As Val Halen sang……It’s the best of both worlds.

