
Foxwell BT630 600 Amp Shunt Battery Monitor Review
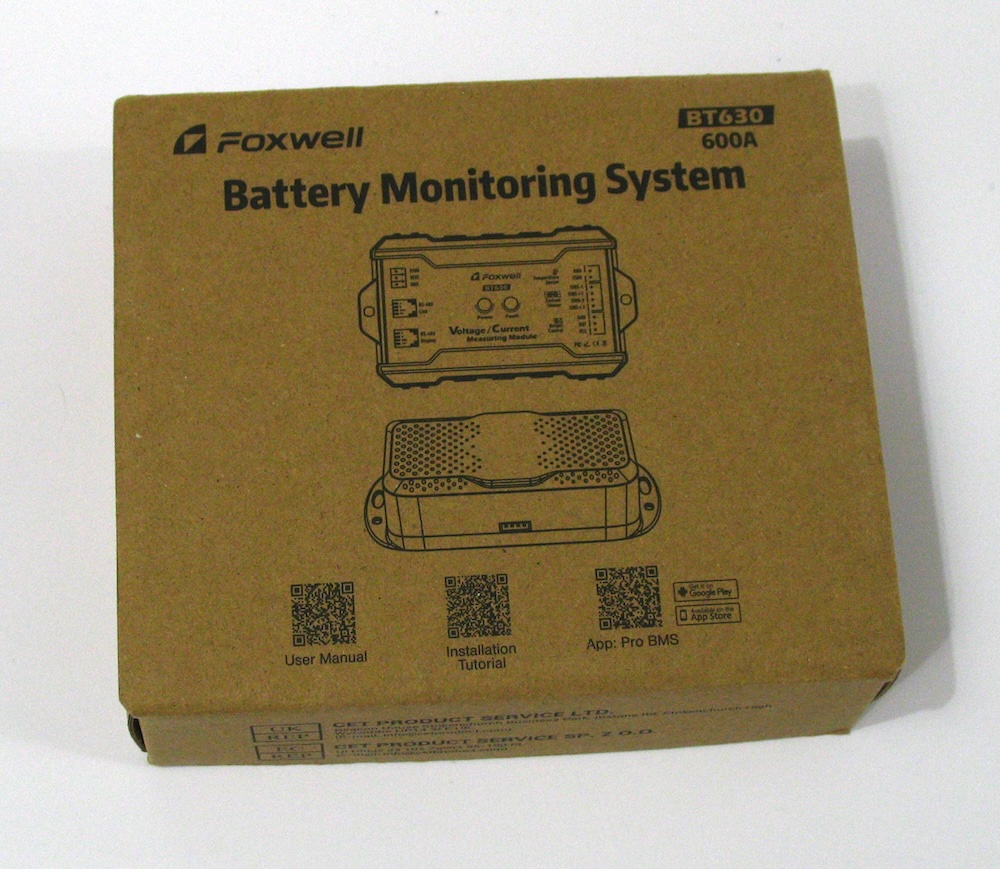
Next up on the review list is a Foxwell BT630, 600 Amp Shunt Battery Monitor (selling on Amazon)
This worked out really well because I have two solar setups at my house. I have a fairly large system with 3 – 100 Amp hour (Ah) batteries in parallel that powers my shed.
And I have a much smaller and portable board for a single or maybe two 100 Ah batteries. I had kind of a no name shunt on that board and this Foxwell BT630 was a welcome addition.
Foxwell provided me this Shunt for free but no other payment or requests were made by them prior to publishing. My goal is to shake down the product and maybe help them with the next version with some recommendations if I stumble across any.
Spoiler Alert: There is a recommendation that I’ll be mentioning later.
Research Materials
Obviously, you can view product information at the manufacturer’s website or by downloading product manuals. One of the best resources that you can find when doing product research is to check the FCCID database. If the item transmits (Bluetooth) it needs an FCC certification. An amazing amount of product material can be found in the FCCID database.
What Is In The Box?
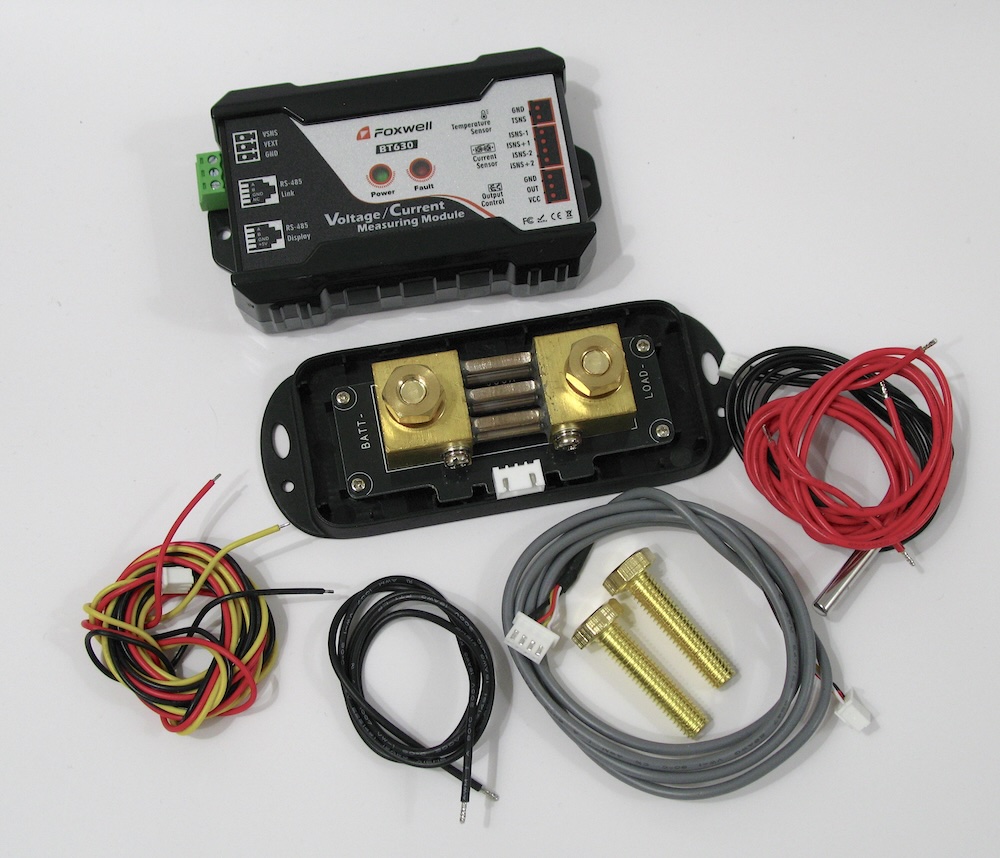
- 600 Amp Sensor
- Voltage / Current Measuring Module (Host)
- Temperature Sensor
- 3 Pin Connector
- 4 Pin Connector
- Positive Wire
- Negative Wire
- Power Supply Terminal
- Bolts (longer if needed)
- Manual
What’s Not In The Box
No mounting hardware is included for the Host and Shunt.
Additionally, there are no thick battery cables. This is okay because in my mind a Shunt is something you CAN add to monitor your system but is in no way required or mandatory to have on a home solar setup. In other words a shunt is something you add to improve your current existing solar installation. If however, you are building this up for the first time you need to factor in your other required components and cabling.
Specifications
I’m only going to list a few. You can see them all in the online product manual.
- 0 – 120 Volt Measurement Range
- Up to 600 Amp Current Measurement Range
- 99.6% Accuracy
- Temperature Measurement Range -20 ℃ to 120 ℃
- Bluetooth Range approx. 10 Meters
Comparison To Other Systems
I have used two different kinds of Battery Shunt devices previous to this. One is a generic shunt I bought that had a meter that displayed data and the other is a Victron Shunt with VRM system. Nothing wrong with either of those systems but total cost vs. features is where the Foxwell BT630 shines.
Let’s Hook It Up
1. Shunt Wiring
You have to decide how you want to hook this up. I’m using the VSNS setting so first ensure that the switch on the back of the host is set to VEXT. This will prevent damage to the Host.
VEXT = External Voltage (V_EXT). A term used by Victron for external voltage sensing.
VSNS = Voltage Sensing Pin (Vsns)
First of all you must connect the shunt on the negative line between the Battery and the Load.
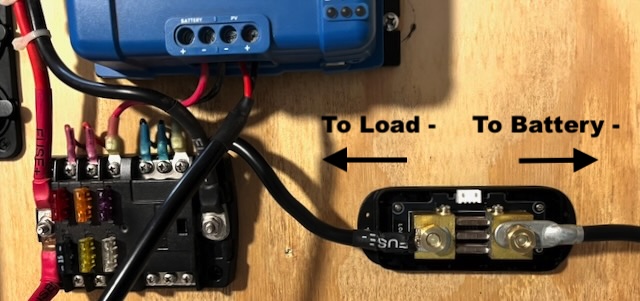
If you plan to install the cover you need to ensure that your wires run parallel to the Shunt. If not oriented like in the photo you’ll have to leave the cover off (not recommended) or modify the cover.
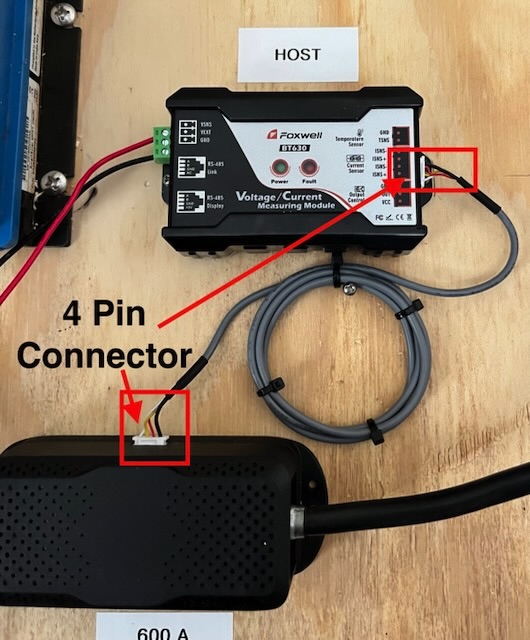
2. Connect Shunt to Host Via 4 Pin Wire Cable
3. Connect Host To Battery

I have connected my Host in the VSNS configuration. On the green power supply terminal connect the red (+) wire to the VSNS and the black (-) wire to the terminal marked GND (ground).
The other end of the red wire goes to the positive terminal of your battery, and the black wire goes to the negative terminal of your battery.
If you were wiring in VEXT mode you would use the 3 pin connector wiring harness that is supplied in the kit.
4. Connect Two Pin Temperature Probe And Attach To Battery
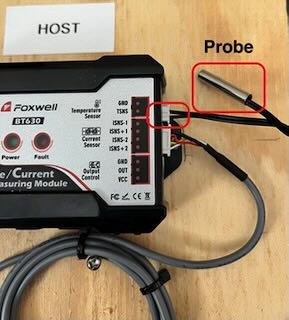
Just install the two pin connector above the 4 pin current sensor and attach the probe to the battery somewhere.
Now you are ready to connect your battery and begin monitoring your battery for maximum data and to sense and develop trends regarding battery state or degradation.
My Setup
Quick video of my solar configuration and operation of the BT630.
Recommendations
1. My first recommendation is to make the red and black power wires a bit longer in the kit. My recommended length would be to match the length of the temperature probe so it efficiently reaches the battery.
2. Add or make available for purchase an optional LCD display.
While the BT630 records all manner of vital battery data, that data is only displayed in the app. My generic shunt + monitor I mentioned above had an LCD meter. The display is for viewing critical data such as Voltage, Current, and % remaining. There is nothing like obtaining that data at a quick glance.
Having said that, most people probably have their solar rig mounted in a compartment in an RV or boat, garage or shed where you don’t have easy access to view that data making the app vital for obtaining the data. In my setup I have a small, portable board designed to charge a fan, a 12v refrigerator, some ham radio gear and a few lights during a power out situation.
Another place I use solar power is with almost all of my laser engravers and CNC machine. If you have ever had a power hiccup during an engraving or cutting session you’ll know that it could ruin your part being cut or engraved. The power isn’t going to hiccup on a solar setup. Again, having a gauge to visually look at your charge state before starting your project could be beneficial to some users like me.
So, anyway, my recommendation is to add an optional display monitor. Your mileage is going to vary here.
Should You Get One
Yes!. If you currently run a solar system either off grid or in an RV or Boat and do not have a Battery Monitor then this is a no-brainer. There are competitors out there but they all work about the same. Where the BT630 stands out is with the amount of features it has at a very reasonable price.
I’ve seen some people complain about a lack of instructions but their manual has very specific instructions with very easy to follow wiring diagrams. And remember when I told you about the FCCID database. Every single thing you want to know almost about the Foxwell BT630 can be found there.
And hey, the same people who complain about instructions have already built some kind of solar array, right? You can do it. I promise you can do it.
JOHN’S TECH BLOG THINKS THE FOXWELL BT630 IS REMARKABLE FOR THE PRICE!