
Accsoon TopRig S40 Review – Is It Worth It?
I have to say right away that I am NOT a professional photographer. And I don’t know much about this stuff. Anyway, I picked up an Accsoon TopRig S40 Camera Slider to try to improve my blog photos
and videos. A little motion, similar to the Ken Burns effect, really makes things pop when done correctly.
Camera sliders can be pretty expensive. I did a ton of research and landed on the Accsoon TopRig S40 partly due to some reviews I saw, and partly because the price was right at $249. I bought this with my own money. Most things I review here are sent to me.
First Impression
I already knew this going in but the Accsoon TopRig S40 does not come with a power brick or a battery. You’ll likely want to buy an NP-F battery at the same time you buy the S40. I did NOT do that and ran mine off of a bench power supply for a few days which worked fine. I bought a couple of 2900 mAh batteries on Amazon which work great.
After power up the first thing you do is a calibration run. The slider allows you to set an A and B point to select the exact amount of travel you want for your film. I initially thought that when the calibration stops that you can set the A point.
You can’t. Or more accurate to say I didn’t know what I was doing. I contacted Accsoon and they responded to me quickly and asked for a video. They also let me know that if anything was determined to be wrong that they’d replace it quickly. Wow! I provided a video and they came back and gave me this information:
A&B Setting Directions
Method 1: Manual AB Point Setting (refer to Video 1) Power on the device by pressing the power button, then press the start/stop button to begin auto-calibration. After calibration, manually slide the rail to the first desired position and press the “AB Point Set” button (indicator A will light up). Slide the rail to the second desired position and press the “AB Point Set” button again (indicator B will light up). Press the start/stop button to begin normal operation between points A and B.
Method 2: Automatic AB Point Setting (refer to Video 2) Power on the device and press the start/stop button to begin auto-calibration. After calibration, turn the speed adjustment knob to a lower setting. Press the start/stop button to start slow movement. When the rail reaches the first desired position, press the “AB Point Set” button (indicator A lights up). ⚠️ If you need to set the rail’s endpoint as point A, quickly double-press the start/stop button instead. Press the start/stop button again (you may increase speed now). When the rail reaches the second position, press the “AB Point Set” button (indicator B lights up). Press the start/stop button to begin operation within the set range. Please feel free to contact us if you have any further questions.
This video tells the story a little better:
After they responded to me with the correct procedures I emailed them back and basically said, “That should be in the manual.” And they wrote back and basically said, “Thanks, good idea”.
So already, it is all good as far as communications and technical support goes. I also let them know I was going to blog about the S40 and they were very supportive of that and asked to be kept in the loop.
Quick Examples
It really adds a great effect to what could otherwise just be a boring photo.
There are a lot of ways to use this as well. In the video above I was panning right to left. In the video below I was running the camera in a backwards and forwards motion.
At the beginning of this next video I mounted the Accsoon on a tripod in a vertical manner and ran it in a down to up motion. Very flexible.
I know there are a LOT of people who can do this way better than me, but I’m pretty content with my progress. This also inspired me to buy one of those compressed air dusters to keep the dust bunnies at bay. I already had a small backdrop kit. My “studio” is pretty humble, but it gets the job done.
Features
- Quiet – The S40 is remarkably silent. No motor noise.
- Variable Speed from 0.1 cm/s to 5 cm/s
- Holds a 4 kg horizontal load
- Holds a 2.5 kg vertical load
- Has an IOS and Android app
- 7.4 – 16.8 voltage range
- 225 mm travel
- 1.4 kg weight
- Adjustable legs for stability
- Spare belt included
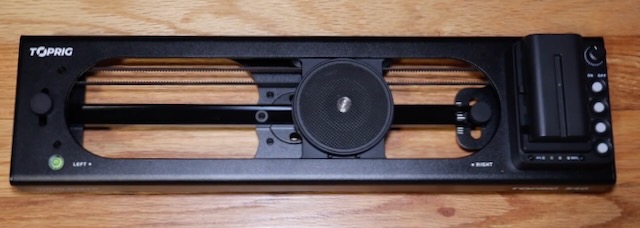
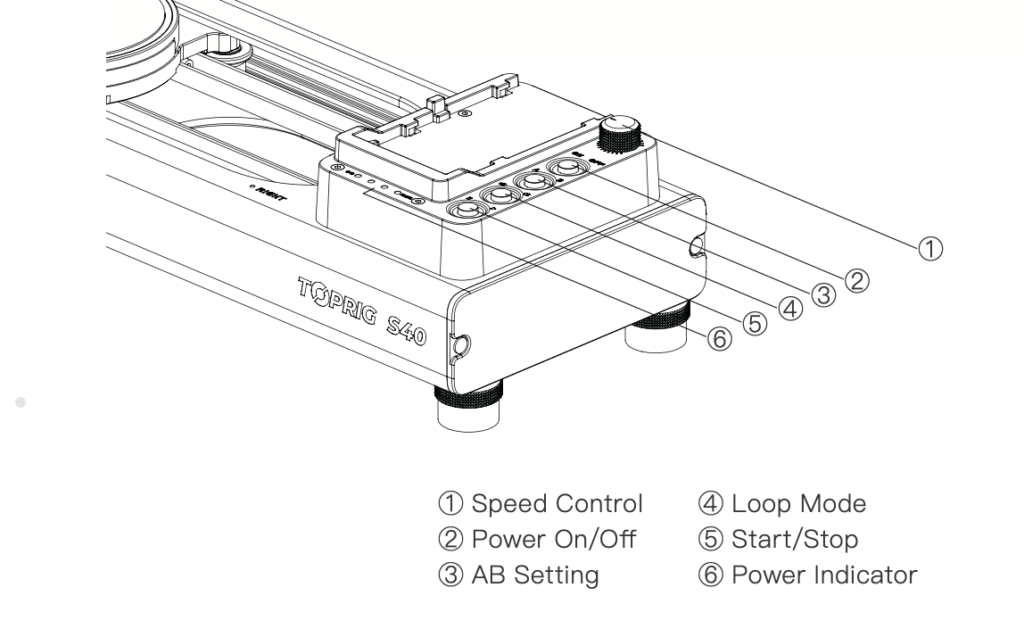
Controls
Controls are basic and intuitive. I snipped this from the product manual.
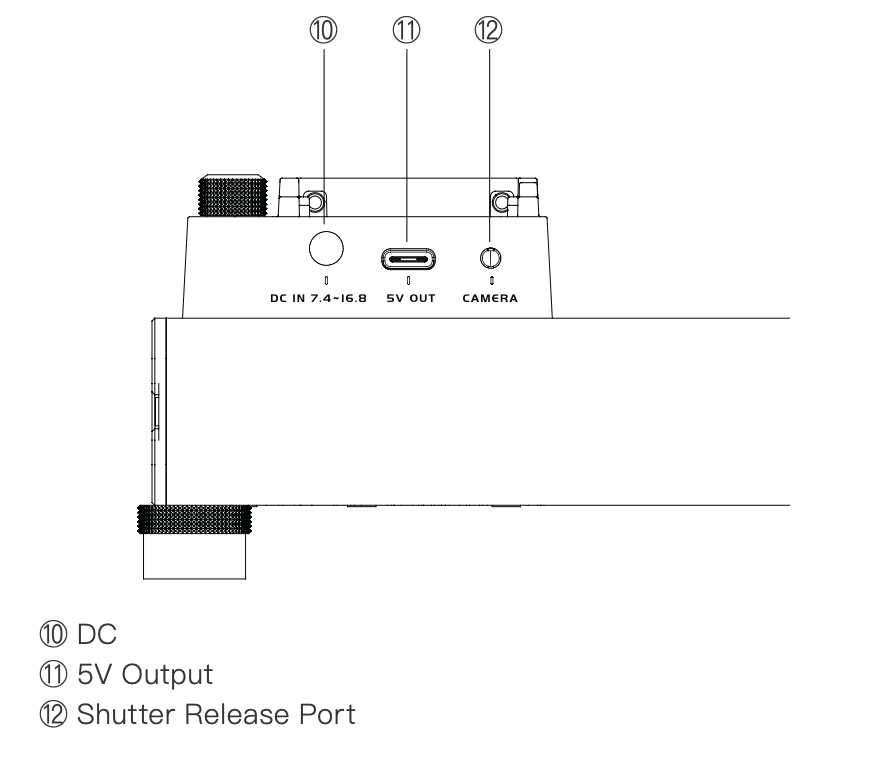
Additionally, there is a DC input, a 5v DC output, and a shutter release connection.
Video Tour
And here is a wrap up of a few items I haven’t yet discussed.
So, Is The Accsoon TopRig S40 Worth It?
You betcha it is worth it. Every penny. I feel like it has upped my game but I also have a lot more to learn about this exciting tool and how best to deploy it and WHEN BEST to deploy it.
If you are trying to add a little pop to your social media content then the Accsoon TopRig S40 is absolutely for you.
Thx for sharing, John!