
Heltec V4 Meshtastic Review
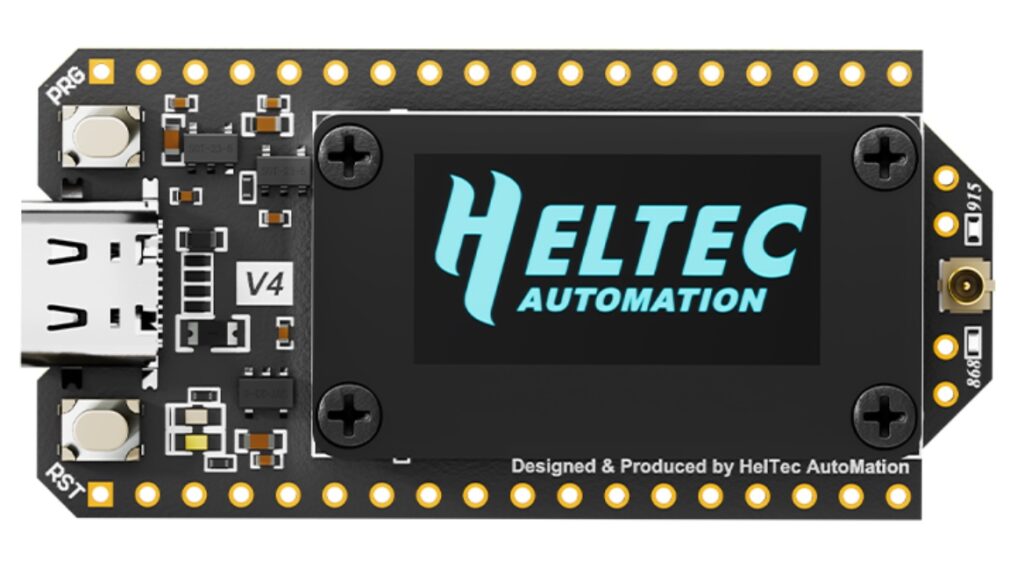
I’ve recently rediscovered Meshtastic and have built up several nodes in the past week. It’s not that I need more of them, I just enjoy testing the various boards. In this entry we’ll be looking at the Heltec V4 Meshtastic LoRa 32 board. In my opinion this is one of the better boards for installing in a solar fixture.
It seems like the latest crop of Meshtastic boards are designed to integrate easily into solar fixtures. The Heltec V4 is no exception. It comes with everything you need for a solar installation.
- Heltec V4
- 2 cables with JST terminations. One for solar, one for lithium battery.
- Antenna
- Pin Headers
The Heltec V3 and V4 are nearly identical however the V4 has higher transmit power.
Flashing
You must use a Chrome based Browser (I think Edge works too) to flash the Heltec V4. The web flasher is located here. Simply attach the V4 to a computer with a USB-C cable. There is a button to Auto Detect the board and it suggests the latest Beta version of the firmware to load. Then you just hit flash and then reboot.
Once rebooted you can connect to the Meshtastic Client app either through the USB-C serial connection or via Bluetooth. More about Bluetooth a few paragraphs below.
A Closer Look
Heltec V4 Front and Rear (Click pics to enlarge)
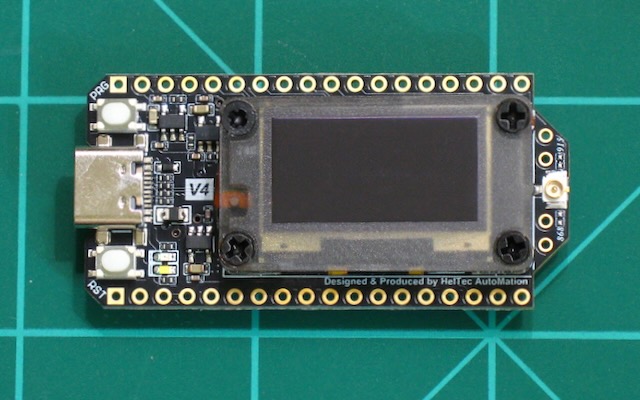
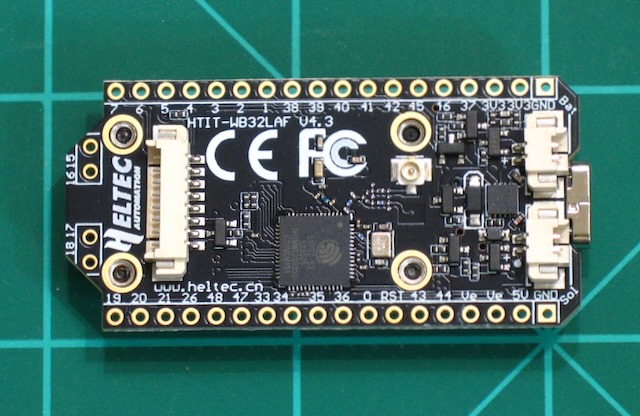
Of note is the USB-C connector for charging or configuring. There is also an OLED screen, a LoRa antenna connector and two buttons (User and Reset). On the reverse side there are two JST connectors. One is for the solar panel, and the other is for the Lithium battery. The board has a Battery Management System (BMS) and the V4 data sheet says the following: “Optimized lithium battery management.”
On the other end of the reverse side is an 8 pin GPS connector. The recommended GPS module has a Quectel L76K chipset.
Quectel L76K GPS Module (Click pic to enlarge)
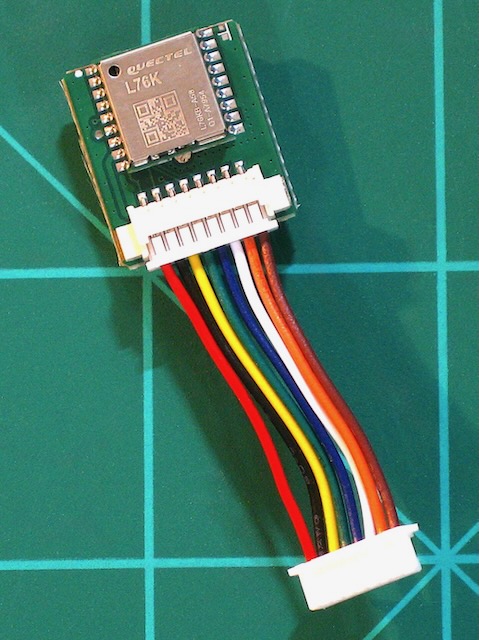
It comes with a 45mm long cable that connects directly to the Heltec V4 8 pin connector. Also depicted is the stock antenna.
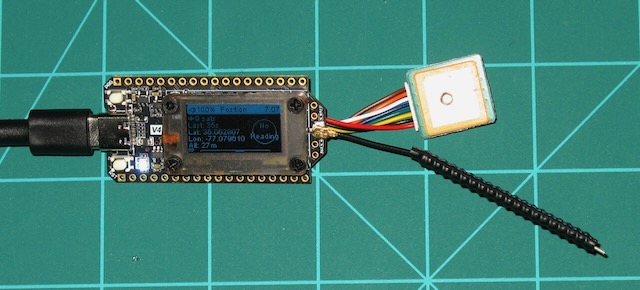
I think if you have a lower capacity lithium battery it might not be wise install the GPS module in the interest of battery longevity. However, there are some settings to reduce the battery drain while the GPS is active. If you mount it in a solar fixture it isn’t going to be on the move anyway. And you plain old might not want to provide your GPS coordinates to the free world.
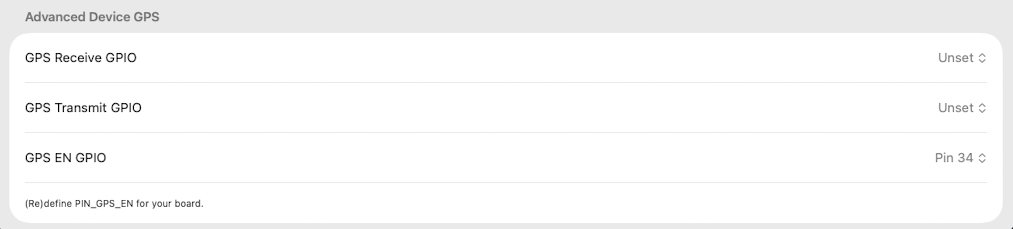
If you attach a GPS make sure to NOT configure the pins under Settings > Position to map to a GPIO pin. The Meshtastic firmware already contains the correct pin mapping. Keep these defaults.
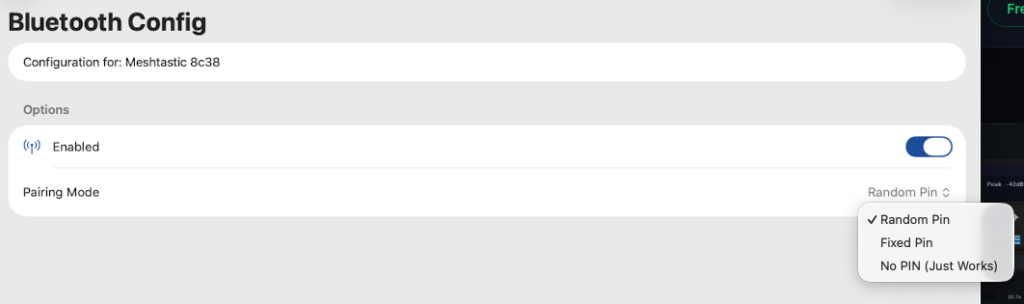
Bluetooth Code – Heltec V4 Meshtastic Client
Because there is a screen on the Heltec V4 the default setting is to throw a random 6 digit code to pair with a Meshtastic node (phone, tablet, computer, etc.). Once you button up the V4 in a solar fixture you can no longer view the screen without opening the case. Also, you can set a fixed pin or set no pin.
Wrap Up
This is one of two boards for Meshtastic that I recommend. The other is the Heltec T096 which I reviewed here. The reason for my choice is the ability to easily incorporate either board into a solar fixture project. Both boards have Battery Management Systems (BMS) which properly maintain charging on Lithium batteries. Unmanaged charging systems are dangerous.
I strongly recommend the Heltec V4 for your Meshtastic node project.