A couple of years ago I bought an old set of Bose 501 speakers. Audiophiles poo-poo Bose speakers but the truth is way back in the 70’s they made some decent speakers and the 501’s were one of them.
However 40 years of sitting around tends to dry rot the foam surrounds on the speakers.
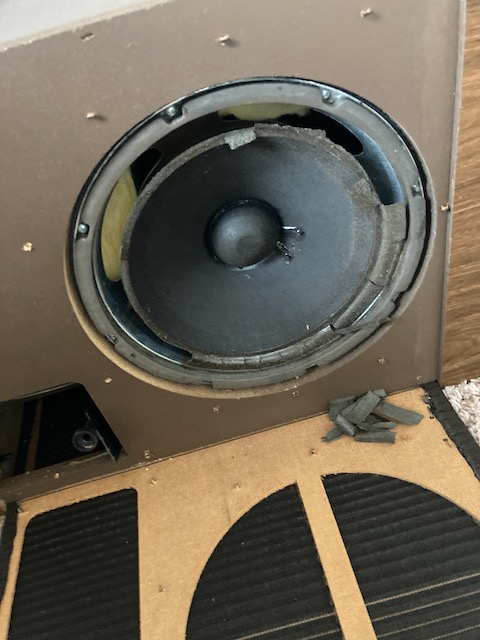
Dry rotted Foam Surrounds on Bose 501
Yep, that’s what both of the speakers looked like. And they sounded worse than they looked as well. Actually they would sound okay at super low volume but as soon as you turned them up …….they sounded awful.
So what you need to fix them is a speaker foam repair kit. Fortunately for me they make specific kits for the Bose 501 (among many other brands and models). If you have an obscure speaker you may have to meticulously measure the speaker and work with the folks that sell the kits to find something that works.
I was able to purchase this from Amazon from a company called Simply Speakers. The kit was $25 which is a bargain as far as I’m concerned.
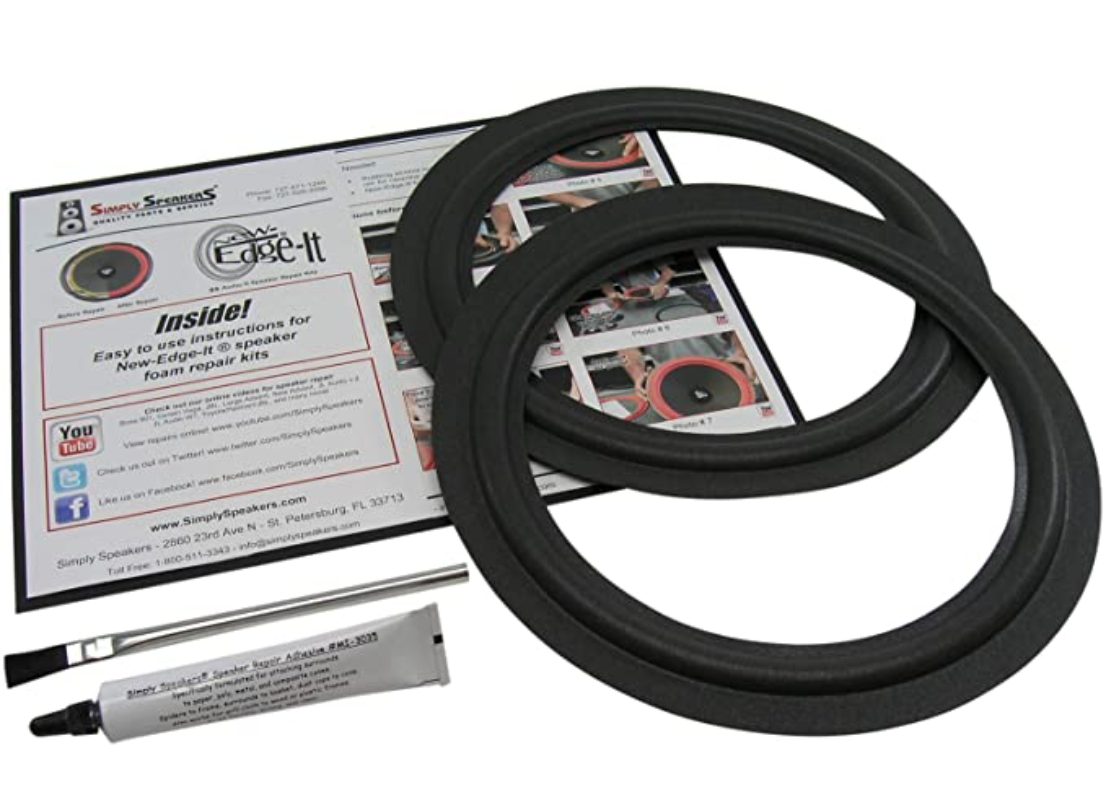
Bose 501 Refoam Kit
It consisted of 2 foam surrounds, what seemed to be model airplane glue, and an acid brush and of course directions.
Before you get started you should METICULOUSLY remove all the old surround material and glue from the speaker. The darker areas of the speaker are from me wiping down the old glued areas with isopropyl alcohol, which subsequently dried up later.
Take your time here. It’s easy to cause damage with a sharp instrument. Gently scrape all the old surround and glue off of the speaker cone and then gently and barely wipe those areas down. Look at all the stuff I scraped off of one speaker in the picture below.
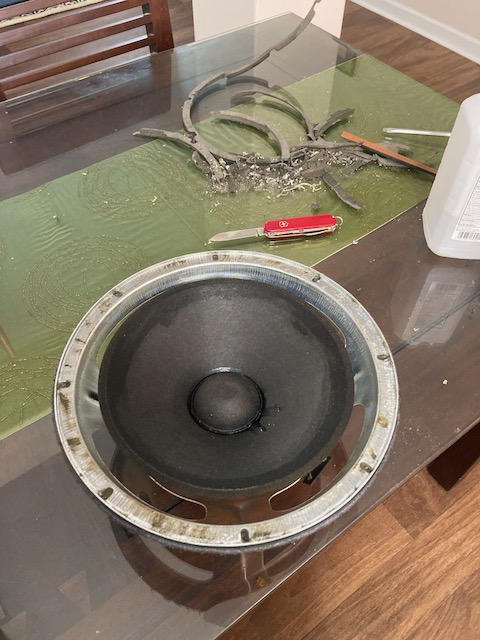
Cleaning process
If you look in the pile of rubble above there were these thick spacers (that were also dry rotted) that were glued over the foam surrounds. I did a live chat with a guy at Simplyspeakers.com looking to buy the spacers. Rather than sell me a set he told me they were just cosmetic and weren’t necessary. In my mind that is good customer service. He could have sold me something yet he didn’t.
Once cleaned up you run a LIGHT bead of the glue around the outer edge of the speaker.
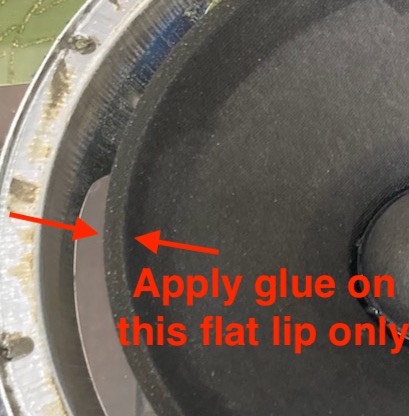
The top of it is flat and then it goes down at an angle all the way around. When you lay the new foam surround down you want to line the inner circle up on that perfectly round edge. It’s not hard to do and you can use your finger to gently work it around spinning the speaker as you go. The glue won’t set for 5 or 10 minutes so you can GENTLY work it around. Also if you got a drop too much in 5 or 10 minutes after it sets it will ball up and you can pluck it off and it makes for a NICE, CLEAN installation.
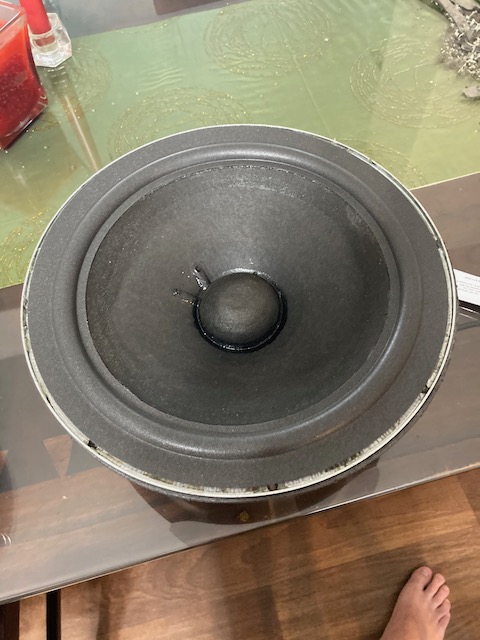
Foam inner circle glued in
Sorry about the foot!
At this point you are probably tempted to just glue the outer ring down, and in fact the instructions basically tell you to do that and they tell you to feel around to make sure the voice coil is centered and not rubbing.
Yeah, well, I have never done this before and I CAN’T TELL if the voice coil is rubbing.
So what you do is take your cell phone, hook it to the stereo with a 1/8″ to RCA Y cable and then hook the speaker to a speaker output jack. TURN THE VOLUME DOWN LOW………and then get a Signal Generator app on your iPhone. You want to shoot a 50 Hz Sine Wave signal through the speaker. If the voice coil is rubbing it will become apparent.
Here’s a video on that process.
[kad_youtube url=”https://youtu.be/xMbjSPm8WF8″ ]
And finally a video of it after it was glued in and testing it.
[kad_youtube url=”https://youtu.be/ImWxDkRE51o” ]
And hopefully I will get another 40 years out of these speakers.

Thanks for the tip about the tone generator–worked like a charm.