
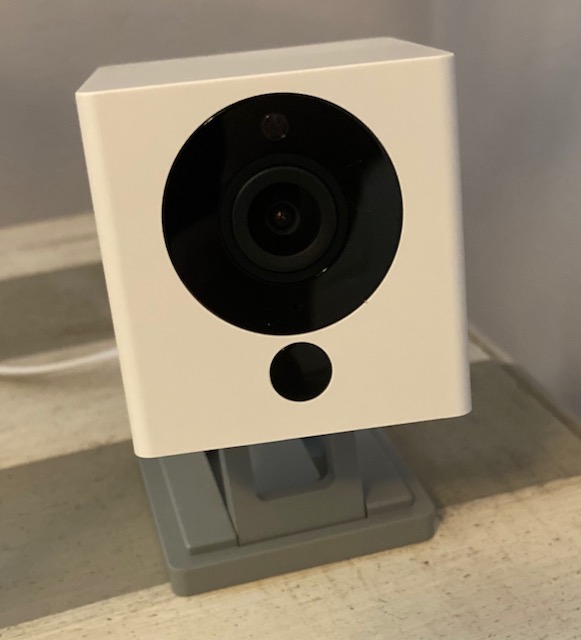
Wyze Cam V2
This is the latest toy I’ve been messing with. This is the Wyze Cam V2 indoor camera. I typically link things like this to Amazon but you can pick these up at HomeDepot for about $25 which makes them a bargain.
Much like every other smart device they are controlled by their own app. Before you know it you have an app for the doorbell, one for lights, and another for cameras, among a multitude of other devices. Apps, apps, apps.
When I buy smart devices I like to make sure they are compatible with my home automation system which is Home Assistant. Well the Wyze camera can be pulled in however you have to use what is called a Real Time Streaming Protocol or RTSP stream.
Here’s the bad news. Right out of the box the Wyze V2 does not support RTSP however, Wyze does offer a beta firmware that enables RTSP.
Once enabled you can then take the address from the app and cut and paste it into Home Assistant.
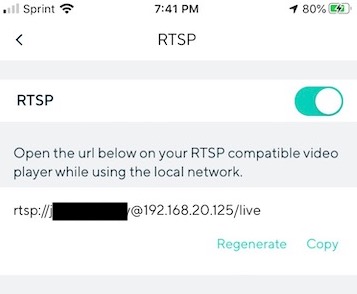
RTSP feed address in Wyze App
Also you could take the RTSP address and play it in VLC.
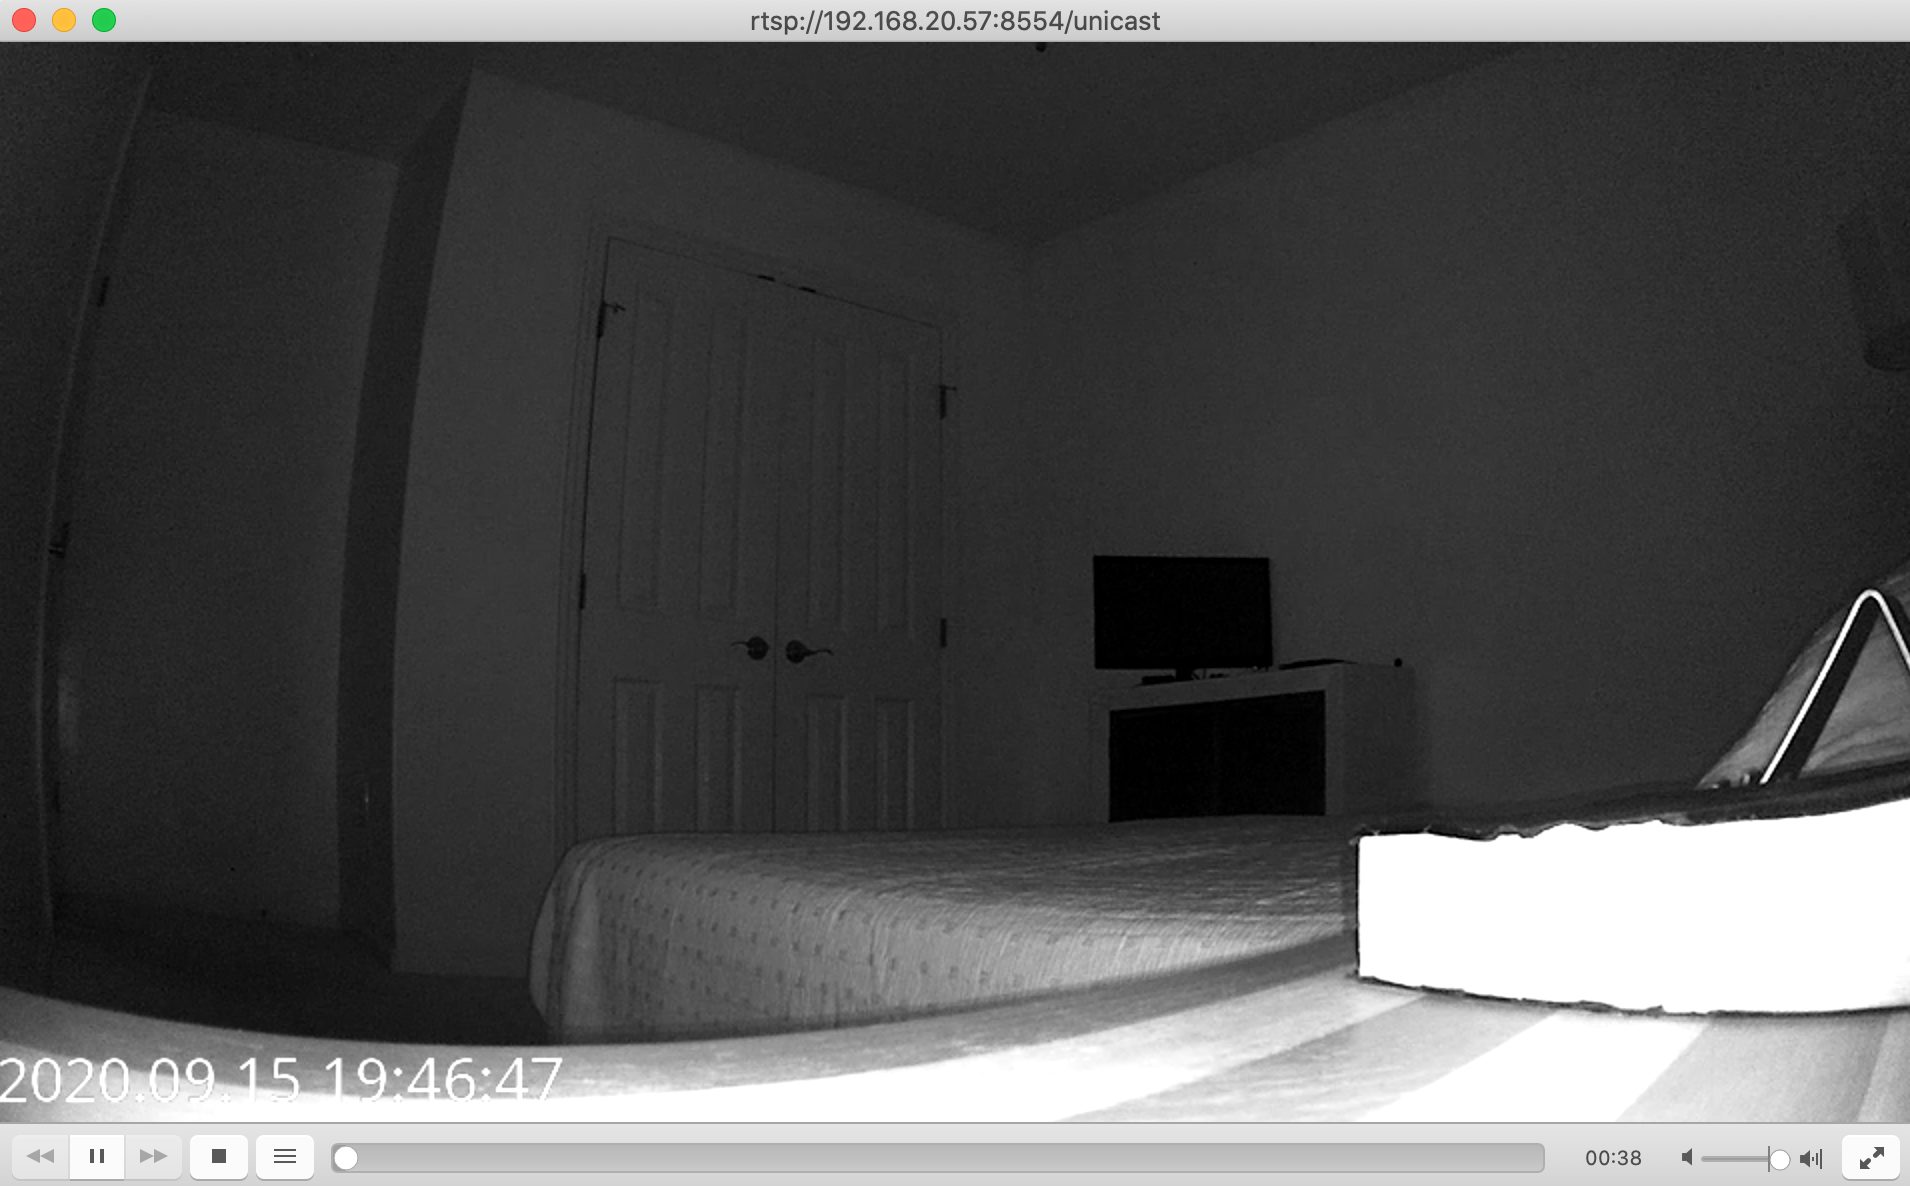
VLC displaying RTSP feed.
And you can even bring a bunch of steams in FROM ANY CAMERA THAT DOES RTSP.
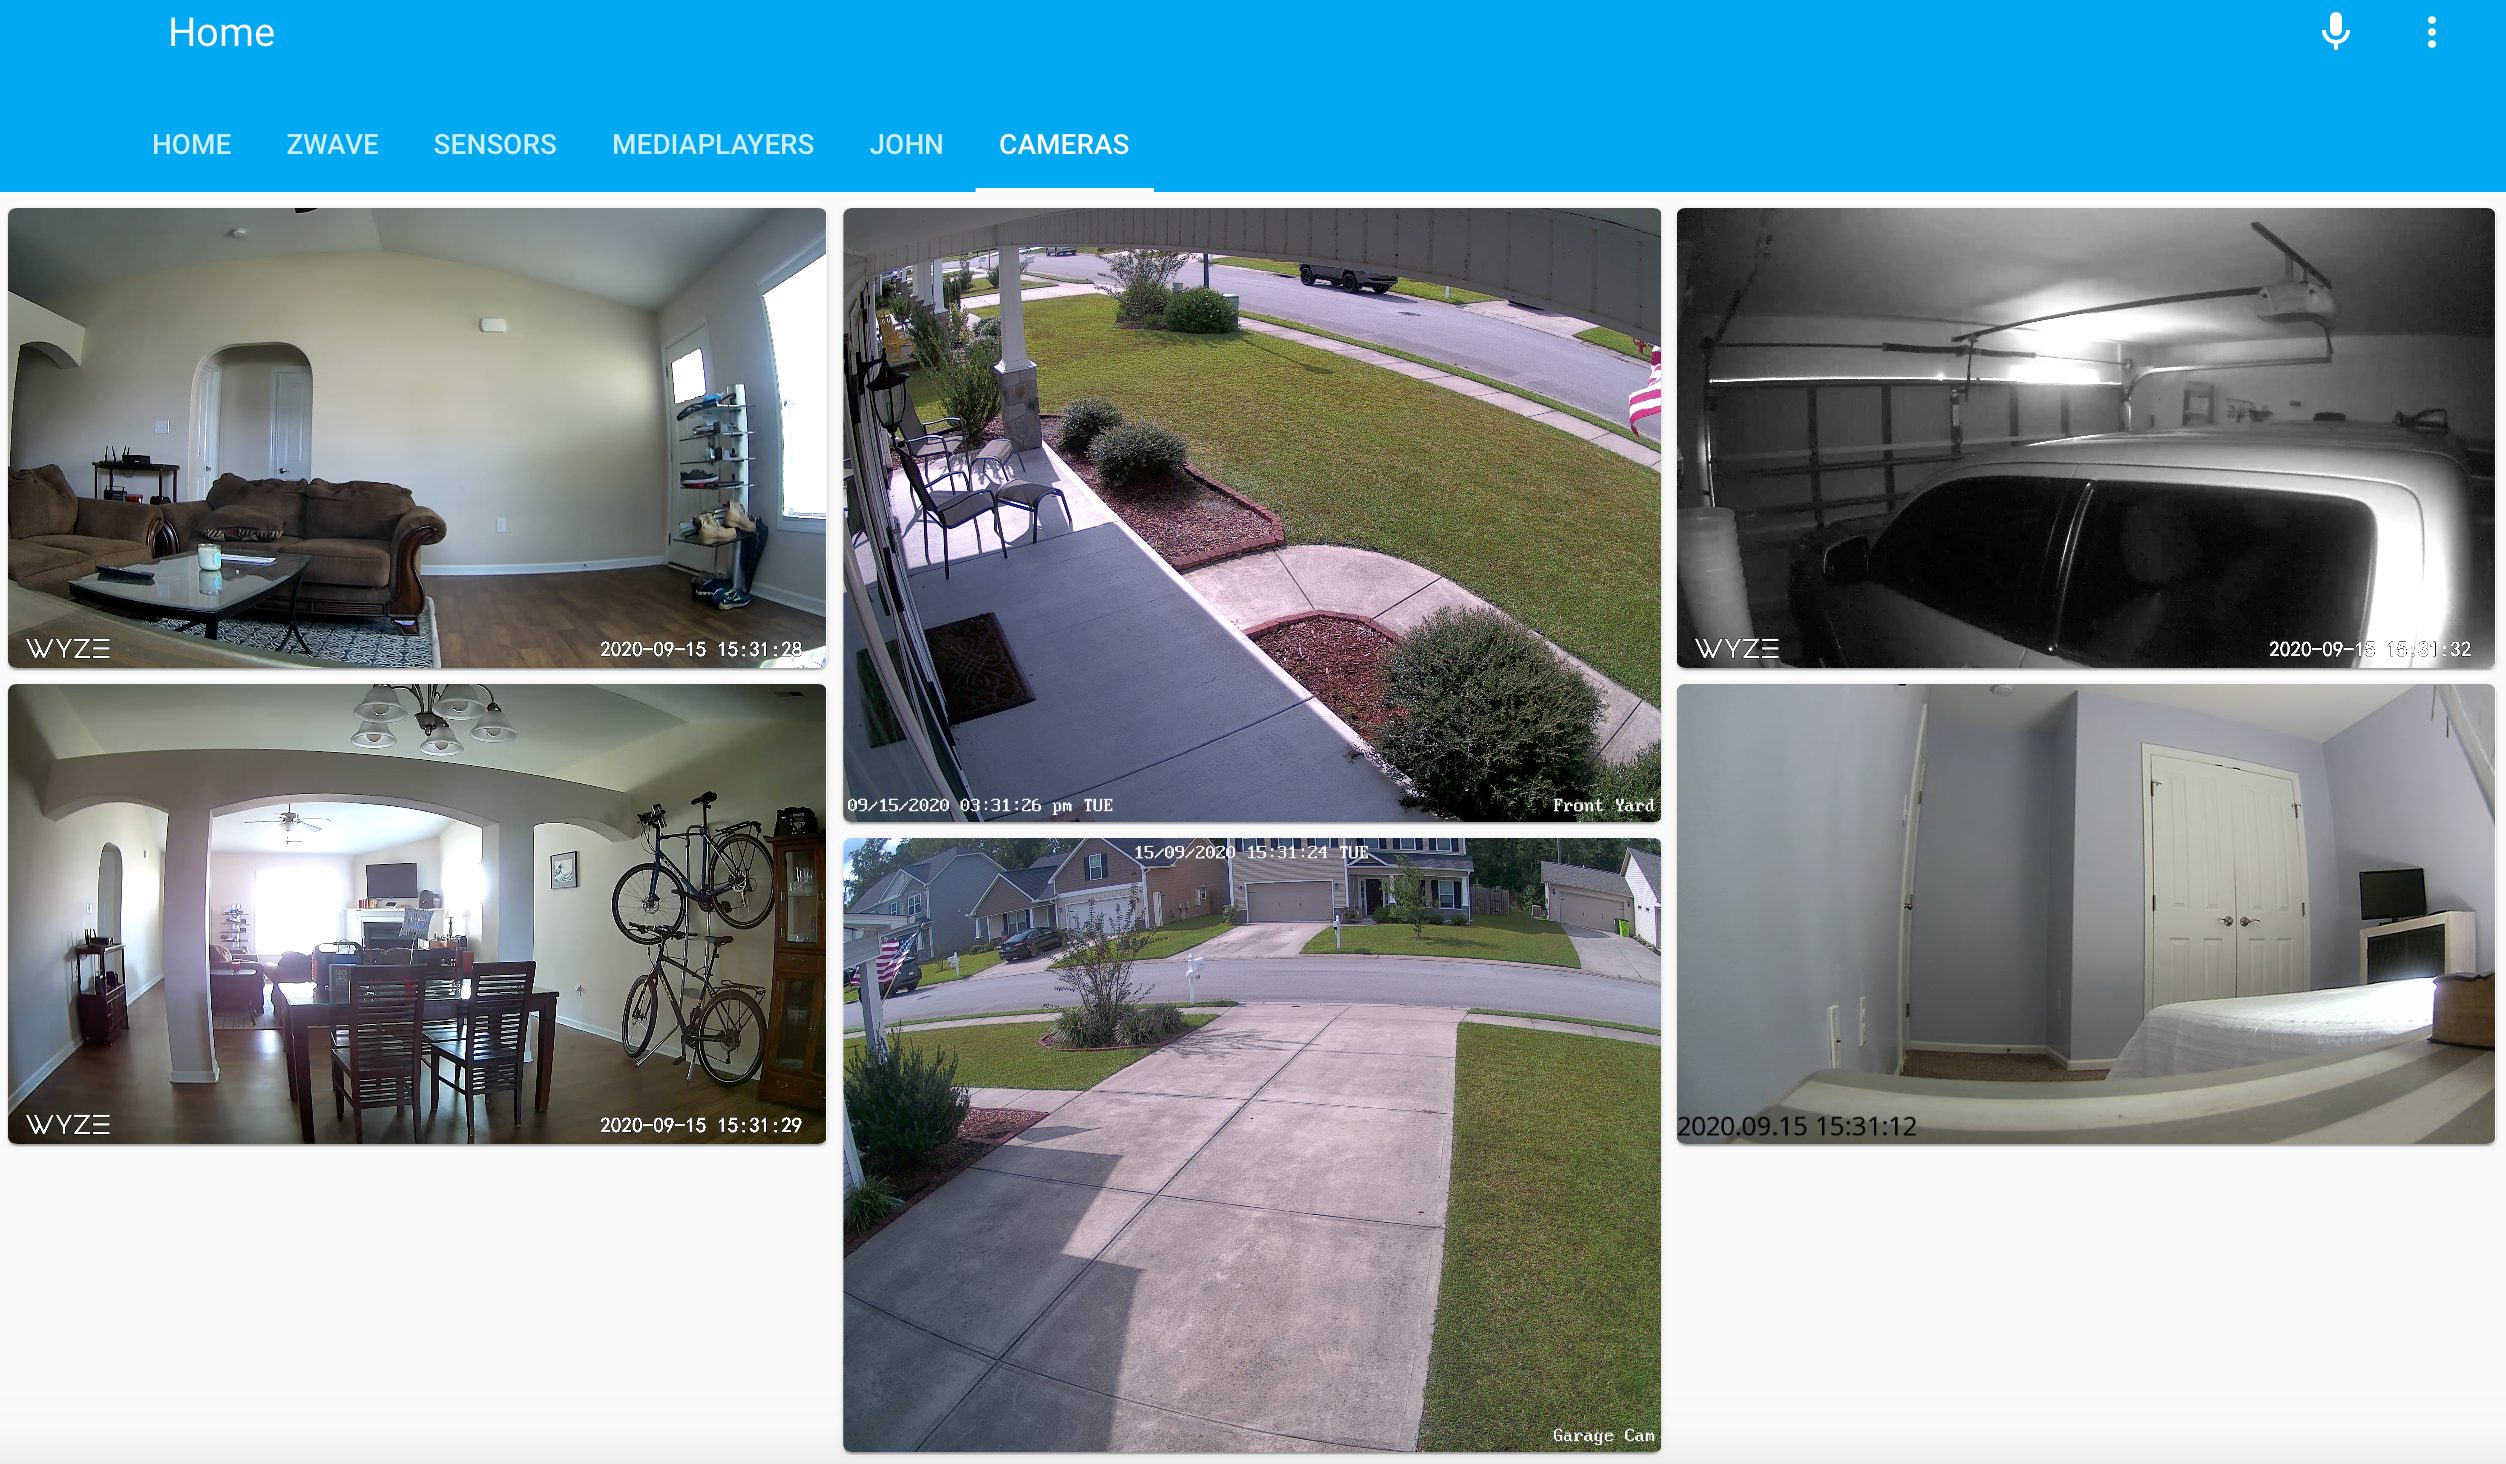
Home Assistant Displaying RTSP Streams
Wow! That is powerful. So let’s kind of back up and summarize before we move on.
- You can use the camera out of the box to view live streams. You can set up motion and sound alerts which will display notifications on your smart phone. Wyze seems to give you 14 days of free Cloud service but I’m guessing that after 14 days you pay for the notifications and the ability to record and store those recordings.
- With RTSP firmware you can view your streams in software like VLC or Quick Time or other media players or import it to your home automation system. You also have the same issues with the Cloud based servers where you’ll probably have to pay.
- Although I haven’t mentioned it yet, both of these methods seem somewhat insecure. Your camera feed is internet based and viewable from anywhere on an app. Trust me, if it is out there, somebody can see it, even if it is employees at the camera company (this goes for ANY camera company).
So it is IDEAL to be able to turn off the internet connection so the cameras only function on your local LAN. With this method you have to set up a Virtual Private Network or VPN to connect to your LAN from anywhere. Yes, this is another layer of geekiness but it is well worth it and MOST ROUTERS HAVE CONFIGURATIONS FOR VPN’s. It is really not that difficult and increases your security A LOT.
So, what is a geek to do? You can install yet another firmware called “Dafang“. Directions for flashing the firmware are on that link. The real claim to fame with Dafang firmware is that it disconnects you from the internet, works solely on your local LAN and it has a cool feature detecting motion and then sending you an email with a series of photos based on an interval you determine (i.e. I use 3 photos at 2 second intervals.). Default settings are 5 photos at 5 second intervals.
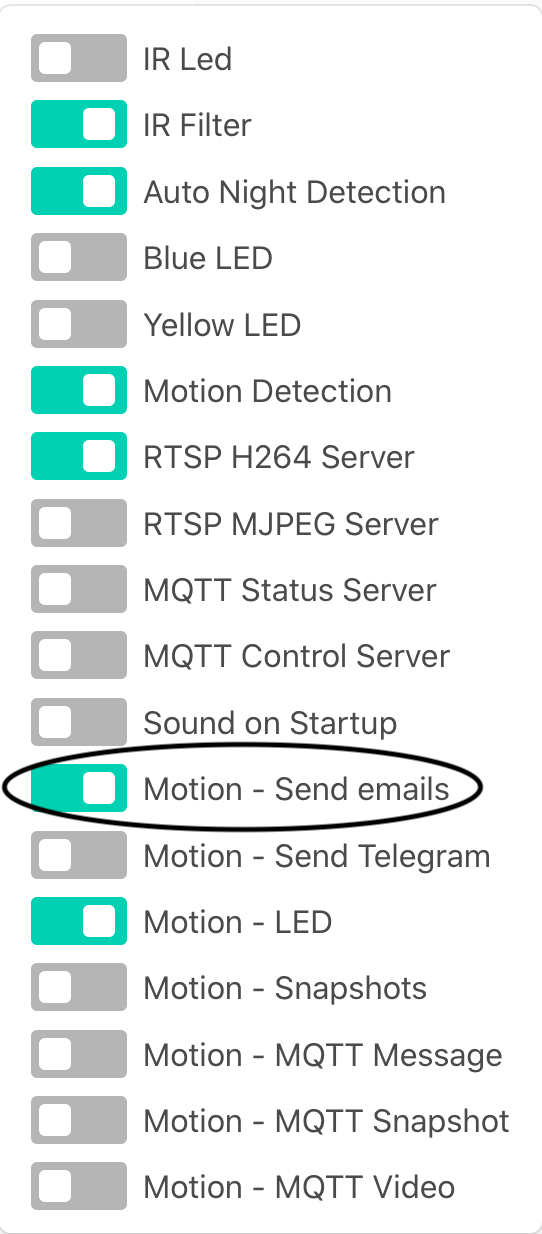
Send Email setting in Dafang firmware
Before you switch that on you have to configure a file named “sendmail.conf” on the SD card in the following directory:
/system/sdcard/config
Here’s what that file looks like. You have to add your email credentials (SMTP) to the file. It is actually pretty easy to configure for gmail. You should just be able to add your username and password to the file. I used my own mail server in the example below.
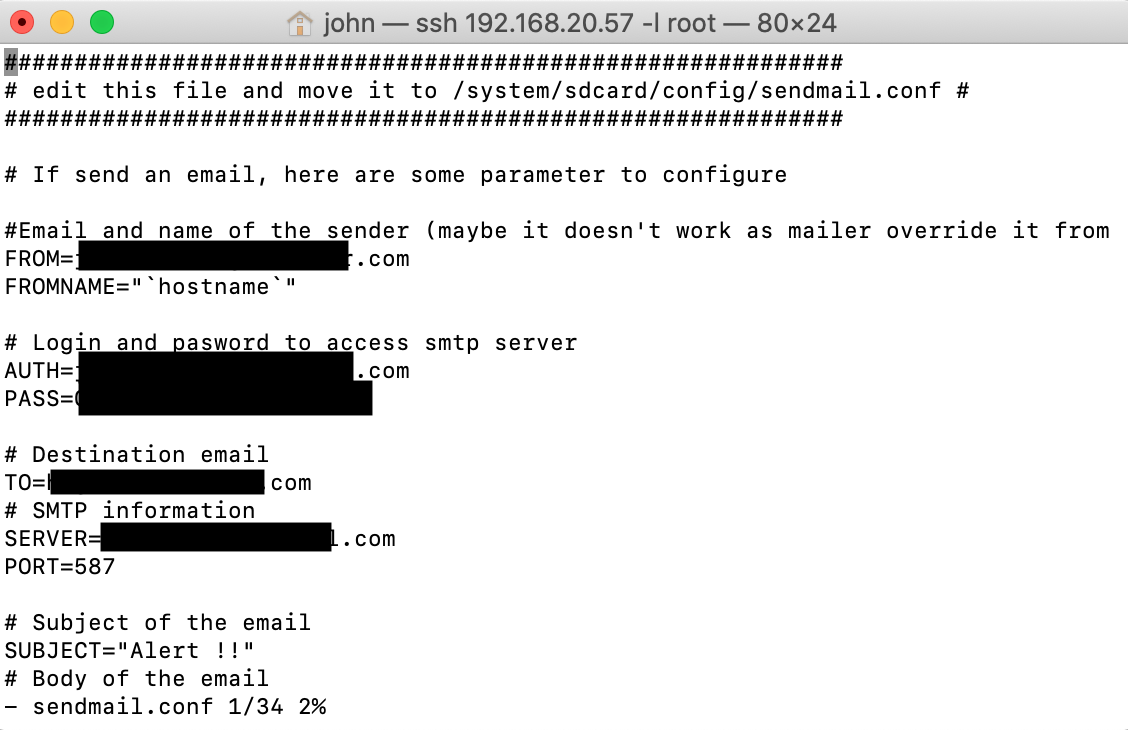
sendmail.conf
Again mine fires off 3 pics in 2 secs. This is the alert I just got by turning the light on and simulating a little motion.
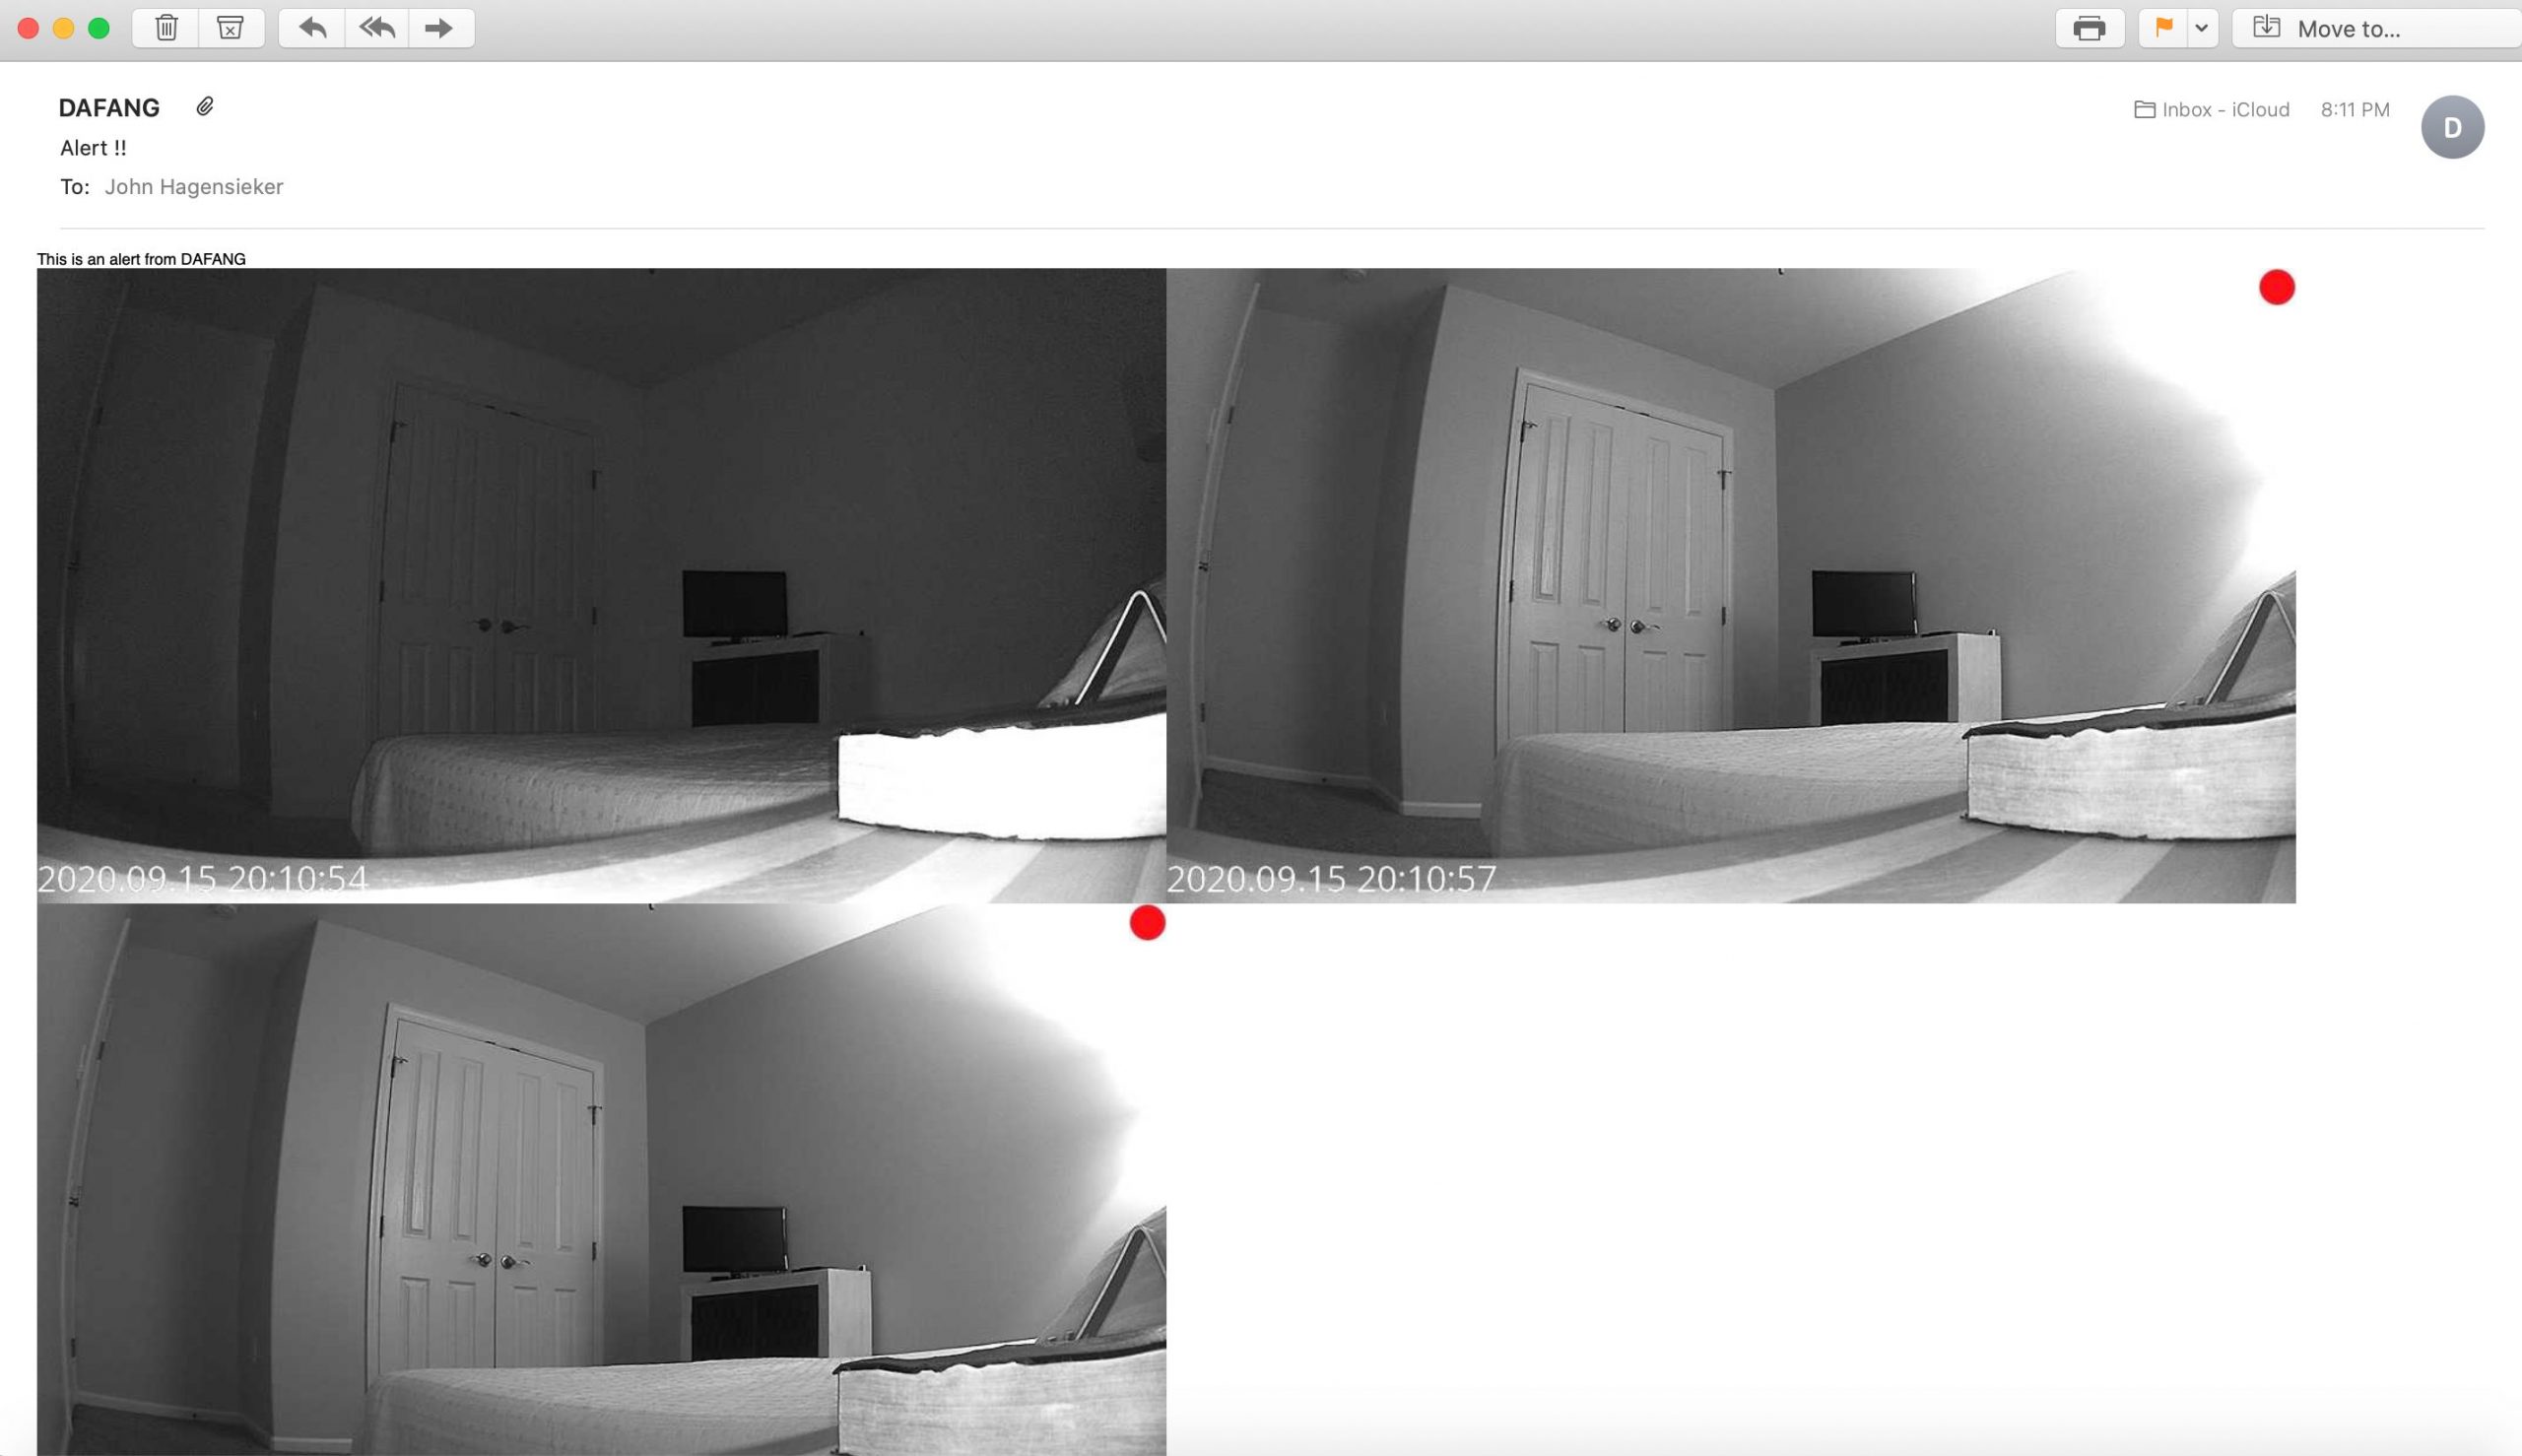
Dafang Alert Email
Having photos emailed is more useful to me than capturing video actually. The photos above are from my guest room. Nothing should ever be moving around in there except me once a week or so with a Swifter. Anything in there moves I want its picture, a good picture, and an instant email notification.
You can also set up the Dafang firmware to record to the SD card upon motion detection but just as you had to hack the sendmail.conf file to send an email you have to have a script file. So it isn’t as simple as clicking a box or toggling a button but hey, if you are hacking cameras with custom firmwares this is right up your alley. I of course DID NOT DO THIS. I found this procedure here. Essentially all you do is make a script file and then call it from the detectionOn.sh script. The name of the file is record.sh and will be located in the /system/sdcard directory.
#!/bin/sh
# Only record between those hours
HOUR=`date +"%H"`
if [ "$HOUR" -lt 1 ] || [ "$HOUR" -gt 7 ]; then
  exit 1
fi

# Delete anything that is not from today
DAY=`date +"%d"`
/system/sdcard/bin/busybox find /system/sdcard/DCIM/ -type f -not -name "`date +%Y-%m-`${DAY}*" -delete

STATUSFILE=/system/sdcard/recordstatus.txt
if [ -f $STATUSFILE ]; then
  echo "currently recording" >> "$STATUSFILE"
else
  echo "recording" >> "$STATUSFILE"
  /system/sdcard/bin/avconv -flags low_delay -fflags nobuffer -probesize 32 -i rtsp://0.0.0.0:8554/unicast -strict experimental -t 10 -y -vcodec copy -an /system/sdcard/DCIM/`date +%Y-%m-%d_%H.%M.%S`.h264
  echo "Recording `date +%Y-%m-%d_%H.%M`" >> /system/sdcard/recordlogs.txt
  rm "$STATUSFILE"
fi
Then open the detectionOn.sh file located in /system/sdcard/scripts and add the following line:
/system/sdcard/record.sh &
Then make sure motion detection is enabled and I rebooted. Not sure you need to do that but I did. Sure enough it started making h264 video files.
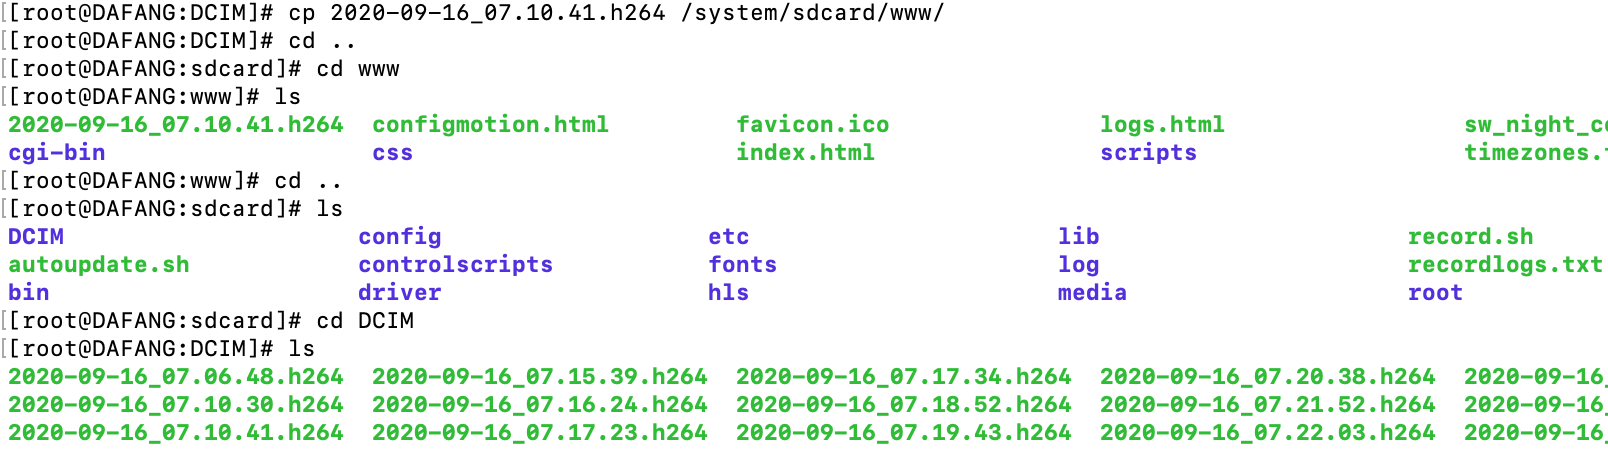
Dafang Recording Script
You may notice that the top line of the screenshot above contains a copy command to move the video file to /system/sdcard/www/
You can then point your browser at http://yourIPAddress/nameofthefile.h264 and you can download the file. It’s not super plug and play but if a badnik was in your bedroom ……….YOU GOT HIM!
And you can also set up an app called Telegram to send you notifications of motion events. The cool thing about Telegram is YOU CAN SEND COMMANDS TO THE CAMERA FROM THE APP. Here’s an overview of how to set it up.
[kad_youtube url=”https://youtu.be/73euzmEPkr0″ ]
So to summarize this:
For FREE you have LOCAL STORAGE OF VIDEO EVENTS. No fees, no outside internet access, and no cloud. You can stream with RTSP protocol and you also have to ability to email yourself motion detection photos or receive app notifications…………All this in a $25 camera! You have got to be freaking kidding me.
I REALLY LIKE the Dafang firmware except for one thing. When I import the Wyze RTSP firmware stream into Home Assistant it has maybe a 2-3 second lag. In other words…….it happens and then 2-3 seconds later you can see it. For some reason the Defang firmware has a longer lag time. Maybe 6-7 seconds. The lag is probably not the camera and rather the low power Raspberry Pi 3 I’m using. Pulling in 4 or 5 video streams sure slows things down.
However if you view the RTSP stream in VLC there is essentially no lag. Good clean video that seems instantaneous.
So the only beef I have is that Dafang has latency in Home Assistant with Raspberry Pi. So I can see a live feed with no lag, as it happens I just have to view it in VLC. Regarding the motion detection and subsequent email, that happens very quickly. While it probably takes a few seconds to process three fairly large photos and email them the software gets busy on it as soon as the motion is detected. Any slowdown is from your sendmail program and not any network latency.
Ultimately how I overcame this was that I installed a program called Motioneye on one of my Linux servers and run the camera feeds into that. Then I put a weblink in HomeAssistant to open that browser feed.
Motioneye (click pics to enlarge)


I take it back. One more beef…….but with the camera, not the Dafang hack. Whoever made the SD card slot so you have to stick a tool in to push it in to engage and disengage should be shot. With a gun. A real gun. I use Swiss Army knife tweezers to insert and extract the card. It’s really stupid.
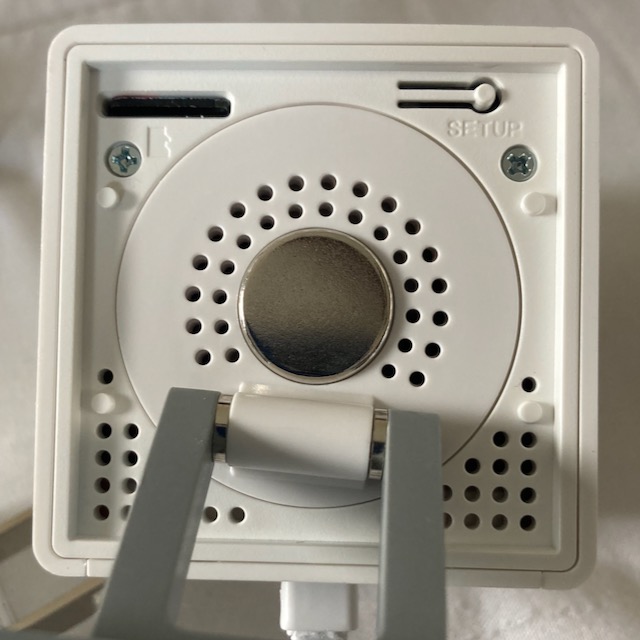
You gotta be kidding me!
Before I move on here is another bad assed trick the Dafang hack has up its sleeve. In the /system/sdcard/config directory you configure MQTT (machine to machine protocol) by editing the MQTT.conf file. Down in the file is an auto-discovery component for Home Assistant home automation software. Just uncomment the line.

Home Assistant Auto-Discovery for MQTT
So when you check your Home Assistant MQTT integration it finds the device and all of its entities. Then it puts them in a nice little box and asks you if you want to add it to your Lovelace UI interface. THEN, THEN, THEN, it walks you through writing automations. Amazing.
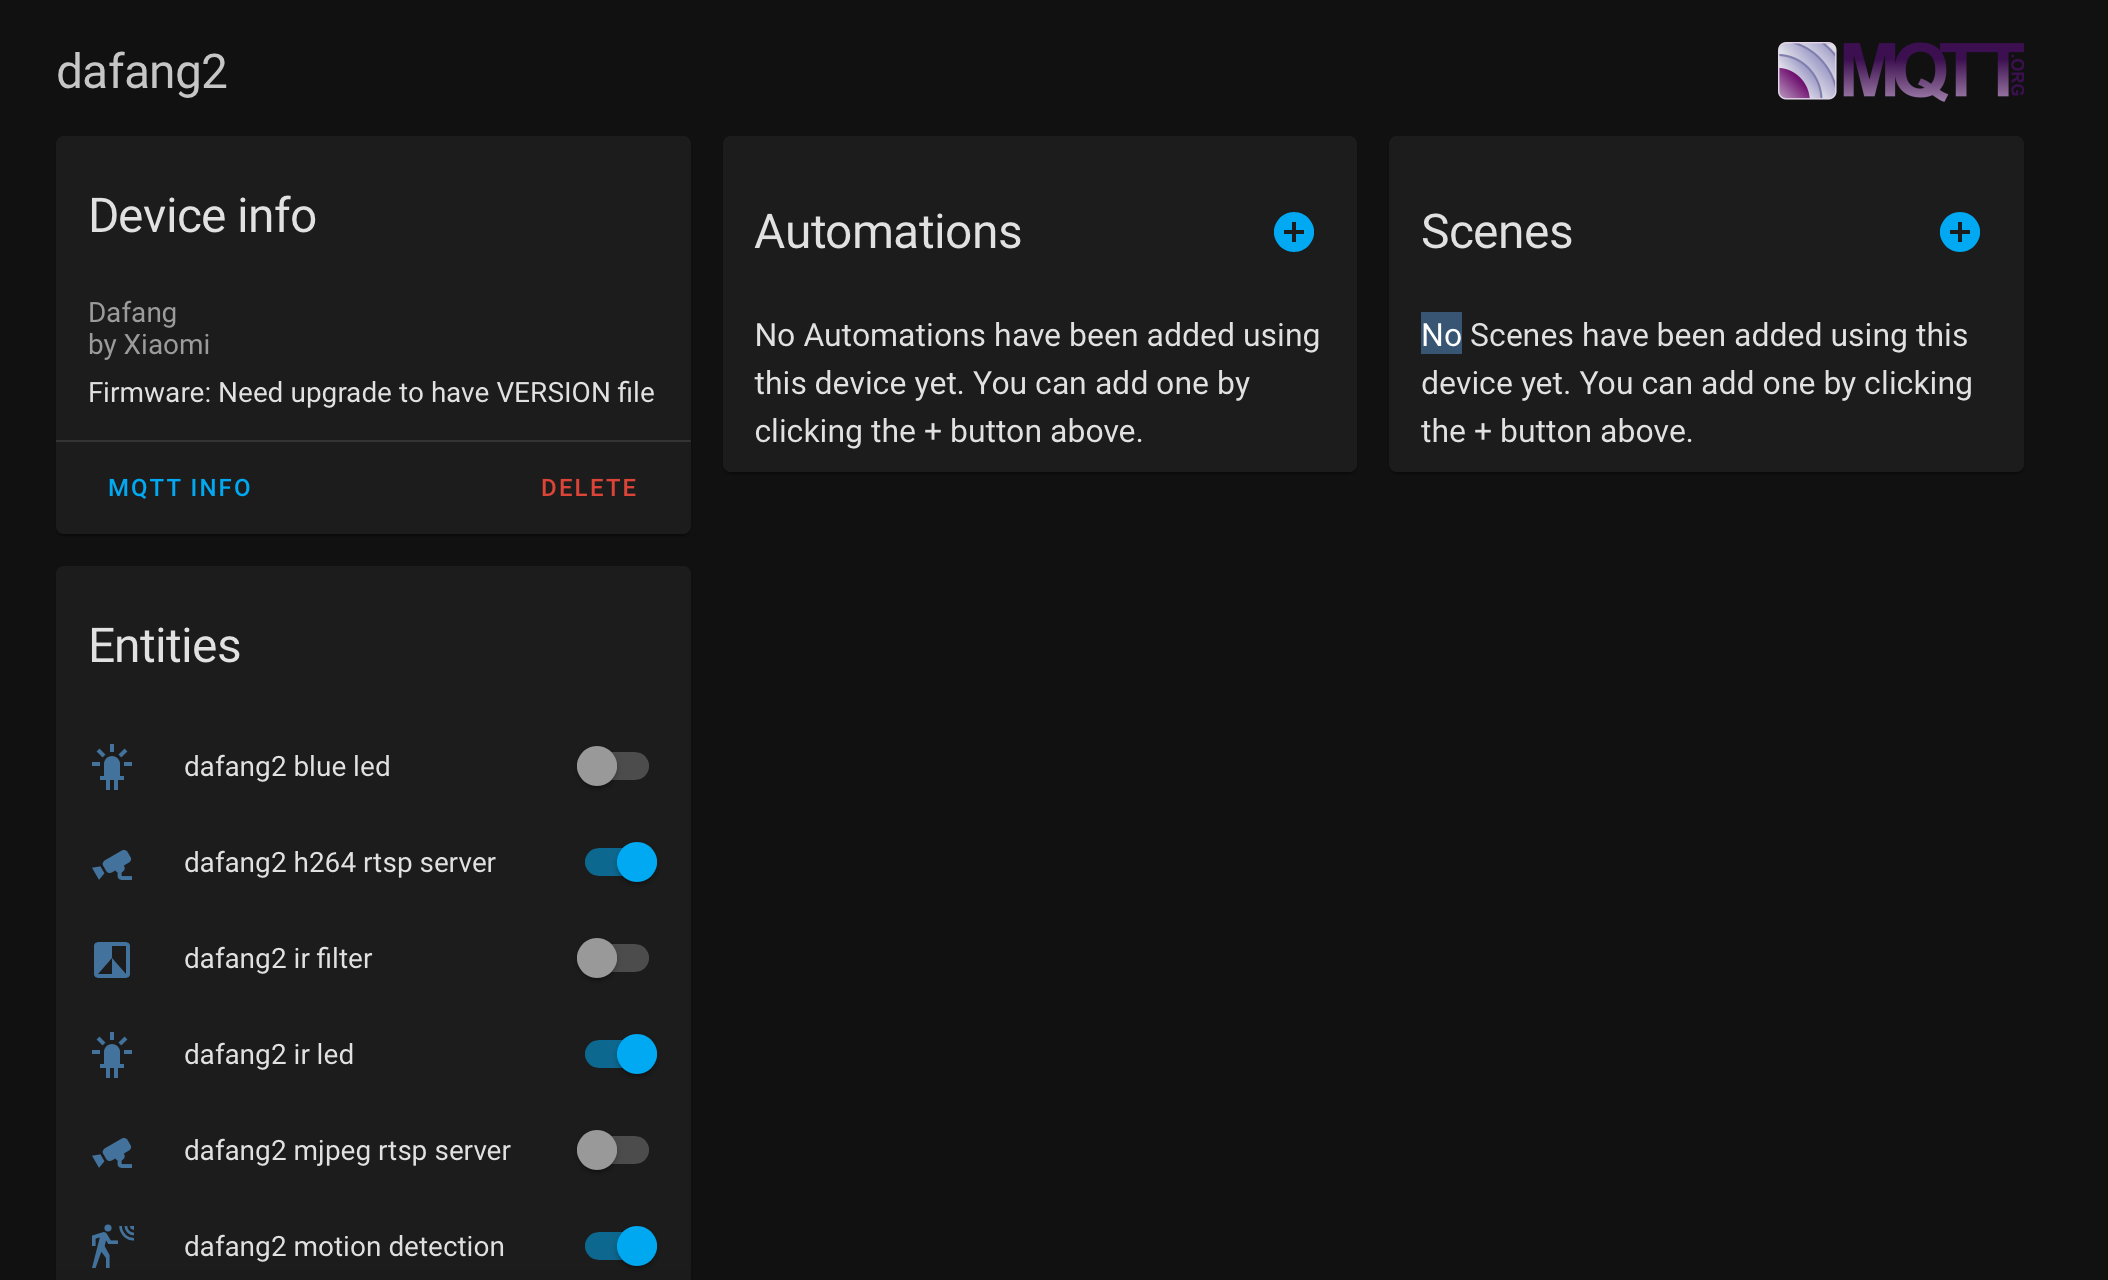
MQTT Auto Discovery of Dafang hack in home Assistant
I tweaked mine a bit, but it looks like the pic below in Home Assistant. The coolest part is that a Motion Snapshot is displayed. I have added two cameras to my configuration.
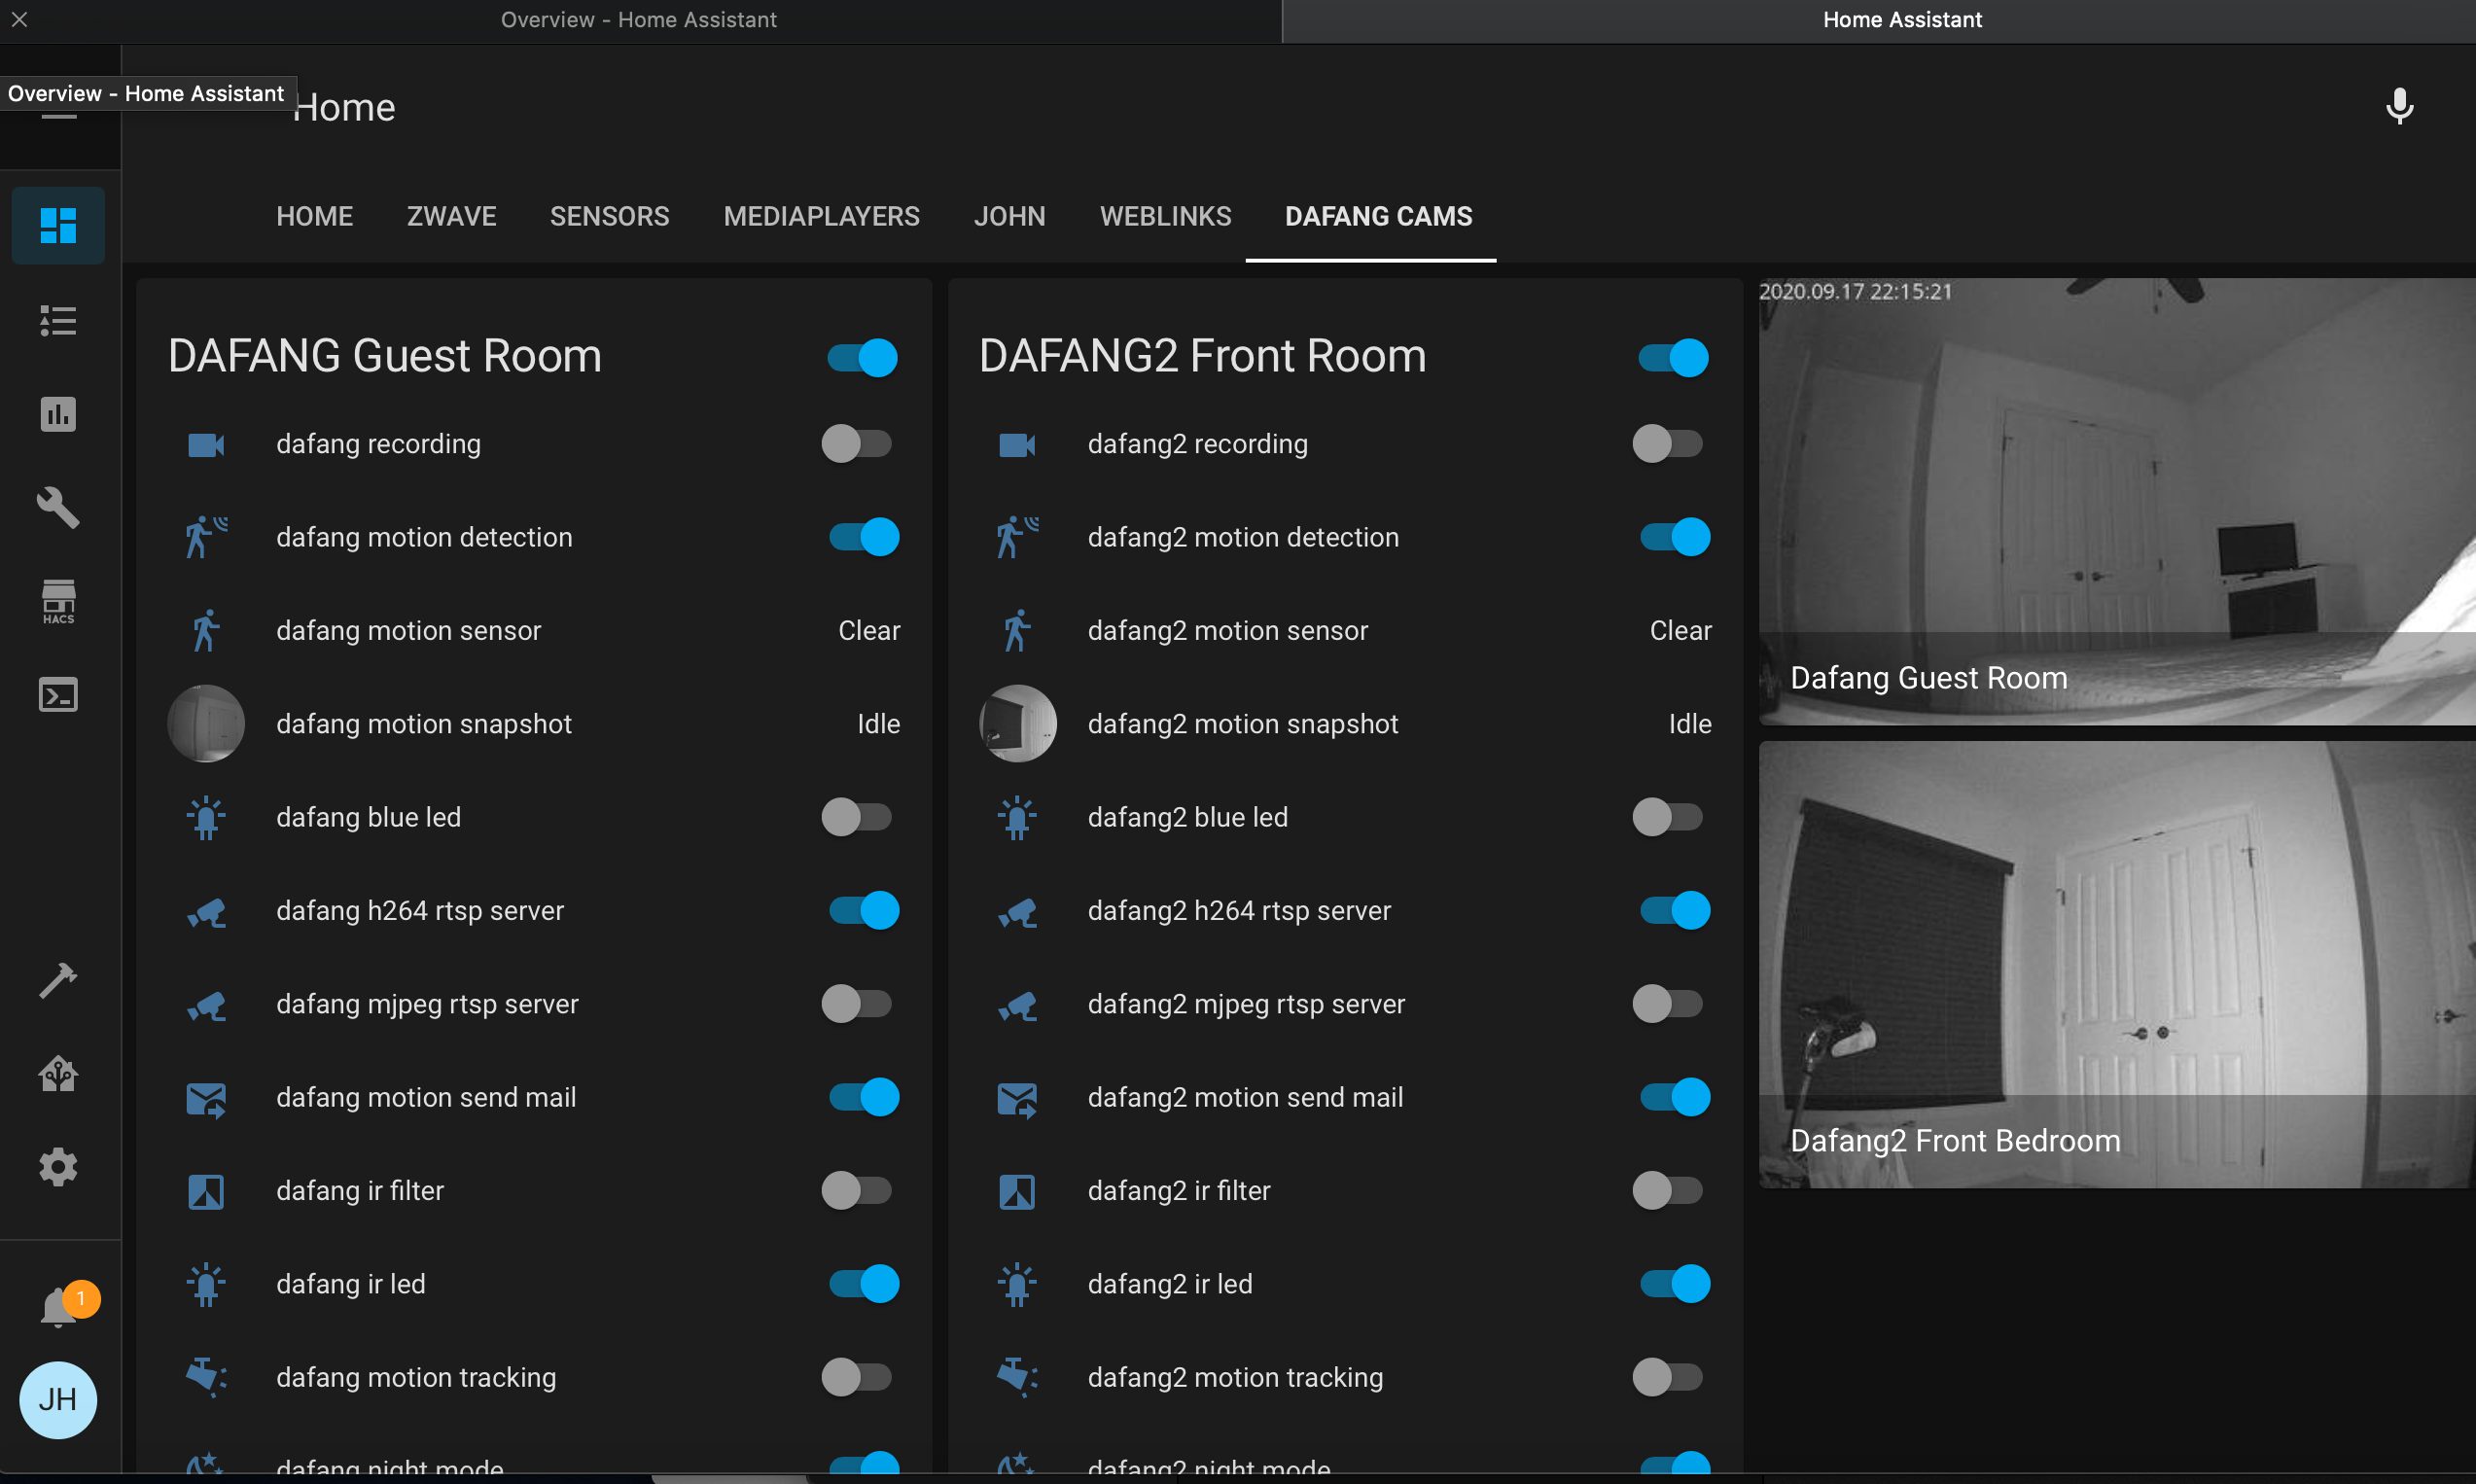
Dafang MQTT deployed in Home Assistant
It is absolutely crazy how well this hacked camera incorporates into Home Assistant.
For TWENTY FIVE BUCKS, the camera is awesome right out of the box. Not perfect but awesome for the price. Adding the RTSP firmware allows you to view a live stream in software on your computer and not their app.
Is it a perfect camera? No. It probably could use a faster processor and sometimes the IR can’t decide whether it wants to be on or not on really cloudy days or when the sun begins to light up a room behind drawn blinds. I’ll get about 20 minutes of non-stop email motion notifications until the light either gets bright enough or dark enough. If I’m home I can just open the blind or something to stop it. If I’m gone, I can log into my VPN and Home Assistant and toggle the email motion notifications off. Annoying? A little bit. But still cool for $25.
Adding the Dafang firmware makes you a mythical POWER USER. Power Users are good, and wholesome, and magical. Be a Power User.