So, I have had a Sainsmart 3018 Prover for a few weeks now and I just got a NextWave Shark HD500 a week or so ago. Prior to this I have had ZERO experience with CNC machines.
My learning curve actually wasn’t as steep as I thought though since I have had a vinyl sign cutter for well over 15 years and have been 3D printing for about 7 years or so. I have a grasp on things moving round on an X, Y, and Z axis.
Ultimately, it ends up being about the software with these things. Sure, you need some hardware knowledge but once the machine is built and is sound it ends up being about the design of the file, and the sending of that file to your CNC via Gcode. Gcode is what tells the machine how and where to move from start to finish and everything in between.
The Sainsmart 3018 Prover doesn’t really come with software, except for Candle which is only a Gcode sending program. So I guess I meant to say it doesn’t really come with DESIGN software.
The Next Wave Shark HD500 comes with Vectric Vcarve Desktop which may be among the best in design software. But know this:
- First you draw a design
- Then you generate a Toolpath to carry out that design.
- Then you send that Toolpath via generated Gcode to your machine.
It is possible that those 3 simple steps each require their own software. Some software can do all, some can do 2 of those things, some can only do 1.
Here are some key things I have learned the last couple weeks:
- Start simple. Make things like an engraved sign (without a fancy bit) or make a simple pocket in some wood. This allows you to learn the movements and nuances of the machine without cutting all the way through the wood or having to change bits.
- Engraved text at different depths will range from “Looks great” to “what the hell does that say anyway”. Run tests on scrap to see what depth looks best.
- Use cheap wood or particle board to start with. You are going to ruin stuff. Ruin cheap stuff.
- Learn one technique or thing a day. Don’t push it.
- If you FAIL, and you will fail……..don’t get mad. Chalk it up to a learning experience. A cut or engrave that takes 10 minutes is a heck of a lot less of an epic fail than a complicated design that takes hours to cut and fails a couple of hours in. START SIMPLE.
- You are going to have to know the size and thickness of your material. Get a GOOD ruler or tape measure and buy a set of dial calipers. Why buy a $2000 + machine and not own good measuring devices?
- Securing of your work piece to the bed of the CNC is NOT to be overlooked or oversimplified. Make sure your piece is clamped tight, and make sure your bit won’t run into your clamp. You will be amazed that what you previously believed to be secure, ended up shifting or moving during cutting only to ruin your piece.
- Get a grip on X and Y calibration and always try to calibrate Z separately. You can use a zero calibration block (which is usually an accessory) or you can use a piece of paper to feel the bit just touch the surface………but realize that when you do your first bit change that the X and Y axis have to remain constant but the Z axis height will have to be reset or you have to make sure your installed bit length is exactly the same. There is tooling to achieve that.
- When you enter into the realm of changing bits during an operation understand HOW that happens. Will the software generated Gcode stop the machine and prompt you to change the bit? Or will you have to save and run each Toolpath separately? That will depend on your software, your machine, and your Post Processor.
- You might even want to buy a couple of inexpensive files on Etsy to make a polished looking project. I’m not great at Inkscape or Gimp for drawing and design, although I am getting better. If someone designs a tray on Etsy and sells it, it probably will work and the design will be solid and repeatable. On the first thing I designed I didn’t make my walls thick enough and then I cut ON the line as opposed to outside the line which essentially completely obliterated my walls completely. Looked good on paper though! At this point you are trying to get comfortable with the CNC, and that’s hard to do if your design skills are sub-standard. I guess I am saying “use something that you know will work” even if it is a square or circle or something otherwise unimpressive. Once you nail the skill, you can export that knowledge to more complicated designs.
- If you don’t have the right bits……….DON’T EVEN TRY. I have some simple cutting bits, bowl bits, and engraving bits. My detail bits for doing 3D stuff are still in the mail. I’m not even going to try to tackle 3D stuff until I get my bits.
- Along those lines……..Good bits are expensive. KNOW WHAT YOU ARE DOING BEFORE YOU USE THEM. Snapping a $30 bit twelve seconds after you chuck it up is both mentally and financially draining.
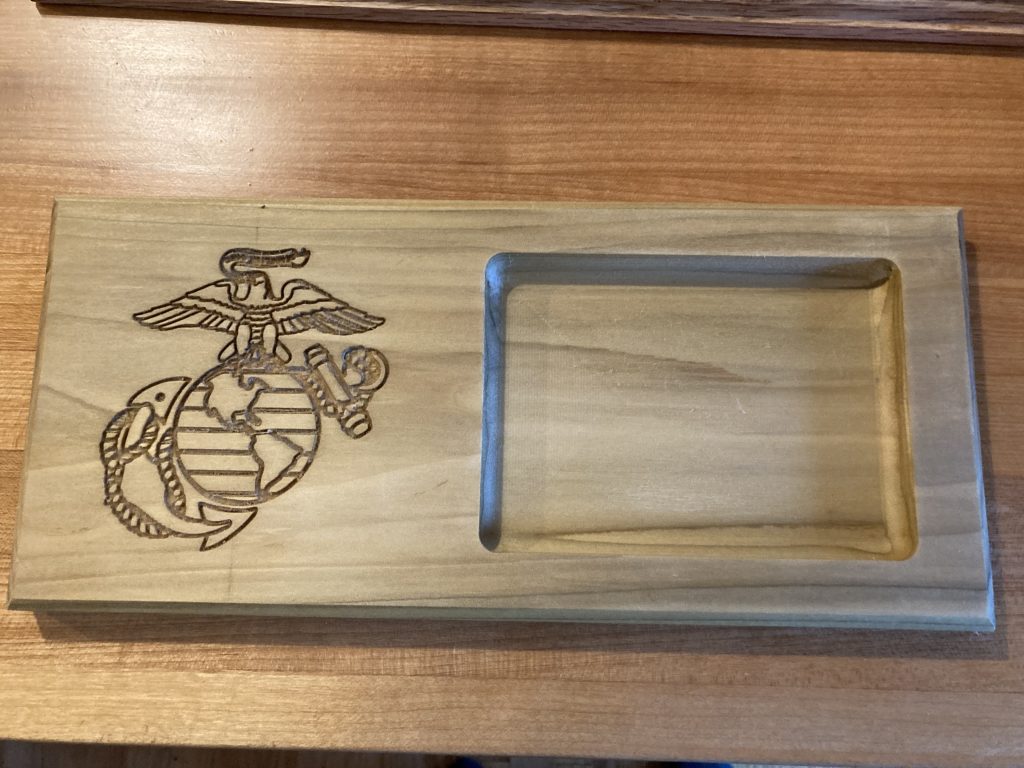
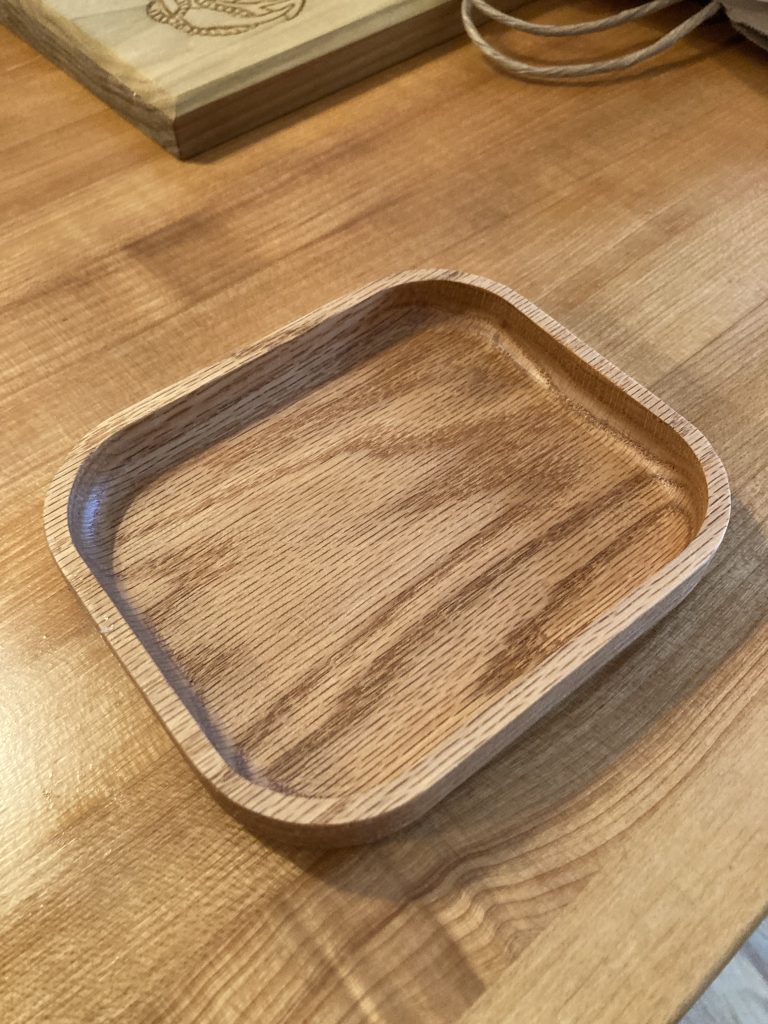
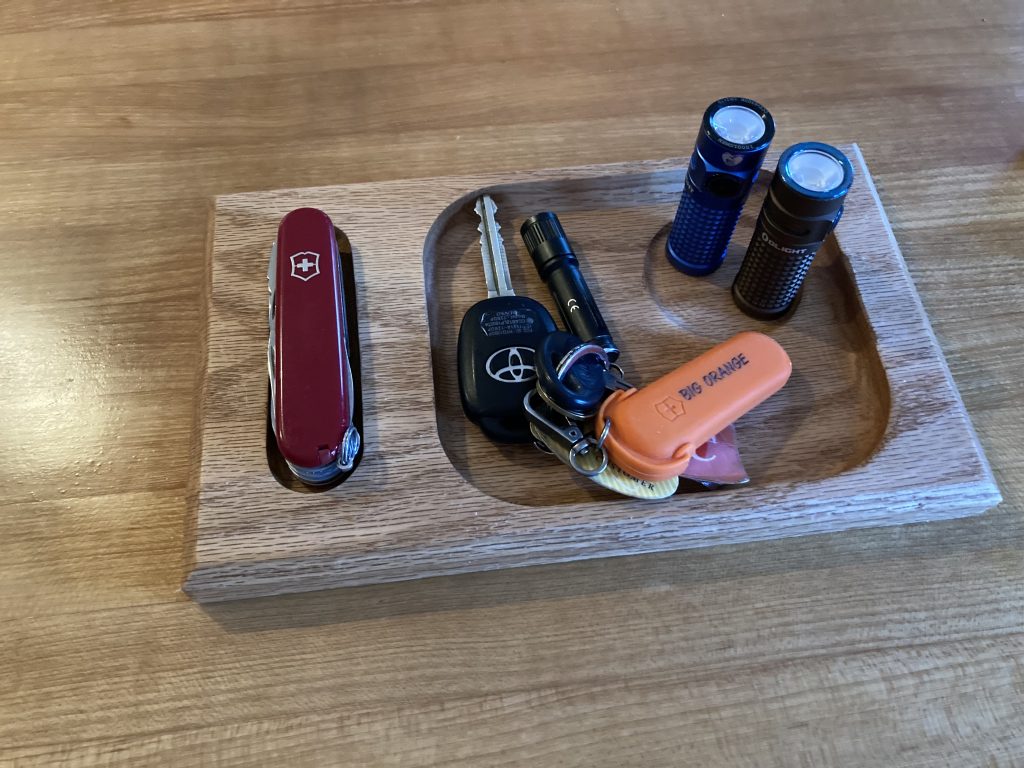
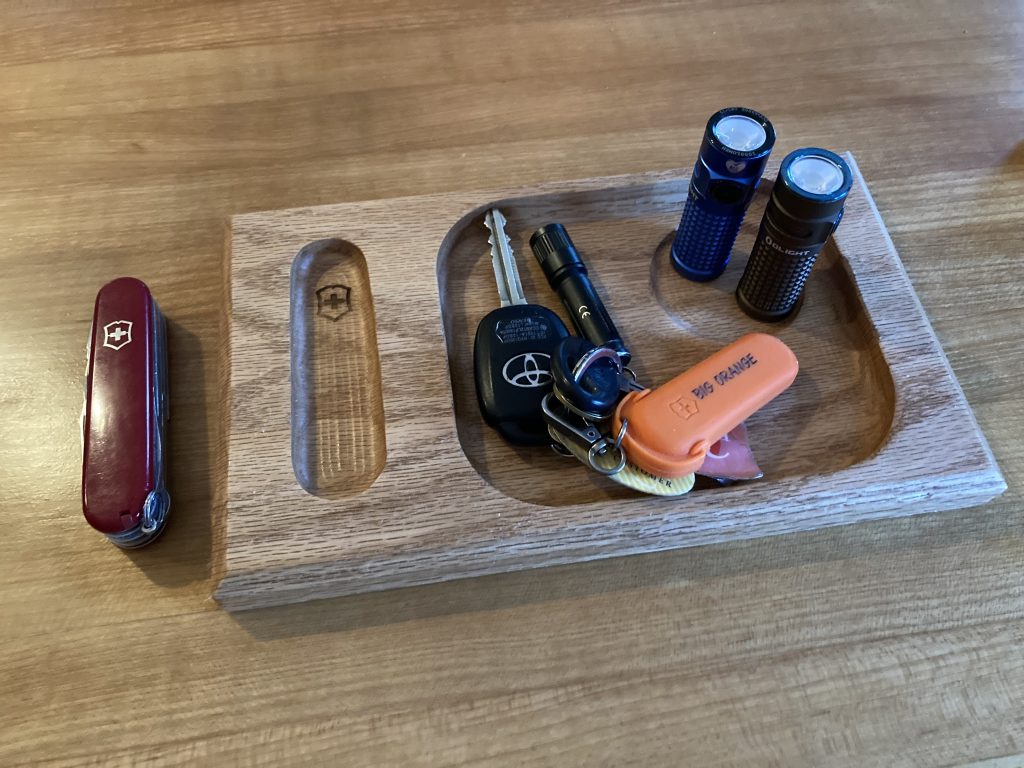
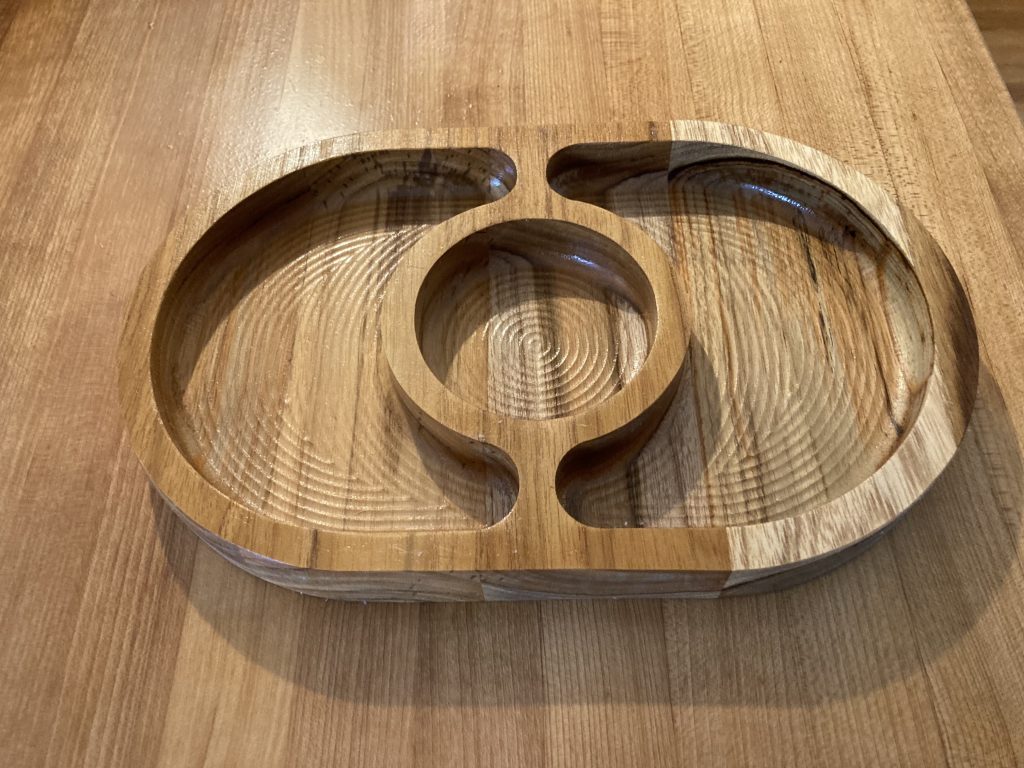
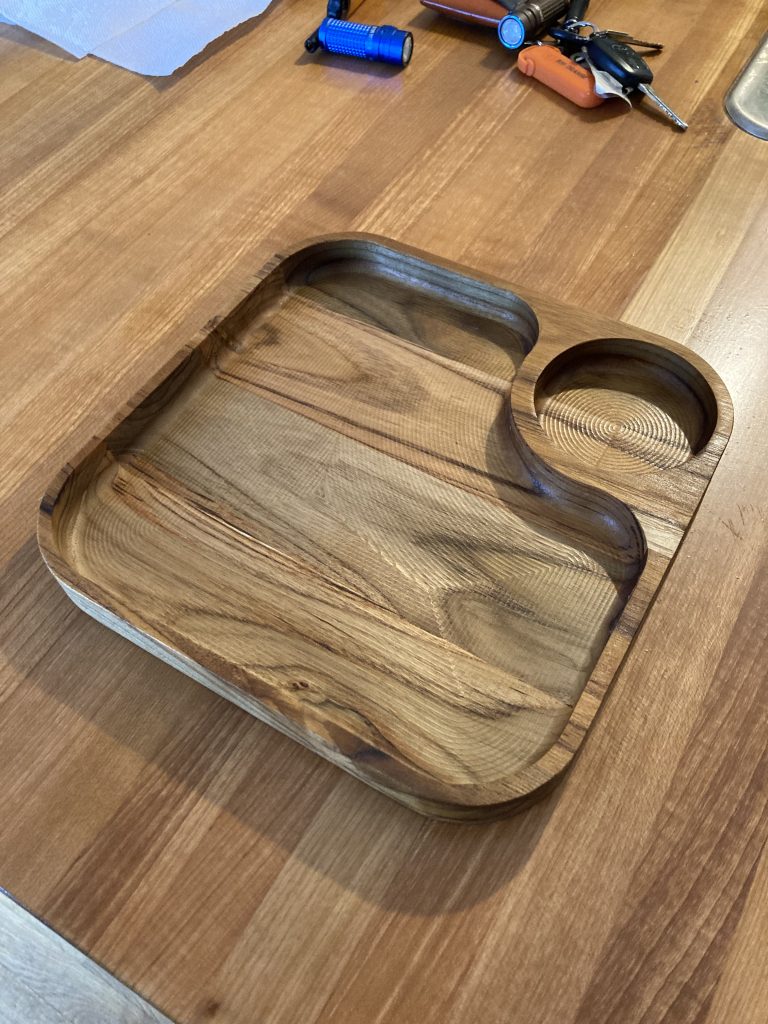
Here’s a couple of examples of my designs versus buying simple trays on Etsy and reproducing them. I’m really proud of the Swiss Army knife holder + catch all tray I made. I took an outside drawing of a Swiss Army knife, and made an offset a few mm’s larger than the knife and dished it out a few mm’s deep. It is extraordinary in its simplicity.
Things I designed myself (click pics to enlarge)
CNC Tray Designs I bought on Etsy (click pics to enlarge)
Don’t underestimate how great a simple rectangle with a radius in the corners hollowed out will look. Especially made of oak and oiled or stained. Sure it is simple but beauty lies within simplicity. Engrave someone’s name in that hollowed out rectangle and they WILL LOVE IT. I promise you.
I guess what I’m saying is that right off the bat even the simple things made on a CNC are impressive. You don’t have to start with a 3D relief of Christ at the Last Supper. Just make a round tray.
I’m FAR from an expert. If you are reading this, I’m just like you only I have maybe a 3 or 4 week head start on you. I never wood worked before in my life and I’m 59 years old. The odds that I’m going to create the 3D relief of the Last Supper on a gigantic piece of wood 3 weeks after I bought some wood working tools defies all logic and common sense. Take time to learn your craft. Go slow, and most of all………have fun. Give your first creations away as gifts and gauge the reaction. Your wife and kids will tell you the truth.

