
I bought a super cheap Genmitsu Sainsmart 3018 Prover CNC machine. It is amazing how capable that inexpensive machine is. It lacks a few important features though. Size, speed, and it comes with entry level software. Almost the first thing I learned about this machine was that I was going to outgrow it fast. Don’t get me wrong, it can do amazing things………..But it is the lower end of the CNC spectrum. And so was the software.
So I took a step up and bought the Next Wave Shark HD500 CNC.
With consumer CNC machines it seems the next jump up from a lower tier one financially is a mighty one. In fact it is AT LEAST a 10x’s or more jump. But with that jump comes a lot of improvements.
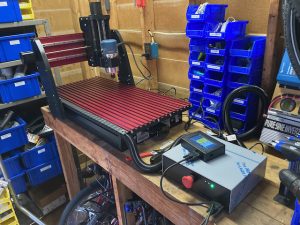
Next Wave Shark HD500 CNC
With the Next Wave CNC you are going to get a much larger working surface, improved bed and securing system. Also the axises move via lead screws instead of belts and the gantry moves instead of the table.
Accuracy and precision are improved, as is speed. Best of all it comes with Vectric Desktop software which is definitely not an entry level offering.
In short, this is a big boy machine replete with lots of bells and whistles.
So, let’s lay down my first impressions……….
- Shipping – I had actually bought a Shapeoko 4 XL and shipping kept getting delayed, delayed, delayed. When it became apparent my machine wouldn’t ship for a couple additional weeks I cancelled the order and got the Next Wave. I confirmed it was in stock and it was on my doorstep in about 5 days.
- Support – Next Wave has Authorized Distributors all around the country. In fact I bought one from a nearby shop for just that reason. Even though I bought from a retailer the CNC shipped directly from Next Wave. I probably could have had it a day faster had I just ordered from Next Wave but I really want somewhere to turn if something goes wrong. And I say this because before buying something I do my research and read the user forums. Next Wave has a user forum but it is not very active. With expensive toys you really want to see a highly active community of users. I strongly recommend buying from a local shop instead of directly from the company. I bought mine from Klingspor’s in Raleigh, NC. Before I bought I contacted the store via chat and one of the techs spent a ton of time with me answering all my questions and providing me with great information. BUY LOCAL.
- Ease of construction – It only took me 45 mins or so to put it together and get it turned on. Best of all – NOTHING WAS MISSING.
- Quality – it is a heavy bugger. All axises are driven with lead screws. The gantry is substantial. The stepper motors are a……..errrrrrr………step up from most CNC machines.
- Main board is in an enclosure – On my Sainsmart 3018 the control board is mounted to the back of the machine and is not protected from sawdust and chips. The Next Wave CNC has a proper enclosure. On a slight negative though all connections are made through RS232 Serial Port connectors. They are huge, and I haven’t seen an RS232 connection for many, many years. On the flip side of that though……..those old connectors are robust. It is a bit more prosumer or industrial than using a tiny 2 or 3 pin JST connection.
- Can carve on curved surfaces – With a zero block (not included, $100) and the Ready2Control – Virtual Zero version of R2C you can map your curved item and carve perfectly on curved surfaces. This is an ENORMOUS pro level feature in my opinion. On the “gotcha” side of this equation you need a License Pair to activate and download that software. I searched the world over looking for my license pair and even wrote an email to support that I couldn’t find it. Eventually I found it in the Vectric Software box included in the shipment. Why they would put their software license in a box labelled “Vectric” is beyond me…………but no harm, no foul. It just threw me for a loop for a while.
Things you need to know before buying:
- You need your own router. Router not included. I used a Bosch 1617EVS.
- The router is LOUD. You need hearing protection.
- It only has one bit included. A 90 deg V bit.
- The included software is Windows only (Vectric VCARVE Desktop). And it is kind of weird to register. It is OEM software. Once you register it you have to then get a personal license. No cost, but unusual.
- The previous Control software is not included and the new software is called Ready2Control. The download link is buried and not on the regular support “Downloads” page. You find it under your Portal. That version is Ready2Control Basic and does not include the Virtual Zero software that you will want for carving on curved surfaces.
- There are no limit switches. On my first test cut it wasn’t quite reaching the material and then I noticed the Z axis had bottomed out. No limit switch means no indication.
- The Vectric Software will not directly send gcode to the machine. Once you save your Toolpaths in VCarve Desktop it is easy enough to take the USB stick (included) and just plug it in the Pendant and upload from there. For several reasons it is almost always better to print directly from the machine instead of the computer. But also in the year 2021, getting files to your device via SneakerNet is such a thing of the past.
NOTE: You can of course use a separate Gcode sending program. There are several out there to choose from. Their Ready2 Control software probably is best. Many people swear by UGS, and Raspberry Pi fans may love CNCJS. I have not tried any of them yet (with the HD500) and certainly will in the future. I have used them with my Sainsmart CNC.
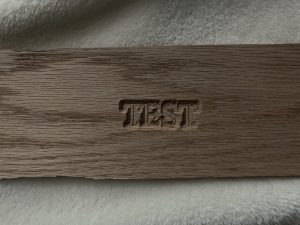
As soon as I got the machine built I opened Vectric VCarve Desktop and made a test file where I so ingeniously laid out the word “TEST” for carving. VCarve was pretty intuitive, I thought, however if you have never used a CNC machine before at all, I bet you lunch it isn’t intuitive at all. Anyway, I laid out the word, created a Toolpath and carved it out in short order. My machine and software were working perfectly.
It’s ALIVE
Having been used to the smaller and much slower Sainsmart CNC I was blown away at how fast it carved out “TEST”.
I was also a little blown away at how many chips and how much sawdust it produced.
I might have to look into a dust collector. Or not. I’m in a back yard shed and some sawdust doesn’t hurt a thing.
I was also blown away at how LOUD it was and of course the loud comes from the Bosch router spinning at 10,000 rpm’s. I suppose there are quieter routers but the Bosch 1617EVS is a favorite.
After literally about an hour messing around with the machine I made this sign:
First Sign Made on HD500 (click pic to enlarge)

Everyone makes a simple sign first. I’m no exception!
And then everyone makes a little pocketed out tray!
Clearing a pocket (click pic to enlarge)

Next up I’ll do a file with bit changes. The only problem is at the moment all my end mills for cutouts or clearing are 1/8th” (for the Sainsmart CNC) and the Bosch 1617EVS collet won’t hold them. I either need 1/4″ shank end mills or an 1/8th” collet for the Bosch router.
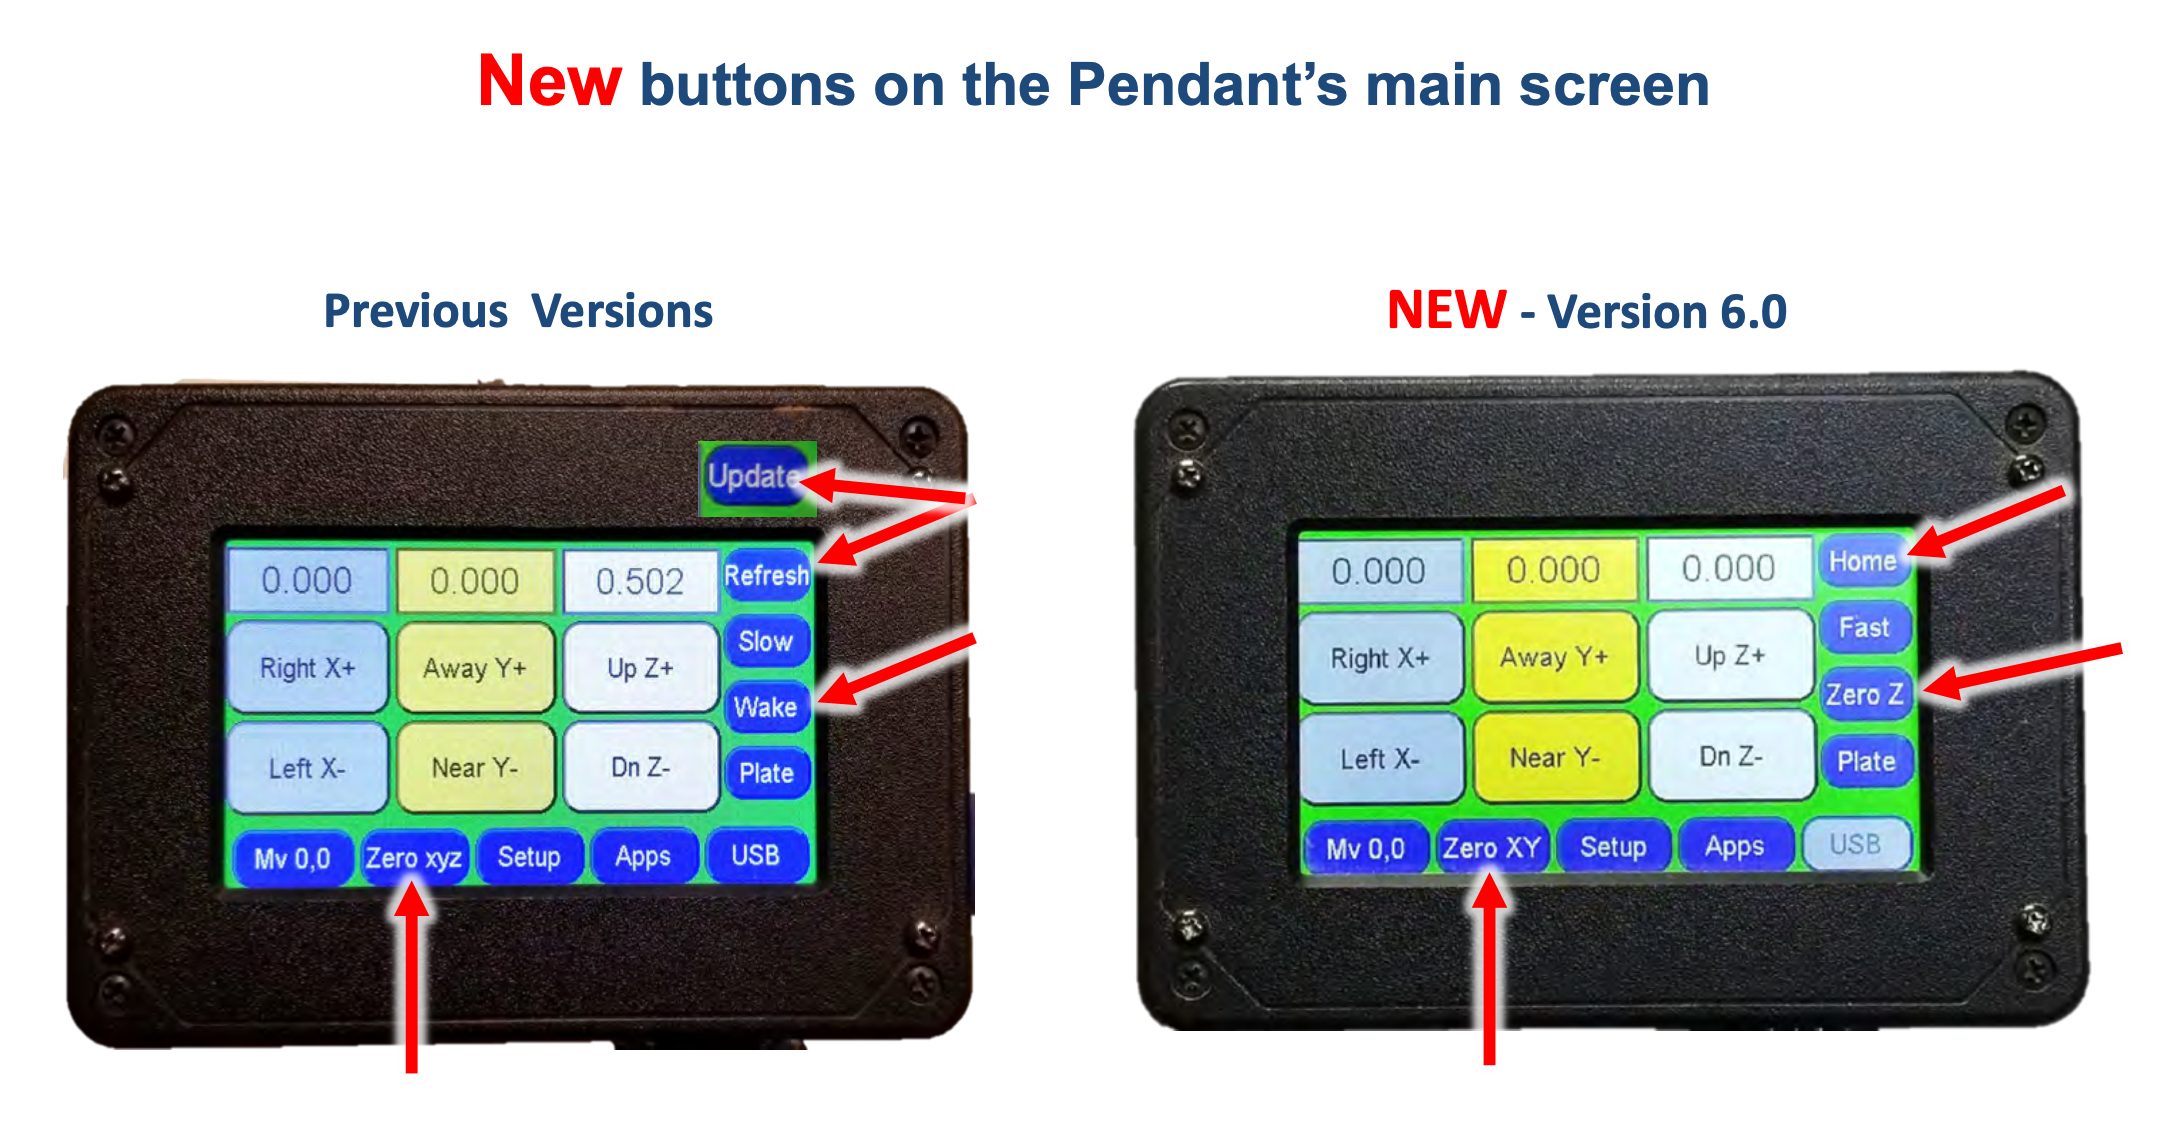
SPEAKING OF BIT CHANGE ACTIONS………I had some idea how to do it however I wasn’t sure about getting a perfect calibration following the tool change. My pendant has a button for zeroing out X,Y, and Z axis. I know that when changing bits you want X and Y to STAY THE SAME…..EXACTLY, and that you are compensating for whatever change in bit length for the Z and that you really only want to re-zero the Z. When I finally got around to downloading and running Ready2Update (the Shark firmware update tool) while reading the documentation I saw that, sure enough, a firmware update gets you a separate button for the Z axis zero. PERFECT!
Pendant Firmware update differences (click pic to enlarge)
So, my machine came with NOT the latest firmware. Let me explain how that PROBABLY happens. I emailed Support at Next Wave and asked that if I bought a machine could I just go ahead and upgrade to Vcarve Pro. The response was that I COULD, however, it would delay shipping because they would have to open the BUNDLE and insert the new software and then of course re-bundle it for shipping. So there is un-purchased, pre-bundled stock sitting around. If a firmware update gets pushed they aren’t going open the bundle just to install it.
NOTE: There seems to be a bug in firmware version 6.1.0.5. If you turn on the machine with a USB stick in the pendant most, but not every time, it won’t boot and says there is a firmware incompatibility issue with the pendant. If you remove the USB stick prior to boot it starts correctly and inserting the USB works normally. A tech at Next Wave confirmed it was happening on his machine as well when I reported it.
Here’s my first crack at bit changes. Two Toolpaths, number 1 with a 1/2 round bit to clear out the pocket, and number 2 with a 1/4″ end mill for the outside cut. Worked perfectly as stated in the paragraph above. It is made from 3/4″ oak with a round-over bit on the router table on the bottom surface. Coated it with Butcher Block oil. Looks beautiful. Very simple but a logical first cut for a bit change test.
Oak Tray created with bit change (click pics to enlarge)


BOTTOM LINE: I’m a “If it ain’t broke, don’t fix it” kind of guy, but this firmware update is a MUST HAVE. I recommend updating firmware in this order:
- Get your machine.
- Test it and make sure it works.
- Then and only then upgrade the firmware.
- Test it again.
Moving on……..At any rate……..within an hour I had this big heavy machine assembled and did a test cut. Here’s some build notes:
- Use a hex head bit in a cordless drill to install the gantry. The Nylock nuts included in the kit are TIGHT. It would have taken quite a bit longer to install them with an Allen wrench and box end wrench.
- One of the sliding T nuts on the Drag Chain assembly came off and the hardware was laying in the bottom of the box it was shipped in. It took me a few minutes to figure out where in the heck to install it in the drag chain assembly. No biggie but a real head scratcher. Some better pics in the manual might be in order here.
- The first step is to install some side panels. That is an easy step however if the CNC base isn’t always on the front leg and back leg the side panels can flex and bend and warp. The opening in the panels are for the gantry to move and you sure wouldn’t want them all bent and misaligned. I built mine on a 24″ wide bench and turned the machine so some of the front was hanging off the edge of the bench. Then I noticed those side panels were not happy with that approach. Nothing bent or got damaged but it was an “Oh Crap” moment for sure. Always keep the machine PERFECTLY FLAT.
I’m sure that I will add to this blog or write additional ones on the machine as I get more time on the table. I’m super happy with this purchase. I had originally had my heart set on the Shapeoko 4 and the sticker price was a little cheaper UNTIL YOU FACTOR IN UPGRADED SOFTWARE COSTS, and then the TOTAL cost was about the same. Don’t let sticker shock get you. You are going to buy bits, a router, and software, and fastening systems……blah, blah, blah. Pay attention to your TOTAL cost. It does you no good to save $500 on a machine if you then have to buy $700 worth of software or you end up upgrading their crap software to the Pro version to the tune of several hundred dollars. The fact that you get Vcarve Desktop WITH the Next Wave Machine absolutely has to be factored in.
Also there is no annual subscription to Vcarve Desktop. It is stand alone software. John hates web based software and software subscriptions. Be like John. Reject that business model.
Last thought. The Shark HD Series CNC machines are head and shoulders in construction quality BETTER than many of the competitors.
How is this compared to Shapeoko 5 Pro?
I owned an HD520 but sold it due to a move and having much less workspace. If memory serves if you boot the machine up with a USB inserted the software thinks you’re doing an update by default. So not really a glitch. I ordered an HD500plus and its due in the next few days. I am excited because I use this cnc often for carving out special projects. I used my HD520 for just over 3 years, and it never failed. That being said, I would recommend checking the grease fittings and coupler under the machine pretty regularly.
My first Next Wave machine used a Bosch Colt router, routers are noisy! I traded that machine for my second machine a HD510. I bought a 2hp water cooled spindle, it is more powerful and significantly quieter. I bought a 3rd machine, a HD520, mainly for the longer bed. I got the 3hp water cooled spindle with that machine. No substitute for power and quieter operation.
You can buy a cnc with a 1.5kw water cooled spindle for less than a Shark and have a MUCH more capable machine. Shark is the most money you can spend with the least return.