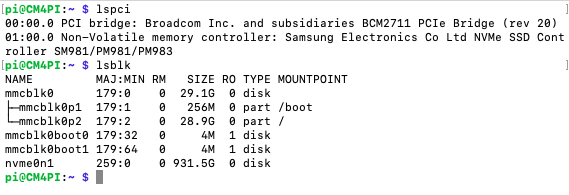
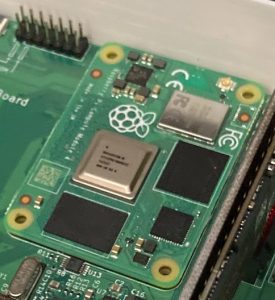
I just did a blog on booting a Pi 4 Compute Module from an NVME drive. I’ll provide a Build Of Materials (BOM) for duplicating this project. Here are the primary components:
Compute Module 4 Build of Materials
| Component | Cost | Description |
|---|---|---|
| CM4008000 | $75 | CM4 Lite 8GB No Wifi, No Bluetooth |
| NVME PCIe Adapter | $11 | NVME Adapter |
| Samsung EVO 970 Plus 2TB | $203 | NVME Drive |
| CM4 IO Carrier Board | $35 | Carrier Board for CM4 |
| SD Card | $9 | SD Card (optional). Not required if your CM4 has eMMC. |
| Power Brick | $9 | Power Brick. Just picked the first one I saw on Amazon. Any 12v , 2 amp or more will do. Get a 5.5mm connector. |
So for just over $300 you can have an amazing file server. Also if you back off the 2TB Samsung EVO970 to a 1TB drive you can save $100 roughly. You can buy a cheaper Compute Module as well IF YOU CAN FIND ONE. A 2GB one is fine for serving files. For around $200, or a bit less you can have a solid, and adequately fast file server.
Continue reading


