
CASIO G-SHOCK MULTIBAND 6
Casio has a line of wristwatches that utilizes something called Multiband 6. What that is is a radio receiver which allows the watch to receive a signal from WWVB in Fort Collins Colorado which keeps the watch synchronized with their atomic oscillators. There are also transmitters in the UK, Germany, China, and Japan which provide the same service. If you have a Multiband 6 watch and travel it should sync with the perfect time most anywhere. The actual definition of Multiband 6 is that is the number of transmitters that the watch can receive from. There are six such transmitters.
60 kHz Transmitters (click pics to enlarge)


The station WWVB is run by the National Institute of Standards and Technology (NIST) which maintains the time and frequency standards and makes them available to the American public. The signal is broadcast on a frequency of 60kHz with a 70kW signal.
NIST was on the chopping block about a year ago by our esteemed government who decided to shut it down. Then at the last minute it got a reprieve. While losing the ability to sync a Casio G-Shock may not be catastrophic there are many time sensitive computer and clock devices that even the US government and scientific fields NEED. Shutting down would have been problematic. This web page gives a list of manufacturers and what services they use WWVB for. Much of it is academia and scientific research and GPS usage. Shut down NIST and GPS’s might act weird.
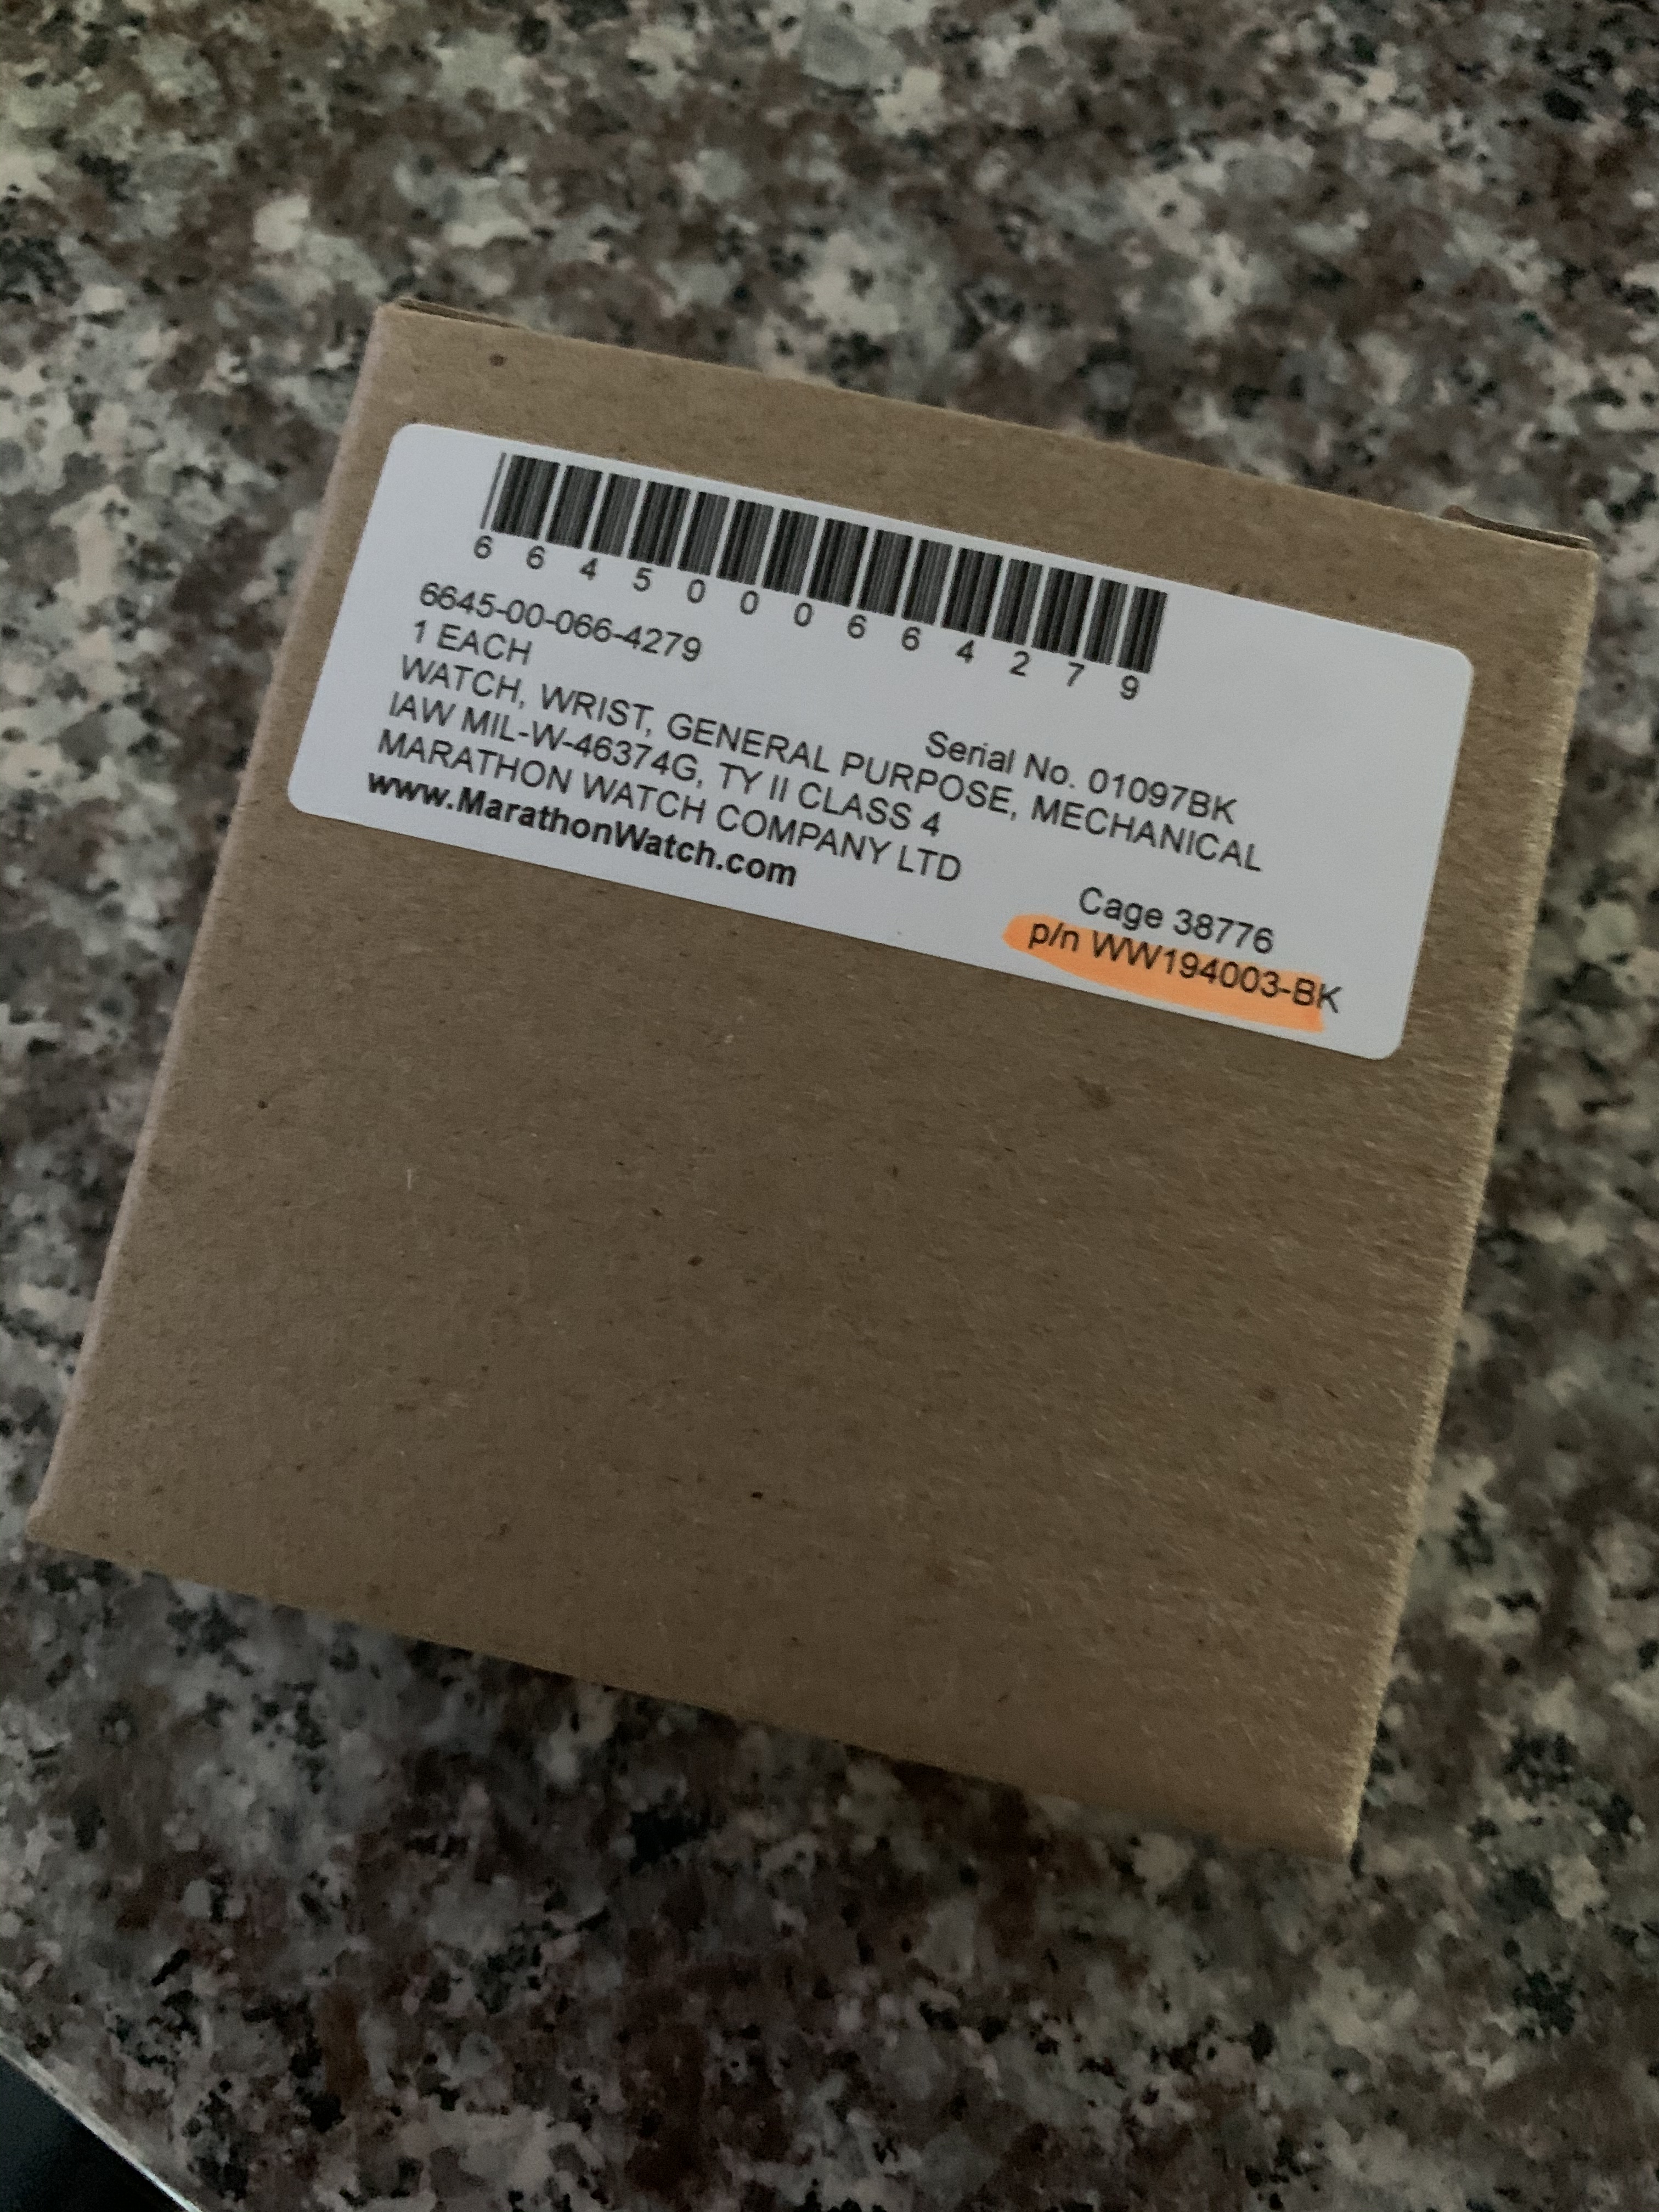
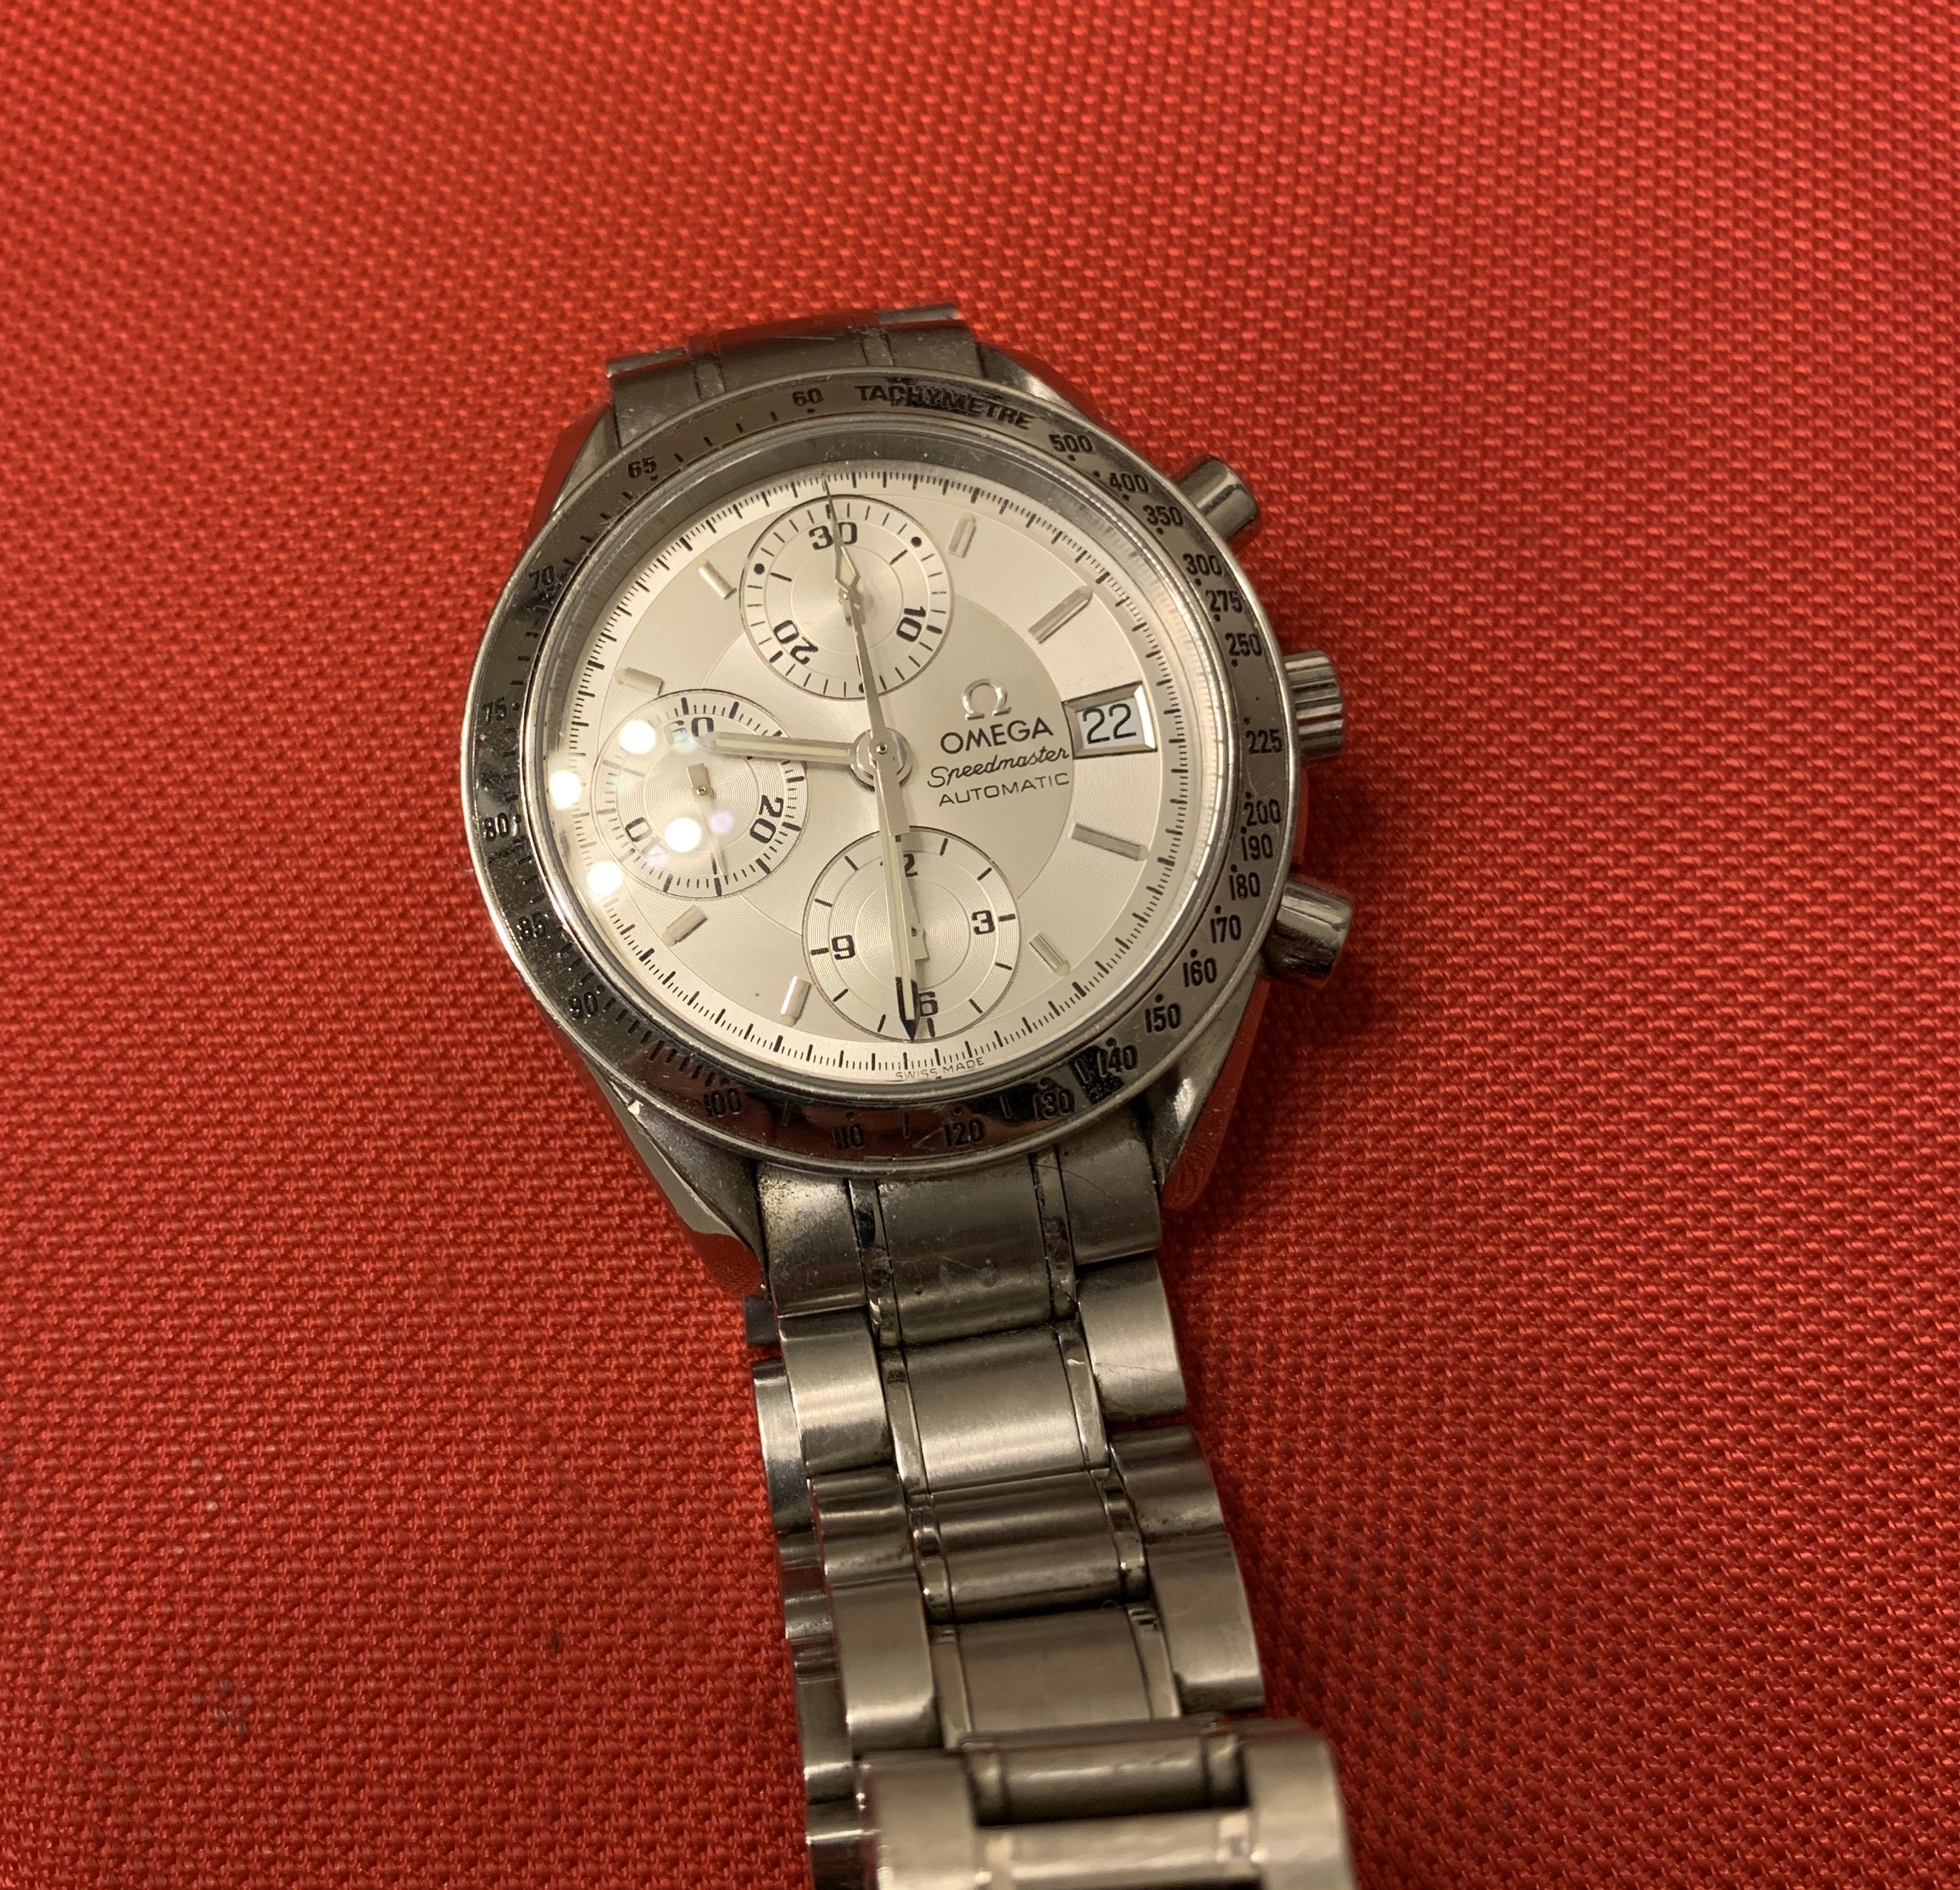
 Rolex, Omega, Breitling, Casio, Timex, Citizen and on, and on, and on. Some watch brands we know. Some we have never heard of. I recently became interested in Horology, which is the study of the measurement of time.
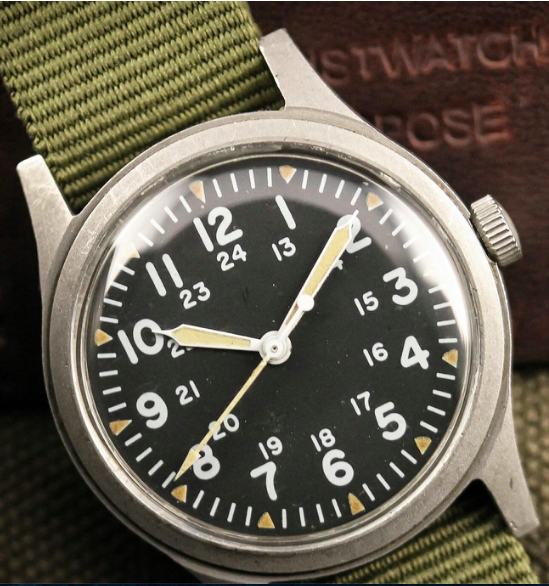
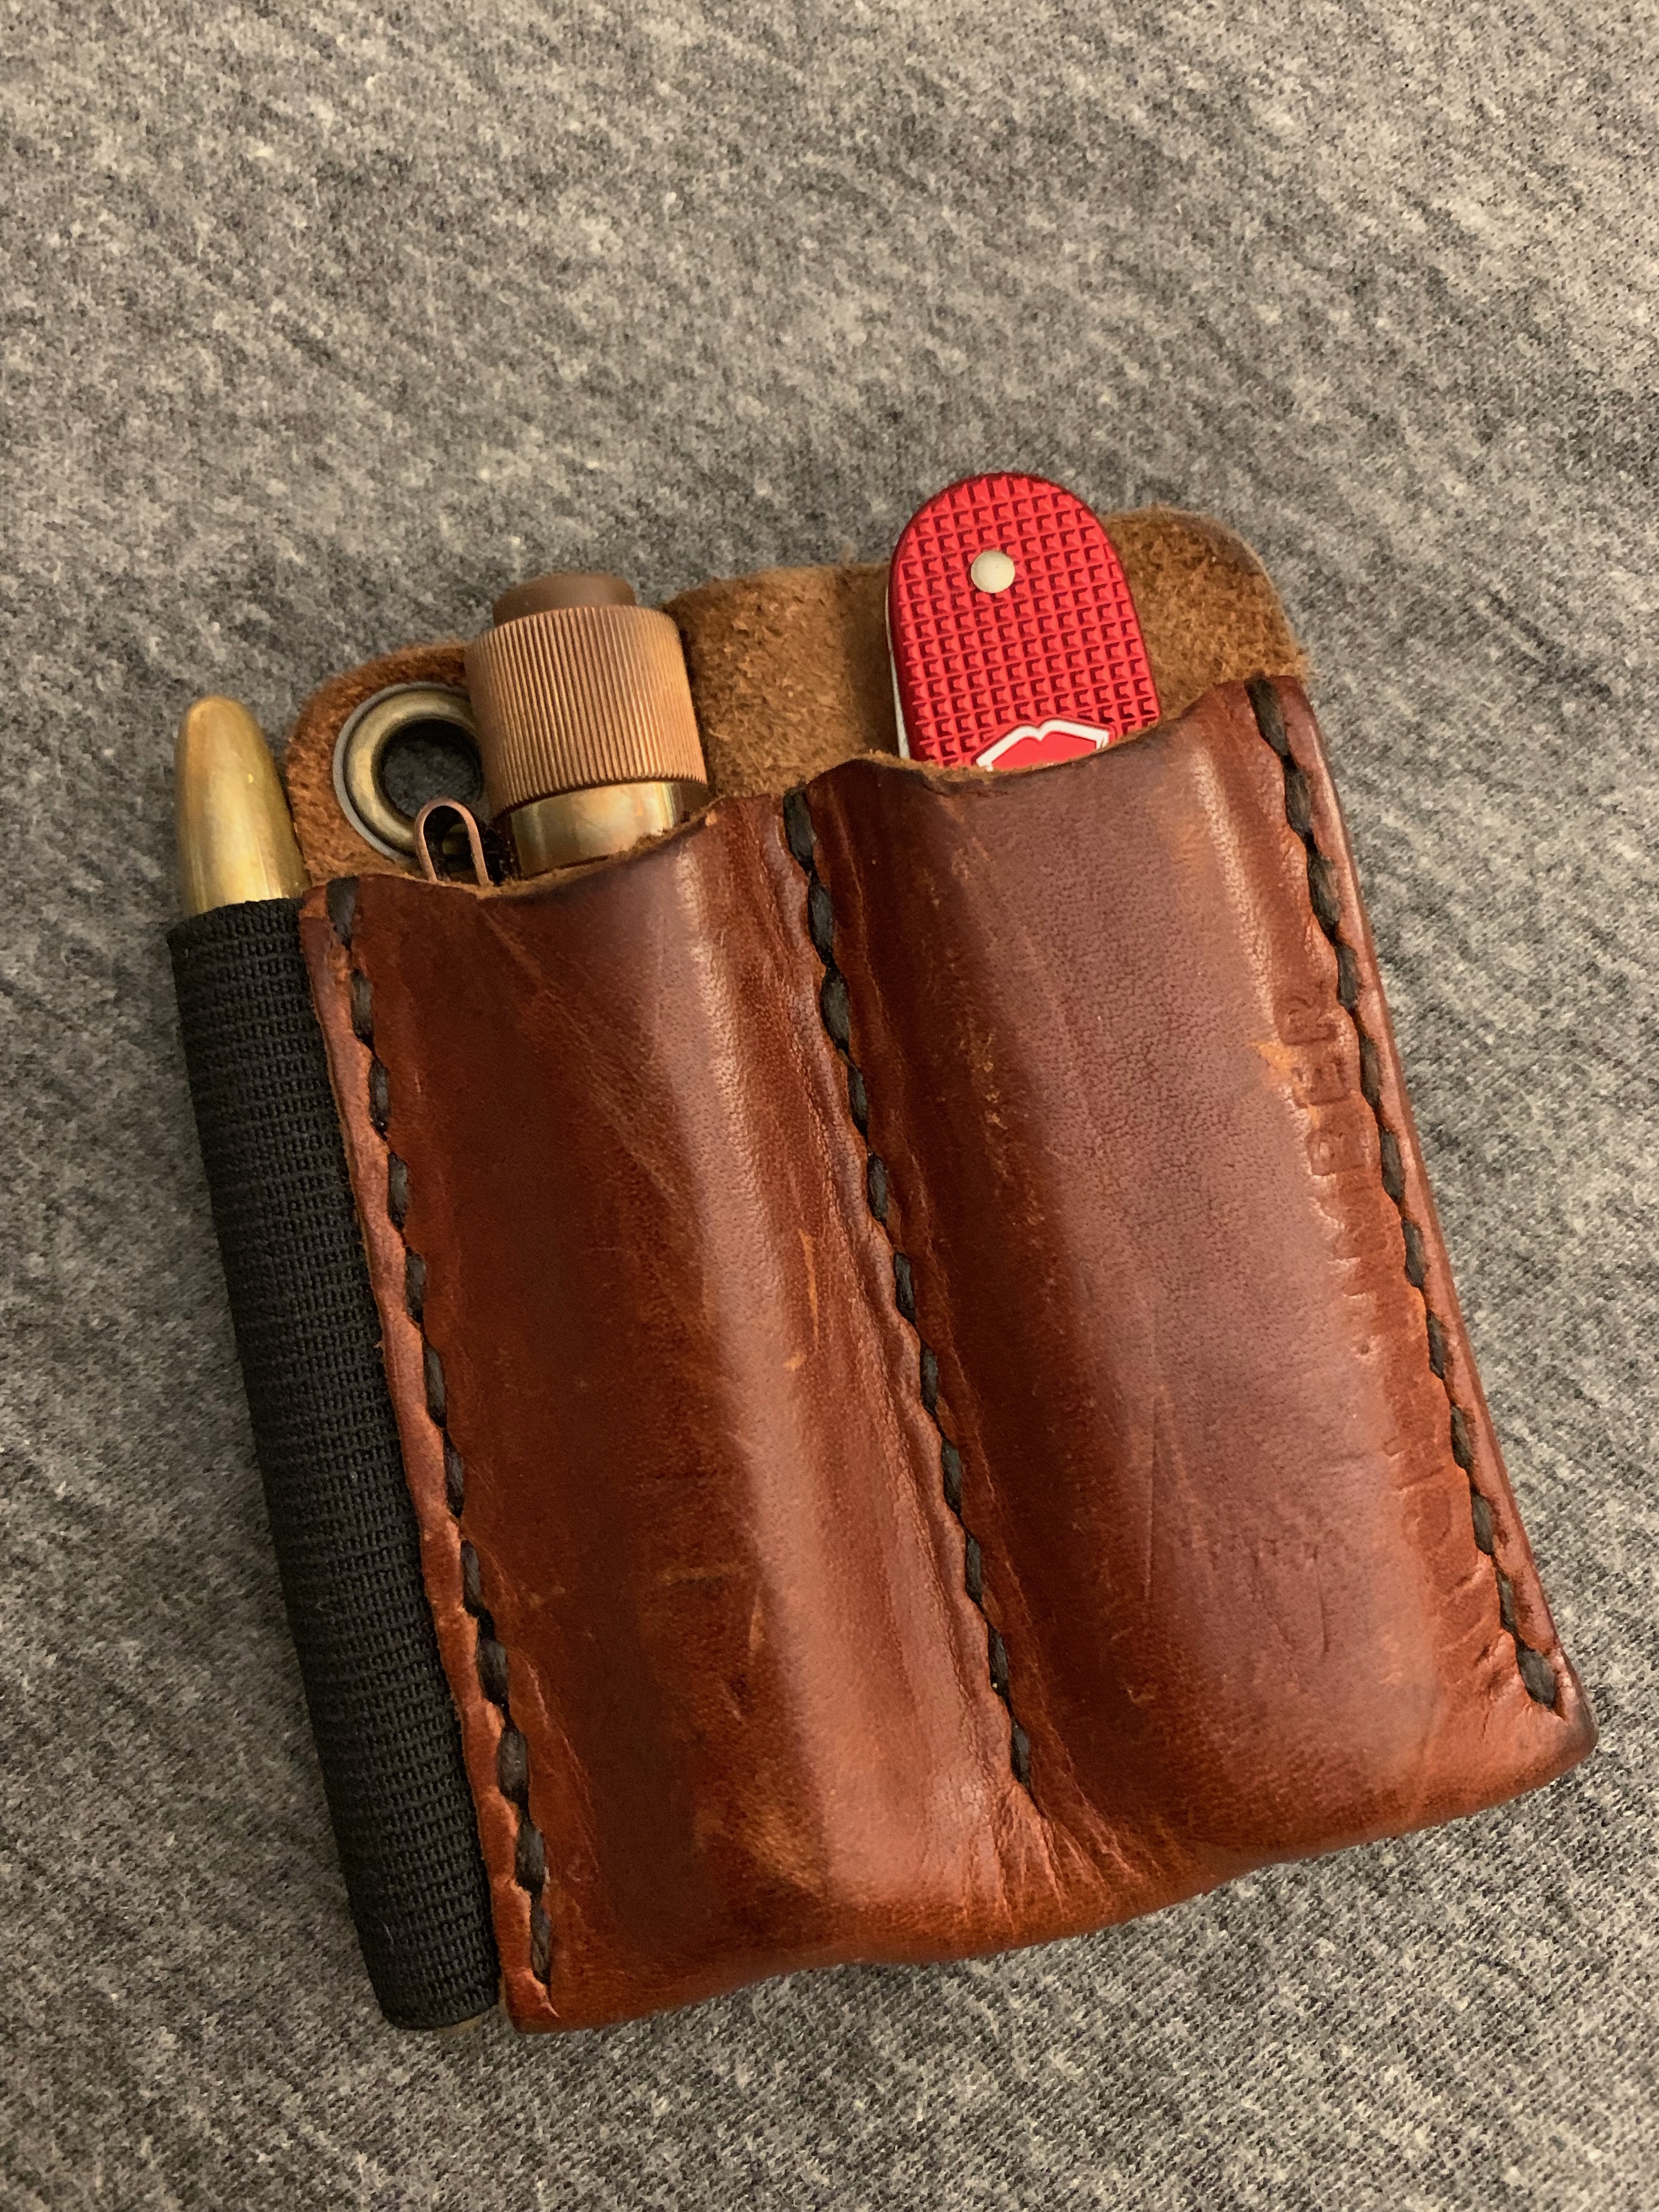


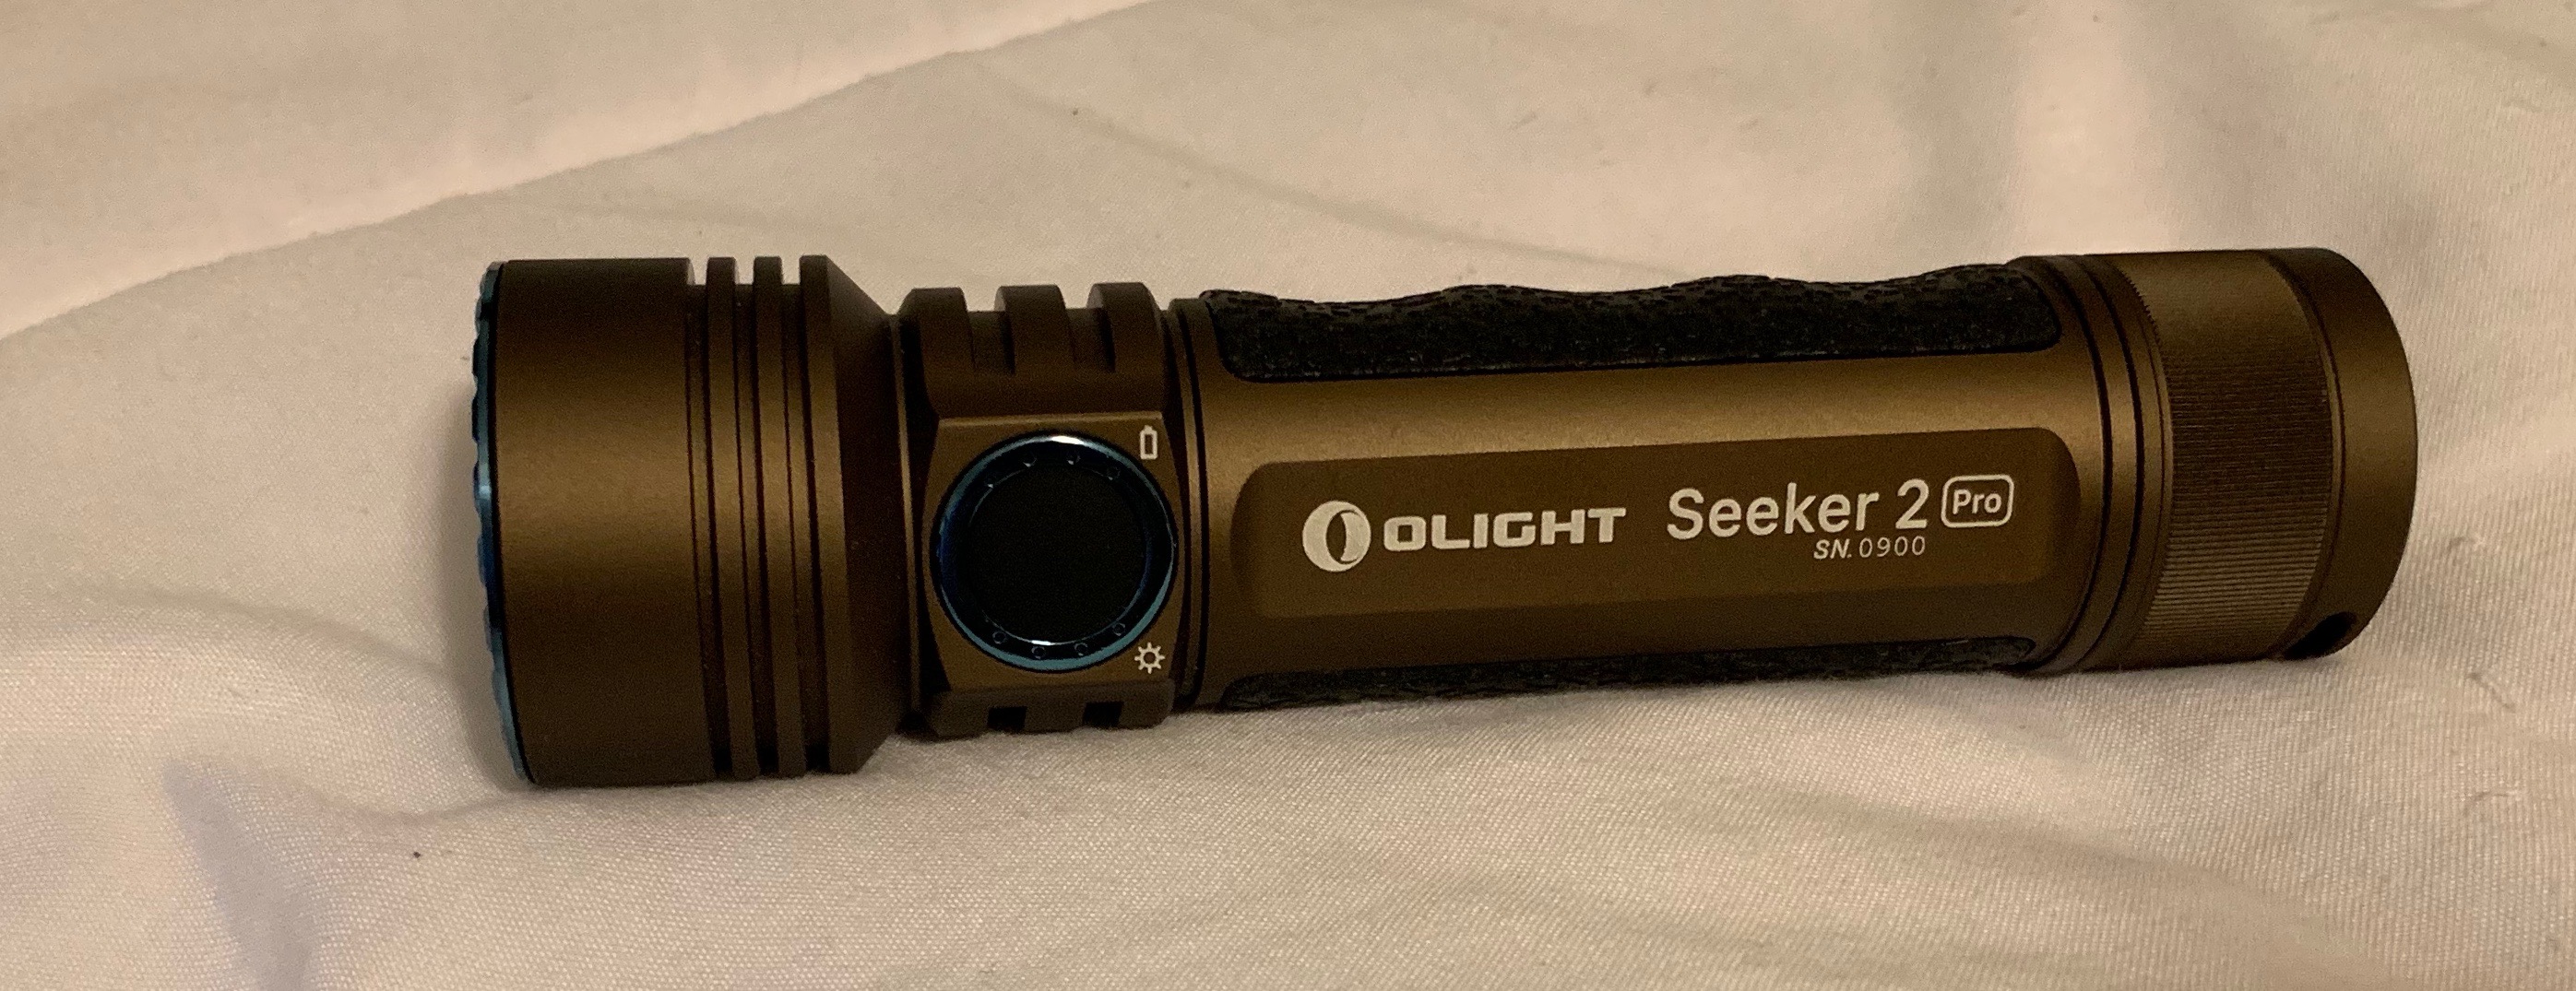 I’ve never really done flashlights before. About a year or so ago I realized I had one crap flashlight at home. Bought some inexpensive but good flashlights on Amazon and kind of caught the flashlight fever. Also I started going camping and without a doubt you need a good flashlight walking around in the woods or for when the campsite power goes off (It will).