This is another one of those things………..All the information is out there. Several good sources have blogged about it, but NO ONE has put it in a Dummies Guide for the rest of us to follow.
NVME support and NVME booting is now built in to Raspberry Pi OS. If you have a Compute Module Lite you can use the SD Card Copier program to copy your SD card to your NVME drive and boot to the NVME by removing the SD card, however if you have a Raspberry Pi 4 Compute Module with eMMC you have to change the Boot Order according to the docs.
NOTE: THIS IS SPECIFIC TO THE COMPUTE MODULE 4. THERE IS AN EASIER WAY TO CHANGE THE BOOT ORDER WITH A REGULAR RASPBERRY PI IN PI OS. DON’T GET THE METHODS CONFUSED.
It’s not hard to do this. And even if you use an SD card it might shave a little time off the boot to not have it looking for other boot sources first. I recommend doing the following steps anyway so the NVME drive is first in the boot order.
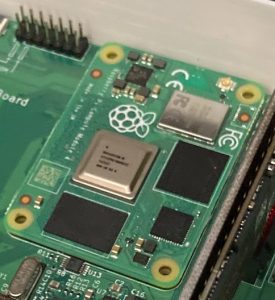
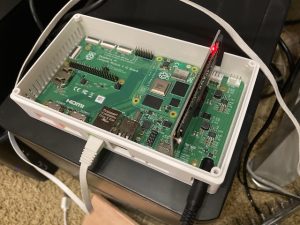
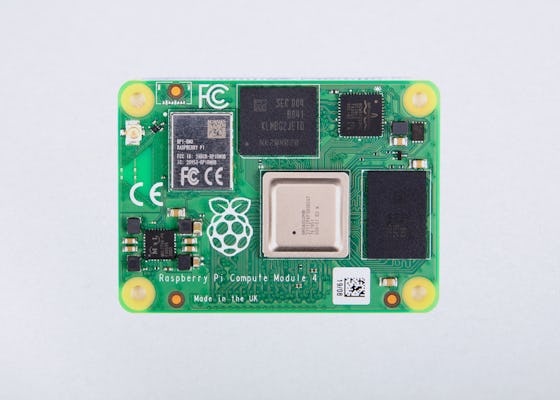
First and foremost I will assume you have a booting Raspberry Pi CM4:
- Raspberry Pi CM4 either with eMMC booting or via SD Card. (This example will be from SD) I have an 8GB with no WiFi or Bluetooth.
- NVME PCIe Adapter – This one works fine.
- SSD NVME – Bang for the buck I recommend the Samsung EVO 970 Plus I’ll be using the 2TB version of this card.
- A micro USB to USB cable.
- Power supply of 12 volts and probably a minimum of 2 amps. I am using an old router brick that is 12v. 1.5 amps with no issues so far. I do recommend around 20 watts of power for the board, adapter board, and SSD.
Once booted up normally with the adapter and nvme drive connected let’s check to see if it is recognized with these two commands:
lspci
lsblk
lspci and lsblk results (click pic to enlarge)

You can see the nvme drive is detected. Good!