I run RTL_433 to push data from several sensors and a motion detector to an MQTT server for home automation. For some reason as of late it is just not that stable. Could even be a hardware failure with the dongle….I dunno. I generally just run the program command inside a terminal on the raspberry pi it is installed on and just walk away. When it crashes I have to log back in the Pi and re-run the command. Un-cool.
The command I use specifically is this:
rtl_433 -F json -M utc | mosquitto_pub -t home/rtl_433 -l
Again, that pushes data found on 433.920 MHz devices to publish a topic on my MQTT server called “home/rtl_433”.
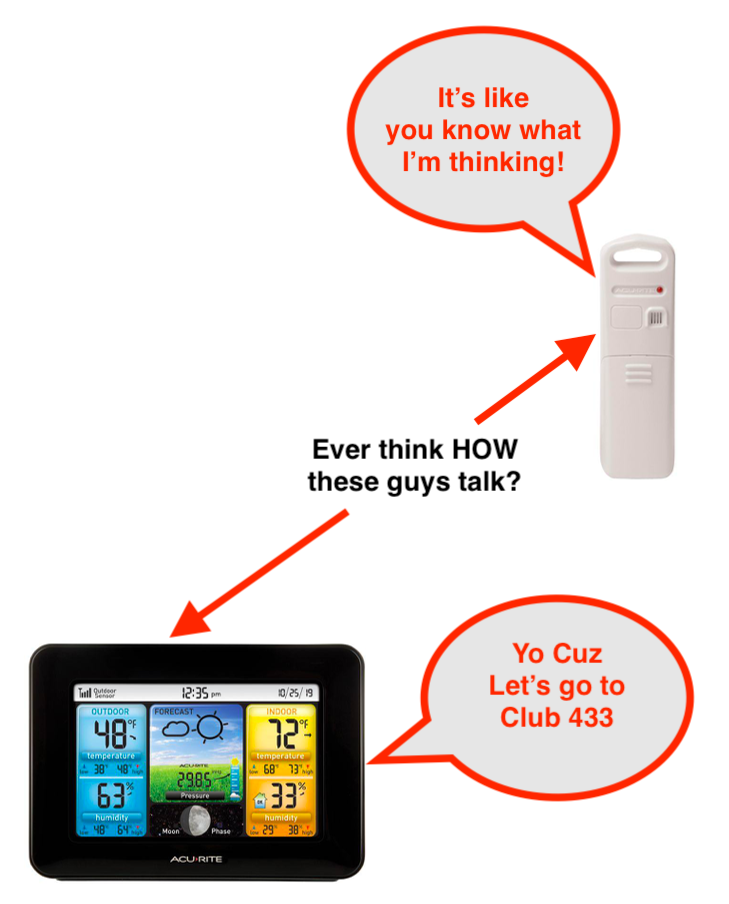
Last week I showed you how you can capture the remote codes for cheap radio controlled electrical outlets and this week the theme is 433 MHz MOTION SENSORS. With a properly configured motion detector you can then trigger that outlet. For example……..when you open the pantry door the light comes on………when you walk in the laundry room, the light comes on……..when someone presses the smart doorbell, the lights come on. Pretty handy stuff.
Most home automation motion sensors send TWO signals. One when they are tripped and one when they reset. Most of them will stay tripped for a predetermined amount of time. Usually for 2-4 minutes or so. Good idea to know the state of the motion detector BEFORE you buy it.
For example I have a motion detector with a 4 minute reset on it in my garage and laundry closet. That means that both of those lights that get triggered are staying on for 4 minutes whether I like it or not (unless I write some crazy code).
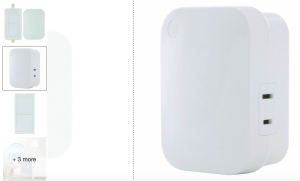
But some of these cheap sensors send ONE signal. “I’m ON” and that’s it. They don’t reset. That provides a challenge. This is one such sensor I bought (and DEFEATED).
It costs about $12 now and you can get them even cheaper. I got this for an outside sensor.
Anyway it does have some user control as inside there are two DIP switches. One sets the sensor state for 5 seconds or 5 minutes and the other one turns the LED indication it has been tripped on or off.
If you want to be stealthy, turn off the LED. I personally like the bad guys to know they got got.
Anyway before you can do this you must capture the code with a program called RTL_433. I discussed this in another blog.
RTL_433 And Home Assistant Set Up
MQTT 433 MHz Motion Sensor
Once your hardware is set up (an RTL-SDR device) you run this command on that pi to send THIS code below. The last part would only be necessary if your mosquitto MQTT server is on another device. Mine is.
Now that will take all the messages it receives from the SDR device (on 433.920 MHz) then it publishes a message on your MQTT server that looks like this:
Now we have to extract that data to make sure we hone in on this device (because I have multiple devices on this same MQTT Topic). In your HomeAssistant configuration.yaml file you add the following to create a binary sensor.
binary_sensor:
  - state_topic: home/rtl_433
    name: Garage Motion
    value_template: >
    {% if value_json is defined and value_json.id == 924442 %}
       {{ value_json.state }}
    {% endif %}
    payload_on: 'motion'
    off_delay: 5
    qos: 1
Whew! You can see I have it so it only takes information from sensor id #924442 and when the “state” = “motion” then it triggers the binary sensor. Then the line with:
off_delay: 10
Sets the sensor back to the OFF position after 10 seconds. So with a ONE signal sensor I can turn the state to OFF after how ever many seconds I want. That garage light will now go out after 1 minute or 2 minutes or 2 seconds……..whatever I want.
Well……It works PERFECTLY. Here’s what the tripped state looks like:
Now I can start making some automations to use with my $10 motion sensor. Open the pantry door……..the light comes on……….hence the name “Pantry Motion”.
Automations For 433 MHz Motion Sensor
So what I did here was to make an automation to turn on one of my inexpensive outlets. Eventually this will be tied to a smart light or smart switch. Right at this moment I have no smart light nor have installed a smart switch in the pantry. Changing the line of the entity_id in the action part of the code can turn basically any device on or off. Because the code above leaves the sensor state on for 10 seconds, running the automation means the “light” (in this case outlet) will be on for 1 minute. Pretty cool, huh?
automation 21:
  alias: Den Outlet Motion Sensor
  trigger:
    platform: state
    entity_id: binary_sensor.pantry_motion
    to: 'on'
#  condition:
#      condition: state
#      entity_id: sun.sun
#      state: below_horizon
  action:
    service: switch.turn_on
    entity_id: switch.den_outlet
automation 22:
- alias: Den Outlet Motion Sensor Off
  trigger:
    platform: state
    entity_id: binary_sensor.pantry_motion
    to: 'off'
    for: '00:00:50'
  action:
    service: switch.turn_off
    entity_id: switch.den_outlet
Notice that I have # marks in front of the condition statements. In many cases you wouldn’t want a light to come on until after dark. I left that in there to easily change it back if I find I don’t need the light on in the daytime, but hey, it is essentially a windowless closet.
Here’s a video of how it all works. I shortened the sensor time for the purpose of the video.
What’s a Spyserver? And why would you want one? Spyserver is a program for a Software Defined Radio (SDR) that allows you to access that radio from anywhere. It also allows you to share your radio from anywhere and you can likewise share other people’s SDR radios. Why would you want to do that?
First when the word “radio” comes to mind we tend to think of AM or FM radio only. An SDR device is so much more than that. It can literally listen to things from 0 kHz to 2 GHz or so. That’s EVERYTHING that you can think of that uses a radio signal. Short Wave, CB, Ham, pagers (yep they still use pagers), Police, Fire, EMS, the Space Shuttle flying overhead (not kidding), the tire pressure monitor sensors on your car, tracking aircraft, tracking ships, tracking weather balloons…………the list is almost endless.
I REALLY struggled hard to learn to use OP25 and once I figured It out I made a simple tutorial for myself to recreate on other computers and for others to use. On my blog it is one of the more active pages and almost every week I get emails from people requesting help getting it working. This is the page of instructions I made: (there are a couple more pages that are Raspberry Pi specific but you’ll have to poke around my blog to find them).
I would LOVE to help everybody but alas, I met a hot neighbor lady walking dogs a few months back and she’s cutting into my geek time! Trust me when I say that I’m not complaining!
Most of the time I find that many users are installing Ubuntu under Virtualbox in either Windows or on a Mac and this is one of the most common errors:
It was the best of decoders, it was the worst of decoders……… As you can tell I’m quite the literate bastard and highly up to speed on my Dickens.
I love digital signal decoding as it is almost something that you seemingly aren’t supposed to do, hence the attraction of it all. There are several hunks of software that can decode digital signals and each one has it’s strength and weaknesses. The ones I have dabbled around with are:
One of my favorite programs for decoding digital audio is DSDPlus. I’ve been using it a couple of years to dissect and decode SINGLE digital signals. Like for instance if I’m in the airport or airport hotel I can listen to DMR radio where the baggage handlers are talking to each other, or the mall cops are planning how to be real cops. Or you can hear the hotel staff on their radios which is sometimes really fun.
BUT…….DSDPlus also follows Digital Trunked Radio. That is where there is a Control Channel which is monitored and then the calls are “trunked” to available frequencies allowing for more users to use the system without confusion. Also users can be placed into Talk Groups which keeps down the confusion even more. Entire cities can use one radio system to control municipal services such as Police, Fire, EMS, Public Works, Events, etc.
Hurricane Florence coming! You’ve all seen weather radios and you’ve all seen they generally cost $50 or more. On a good day you can find one for $35 or so.
The goal is to receive NOAA which transmits on the following 7 frequencies. There will be one or two specific to your area. The frequencies below are in MegaHertz (MHz).
So I bought the Uniden SDS100 hardware scanner, and I love it. But it cost $700, and then I added DMR decoding for $60, and NXDN decoding for $50. So I’m into this in a big way. The SDS100 is POWERFUL. It is not a toy by any stretch of the imagination. It comes with free control software called Sentinel (yeah the download is hard to find on that page). Sentinel is adequate for managing favorites and reading and writing to the scanner and it is all you NEED.
However I stumbled across this hunk of software called Proscan which looked interesting but it also costs $50. Where does the cost with this scanner end? Well, like most programs Proscan has a 30 day trial version so I gave it a shot. After playing with it for like an hour I knew it was worth the cost so I bought it. It does NOT disappoint.


 The Replay Attack is when you record a signal from something and transmit it back to perform the operation.