Svbony SVGo M3 Action Camera Review
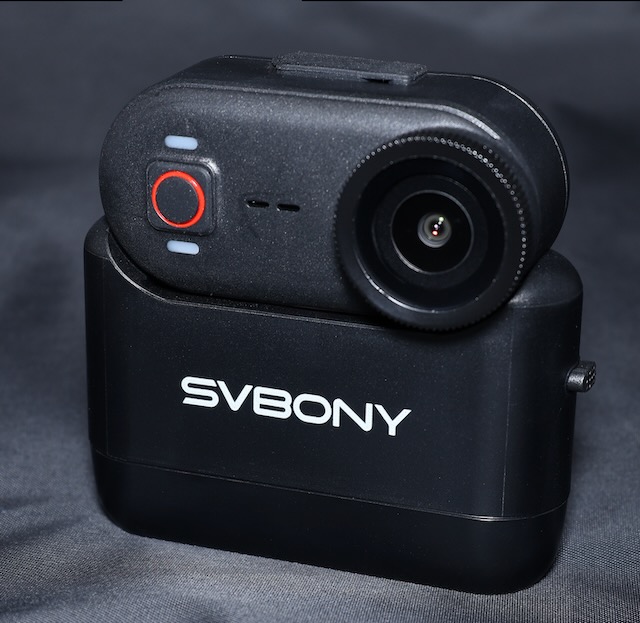
I was contacted recently by Svbony and asked to review their new line of action cameras. One of the cameras they provided me was the Svbony SVG0 M3 ($99).
If you have never heard of Svbony there can only be one reason. That you aren’t an astronomy or bird watching geek.
Svbony is a world renowned leader in telescope and spotting scope equipment.
And along those lines I imagine that with such detailed knowledge of precision optics that they probably make a pretty doggone great action camera.
Just as the astronomy fans can’t believe how great their optics are for the price point so it seems to be in the action camera realm as well. Their offerings are a heck of a lot easier on the wallet.
If you think I’m just playing fan boy because they sent me some cameras you would be 100% wrong. I spent a good portion of my working career in the (now) Department of War, Aircraft Carrier and Shorebased Visual Landing Aids program. When Maverick in Top Gun says “Roger Ball, I’ve got the ball” that’s one of the systems I supported. I mostly worked on Shore Based Trainers but the equipment was the same. What’s my point? My point is that I know a thing or three about optics and more specifically OPTICS THAT ARE IN MOTION. You’ll get my honest take here because this was my thing.
Continue reading