HOME LASER ENGRAVING BUSINESS
NOTE: This blog is about using your laser for your home laser engraving business and staying operational. If you want a hobby machine and don’t care about business buy an xTool D1 Pro kit. Period. End of story. You’ll thank me. If you want to be in business to make money and satisfy customers………….read on! Actually I still recommend the xTool offerings for business too. But I do discuss other options.
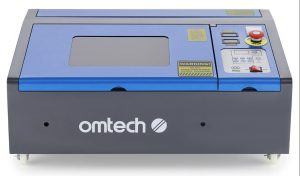
If you read this blog at all you know that one of the things that I have witnessed over and over again in my time with laser machines is what happens when they break. It does not matter:
- Who the manufacturer of the laser machine is.
- What type of laser (CO2, Diode) it is.
- What happened to break the laser.
You will see a frantic call for help that goes something like this: “My laser just broke and I have orders to fulfill and I am screwed.”
Then there will be a tirade about the company and their quality. Forget the fact that they ran an open flame for 10 minutes under a 1mm thick piece of optical glass with the alarms silenced (or something like that).
The REAL PROBLEM is not that your machine is broken, the REAL PROBLEM is that you were operating a business with no plan to prevent downtime. This blog will try to take a look at some of the real costs involved in staying operational.
Continue reading